Prerequisites
- .NET Framework 4.6 or higher must be installed.
Please note: to work with extended-length path names that exceed the MAX_PATH limitation of 260 characters it is strongly recommended to install .NET Framework 4.6.2 version or higher instead. - Windows OS (server or client).
FluentBooks application is compatible with any modern Windows OS including but not limited to Windows 10, Windows 11, Windows Server 2016, Windows Server 2019, and Windows Server 2022. However, only "Desktop Experience" versions are supported. FluentBooks cannot run on GUI-less Windows installations (this includes all versions of Windows Nano Server and Core versions of Windows Server 2016, 2019, and 2022). Earlier versions of Windows might also work, but we cannot guarantee product stability and functionality since we do not test our products on legacy Windows builds that have reached their EOL. - For Project Schedules migration it is required to have the MS Project Professional client installed (with the latest updates) and activated.
Please note: For correct interaction of FluentBooks with MS Project Professional during projects publish/download/upload operations, an English version of MS Project Professional has to be used, even if the PWA default language is different. - MS Excel needs to be installed for Excel reports migration, working with Account/Resource Mapping file, and using bulk edit functionality.
- Recommended configuration: 4-8 GB RAM, 2 cores CPU; 80 GB free disk space.
- To install and run FluentBooks the user needs to be a Local Administrator on the machine.
- If the Internet Explorer browser is not allowed by your organization and you need to use multi-factor authentication, then the Microsoft Edge WebView2 browser control should be installed (for FluentBooks versions 5.1.8242.2054 and higher the installation of Microsoft Edge WebView2 browser control is done automatically when updating FluentBooks to a newer version).
Download FluentBooks
Customers, who purchased FluentPro FluentBooks can download the latest available version by the link below
Please note - The license details (Email, Name, Company Name) are required for download. These details are provided by FluentPro Customer Success Team in the license activation email. The same details are to be used by all users from the same company, who wish to install and license FluentBooks
Installing FluentBooks
1. Run the FluentPro.FluentBooks.Setup.msi (double click on it).
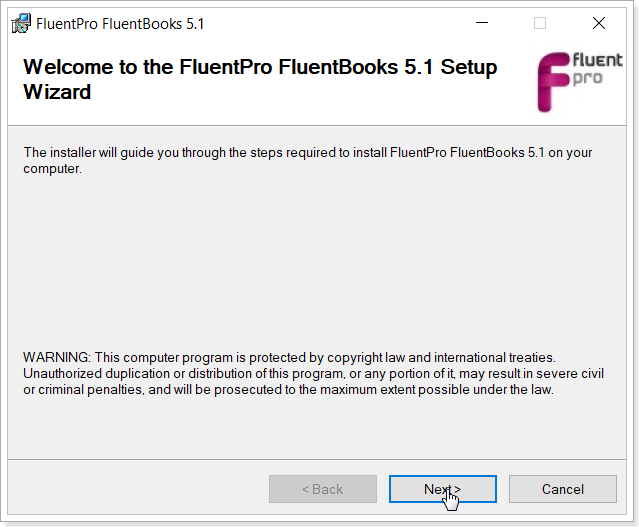
2. Installer will run. Click the Next button.
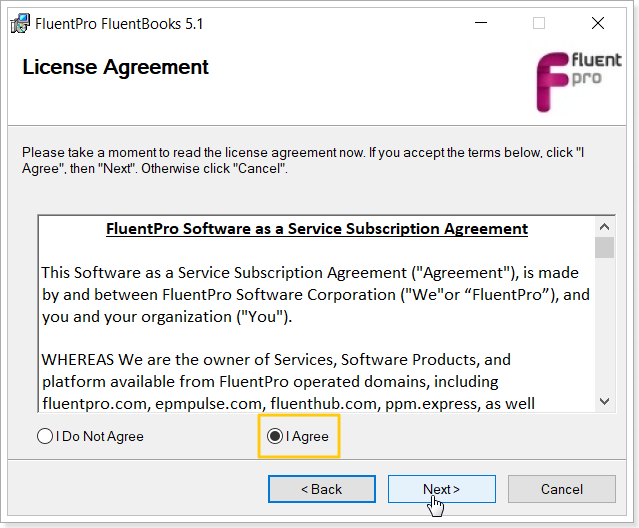
3. Read EULA (End-User License Agreement) and Select “I Agree” to continue. Click Next.
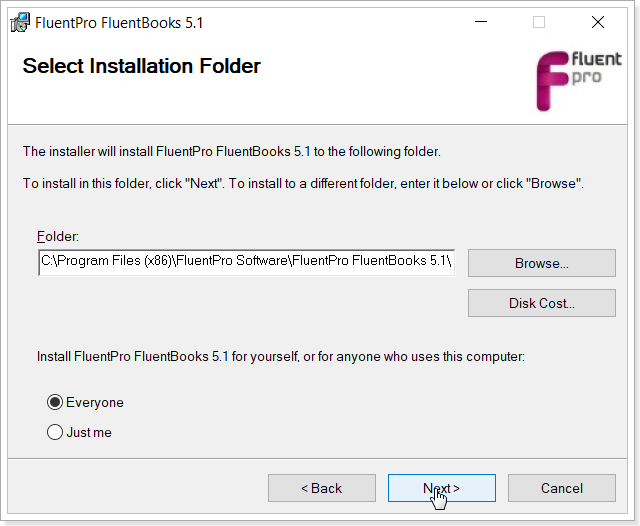
4. Select the installation folder and select the option for selecting users who will have access to software and click Next.
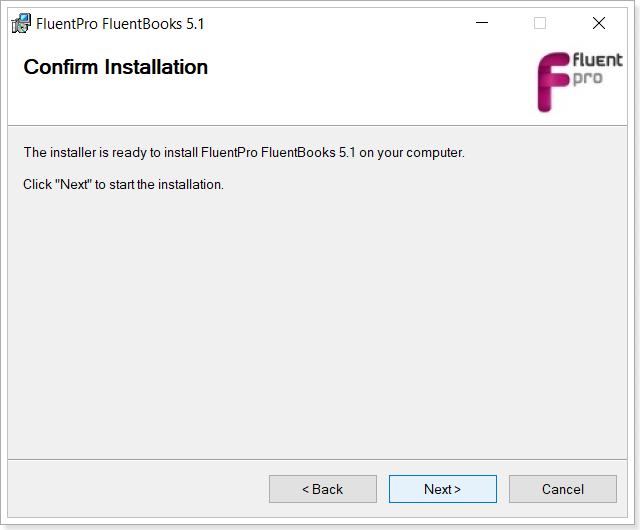
5. Confirm installation. Click Next to start the installation process.
6. Allow the installer some time to copy files.
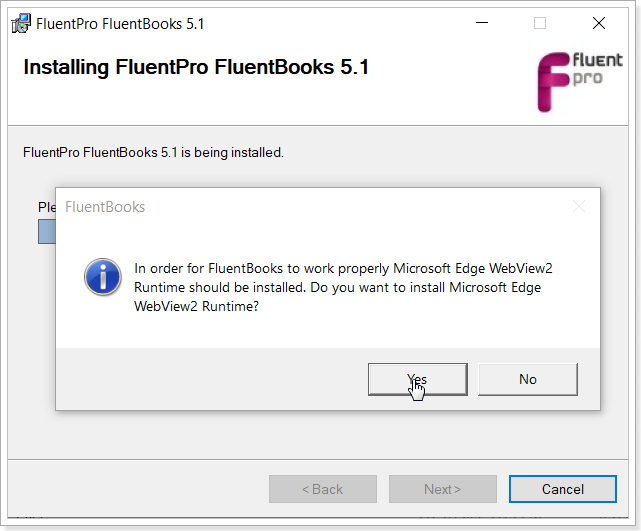
For multi-factor authentication (custom browser) the Internet Explorer browser is used by FluentBooks by default. If the Internet Explorer browser is not allowed by your organization and you need to use multi-factor authentication, then the Microsoft Edge WebView2 browser control should be installed (for FluentBooks versions 5.1.8242.2054 and higher the installation of Microsoft Edge WebView2 browser control is done automatically when updating FluentBooks to a newer version).
If the Internet Explorer browser is allowed by your organization, you can skip this step, FluentBooks will be installed successfully as well.
If the 'Internet Explorer WebView2 browser control installation' pop-up window did not appear when installing FluentBooks, most probably, you already have it installed on your PC as this browser component is installed by default with some versions of Windows OS.
When working with the Microsoft Edge WebView2 browser control FluentBooks will use its own folder to store the temporary files. If any other application uses the same browser control, the temporary files will be stored separately (FluentBooks will not be able to access the cookies from the use of another application).
Also, if your computer does not have internet connectivity when installing FluentBooks, you can install this browser control to your PC as a separate step (before or after installing FluentBooks). Please follow this link to find more information about the Microsoft Edge WebView2 browser control and its installation.
After it is done, you should get a confirmation dialog. Click Close to finish the installation.
7. Congratulations! FluentBooks is successfully installed.
For more details about applying a license to FluentBooks. please visit the Licensing article.
