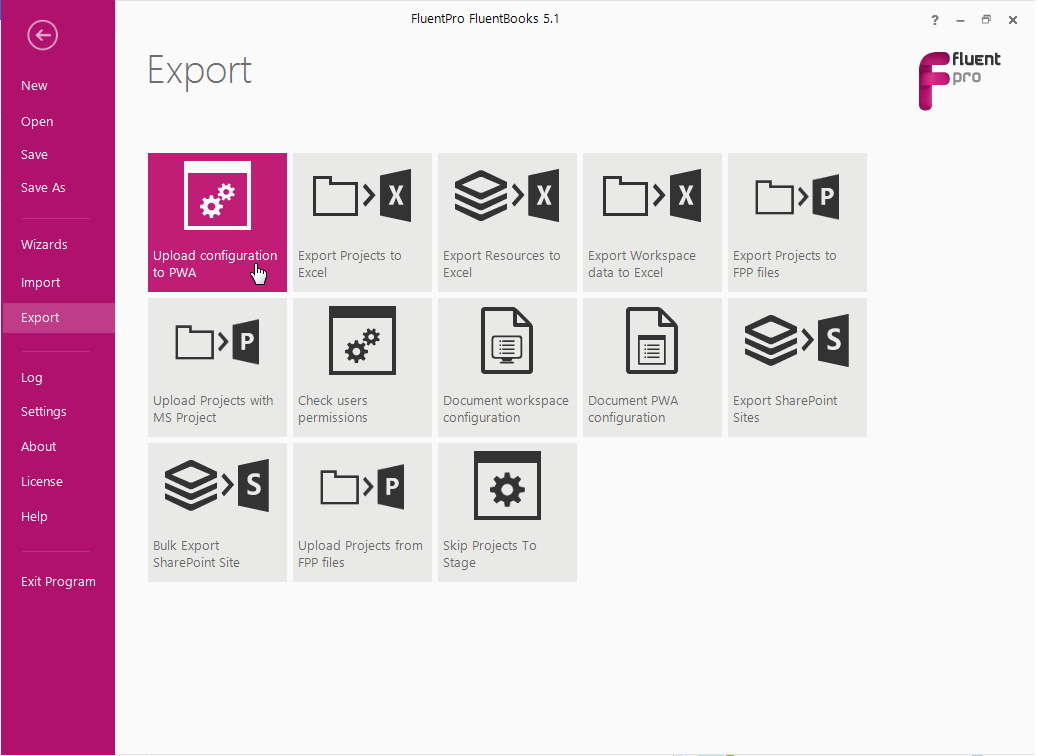
Upload configuration to PWA wizard is designed to assist with uploading configuration to PWA.
To start the wizard click File → Export → Upload configuration to PWA.
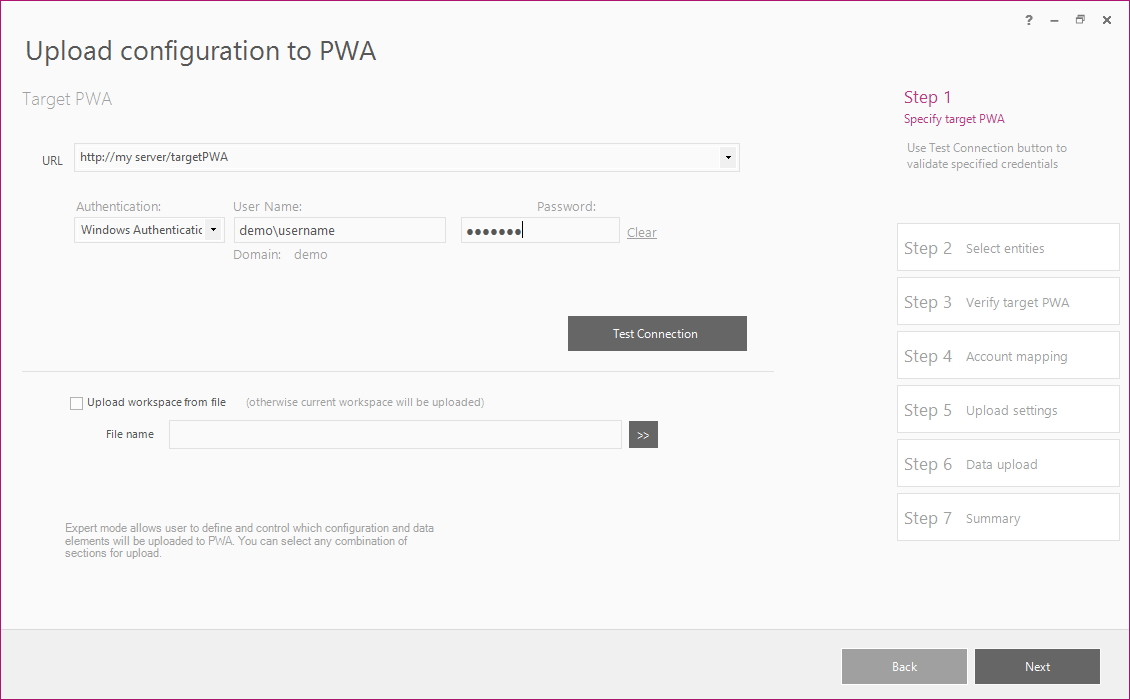
Step 1 Specify target PWA
Provide the following information on this step:
- URL of target PWA
- User credentials (Use Test Connection button to validate specified credentials)
By default configuration from the current workspace will be uploaded to the target PWA.
You may also choose to upload a workspace from a file.
Workspace must contain some configuration. Empty workspace cannot be uploaded.
Specified account should be assigned to the PWA Administrators security group on the target PWA.
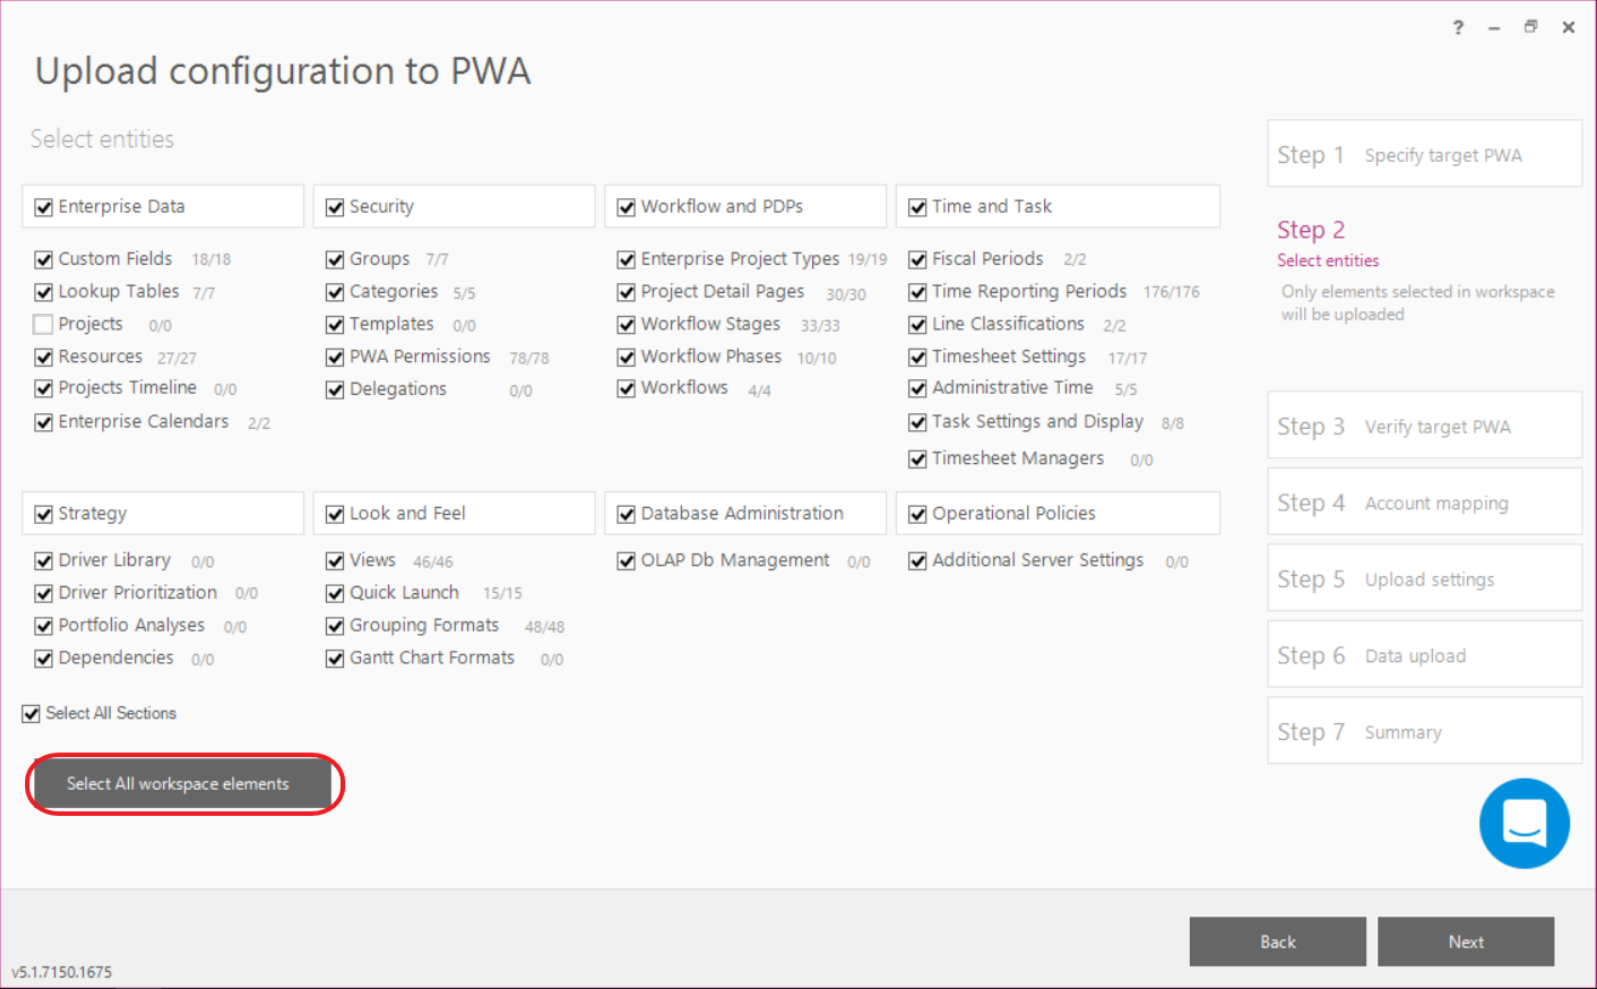
Step 2 - Select entities
Select elements that you want to upload to the target PWA and click Next. Please note, that only selected entities will be uploaded.
Select All Sections check box allows you to select/deselect all items on the screen.
Select All workspace elements button allows you to select all elements in the workspace.
Our recommendation is not to check 'Projects' check-box. It is advisable to use “Download/Upload Projects to FPP files' wizards, which are specially designed for complete projects migration.
If you select to upload Projects with PWA Configuration wizard, project schedules will not be uploaded to the target PWA. Only project name, project level custom fields, lookups, etc. will be uploaded using 'Upload PWA Configuration' wizard.
The same information, plus project schedules will be uploaded using , 'Upload Projects with FPP Files' wizard. Selecting projects for upload with 'PWA Configuration' wizard, you will just spend additional time for project upload which will make the whole migration process longer.
Step 3 - Verify target PWA
Verify the target PWA URL and credentials and click Next
Skip target verification check box allows to skip verification of target PWA configuration against configuration in the current workspace
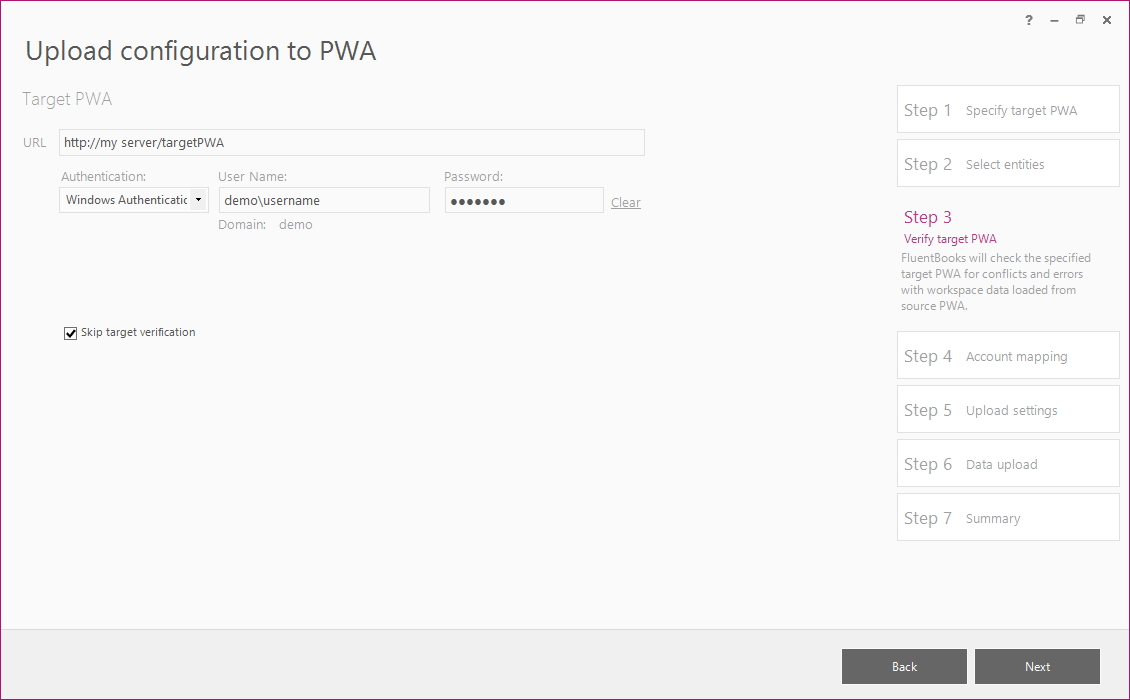
If the Skip target verification check box is not checked, then FluentBooks will download the target PWA configuration and compare it against the current workspace configuration. Summary screen will be shown.
- Show difference only check box allows to display only differences between the workspace and target configurations.
- Generate difference package for source modification link allows saving a workspace that holds items which are absent or different in the source workspace.
- Generate difference package for target modification link allows saving a workspace that holds items that are absent or different in the target PWA.
- Export Report button allows saving verification summary reports to an Excel file.

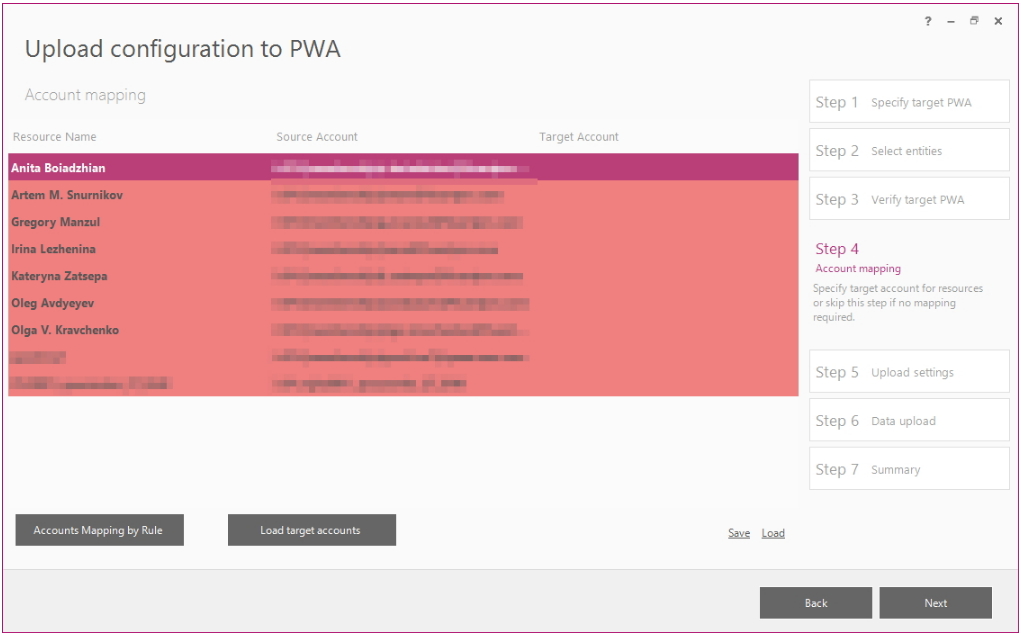
Step 4 - Account Mapping
In the Account Mapping screen, you can specify target accounts for resources.
Please refer to the User Account Mapping article to find information on why Account Mapping is required.
If no mapping is required, just skip this step by clicking Next.
Save - you can use this option to save the mapping results for future migrations. The file will be saved in the XLSX extension.
Load - in case you have previously saved a user mapping file, choose this option to load it.
FluentBooks provides three ways to specify target accounts for resources:
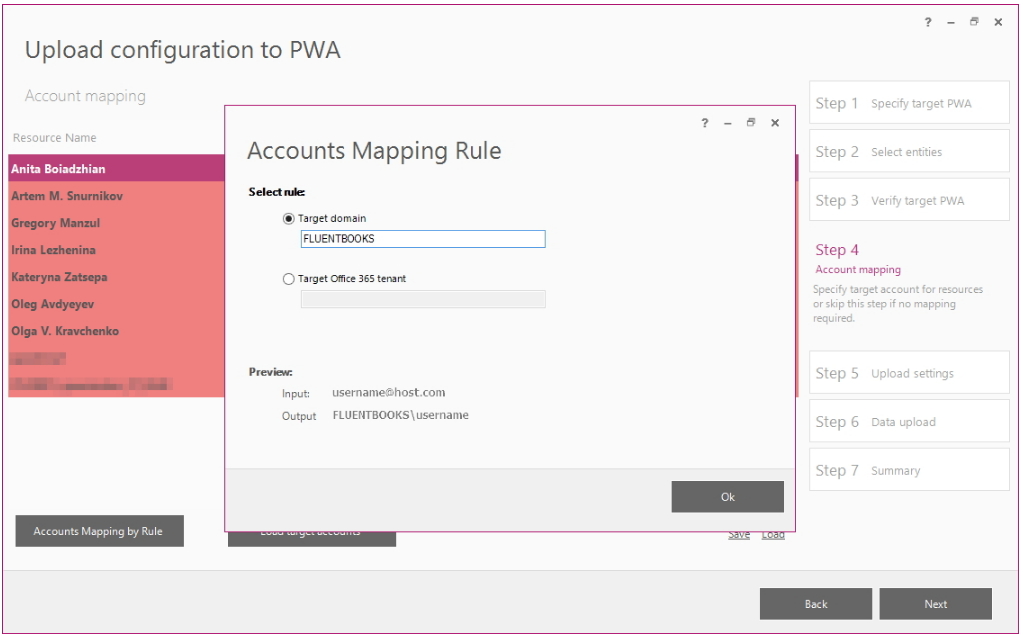
1) Accounts Mapping by Rule
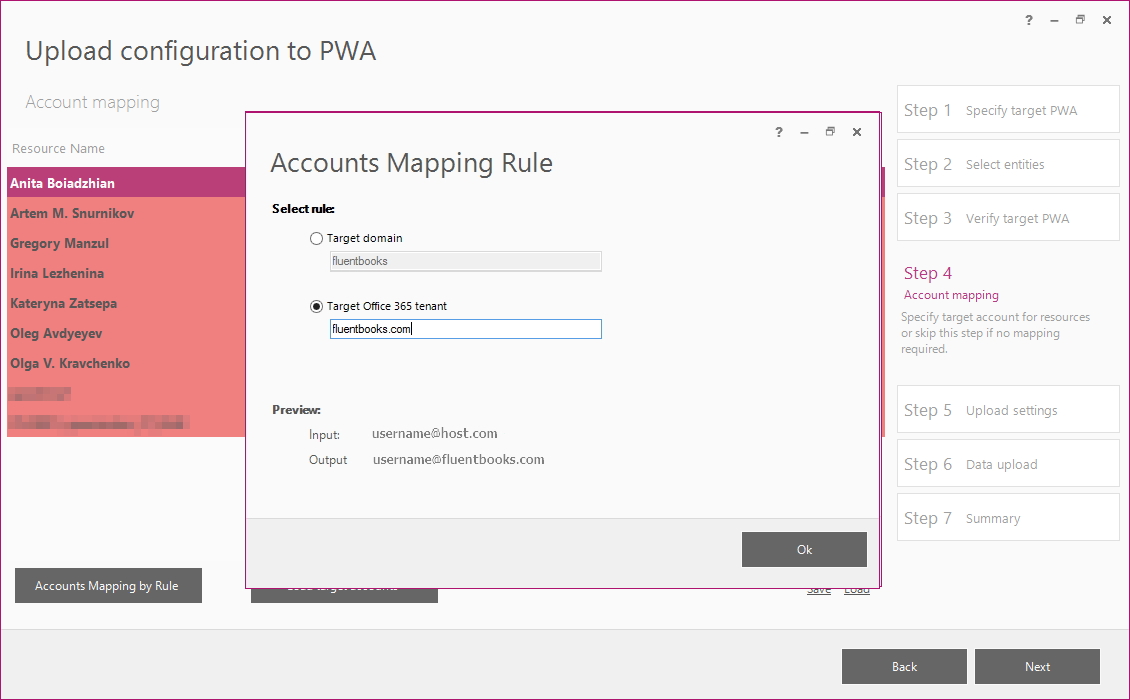
This option allows performing the bulk update of the target accounts and setting either the ‘Target domain’ or ‘Target Office 365 tenant’ login type for all target accounts at one go.
Click the “Accounts Mapping by Rule” button, select either of the rules, and provide the domain or Office 365 tenant. The preview section will show how the accounts will look like after the rule is applied.
Click OK to apply the selected rule.
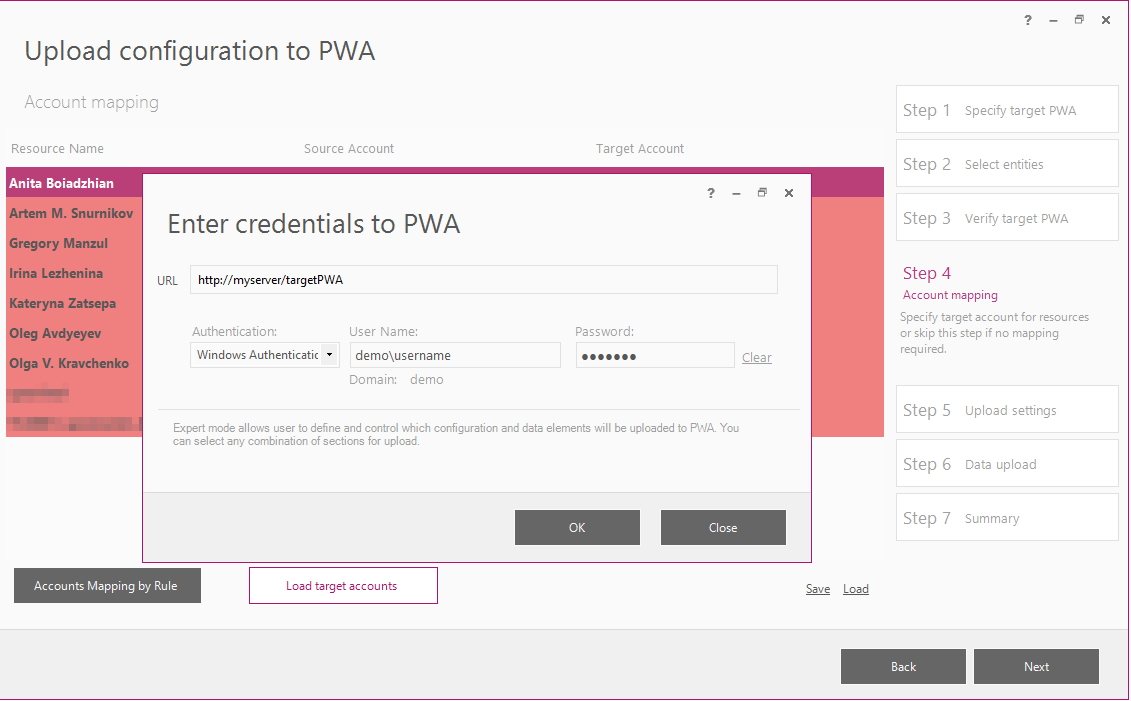
2) Load target accounts
This option allows you to map accounts automatically.
Click the “Load target accounts” button to load accounts from the target PWAs. FluentBooks will request the credentials to PWA, provide the credentials, and click OK:
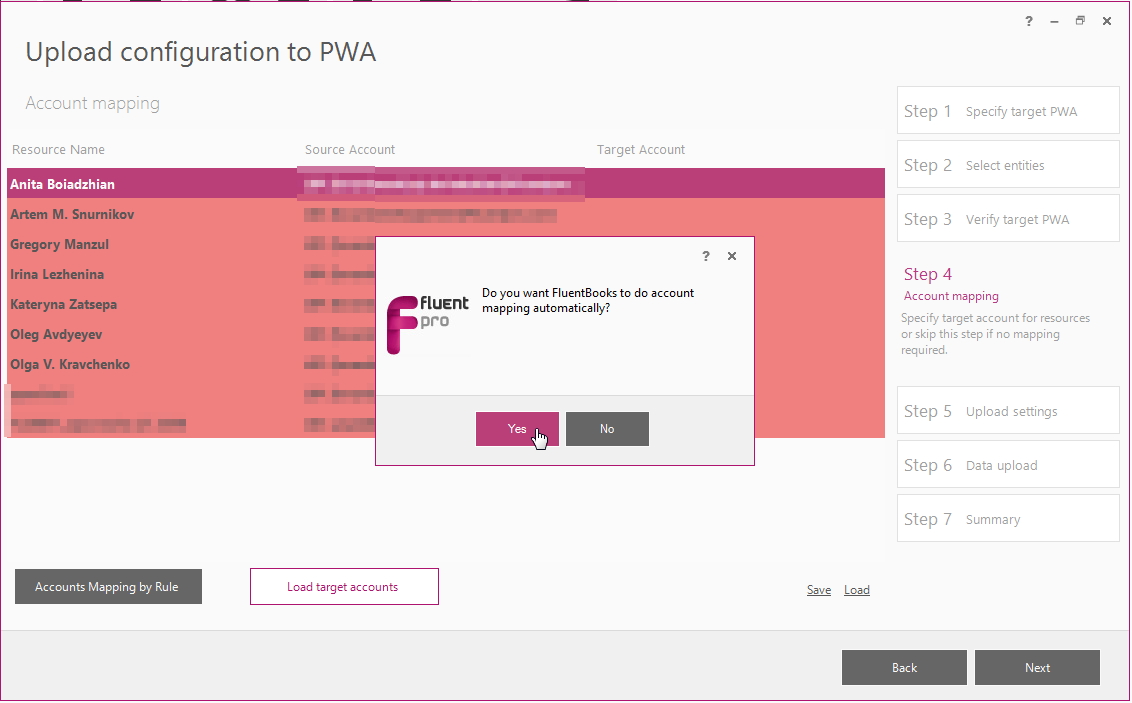
After accounts are loaded, FluentBooks will ask if you want to do account mapping automatically. Click Yes to map the source and target accounts.
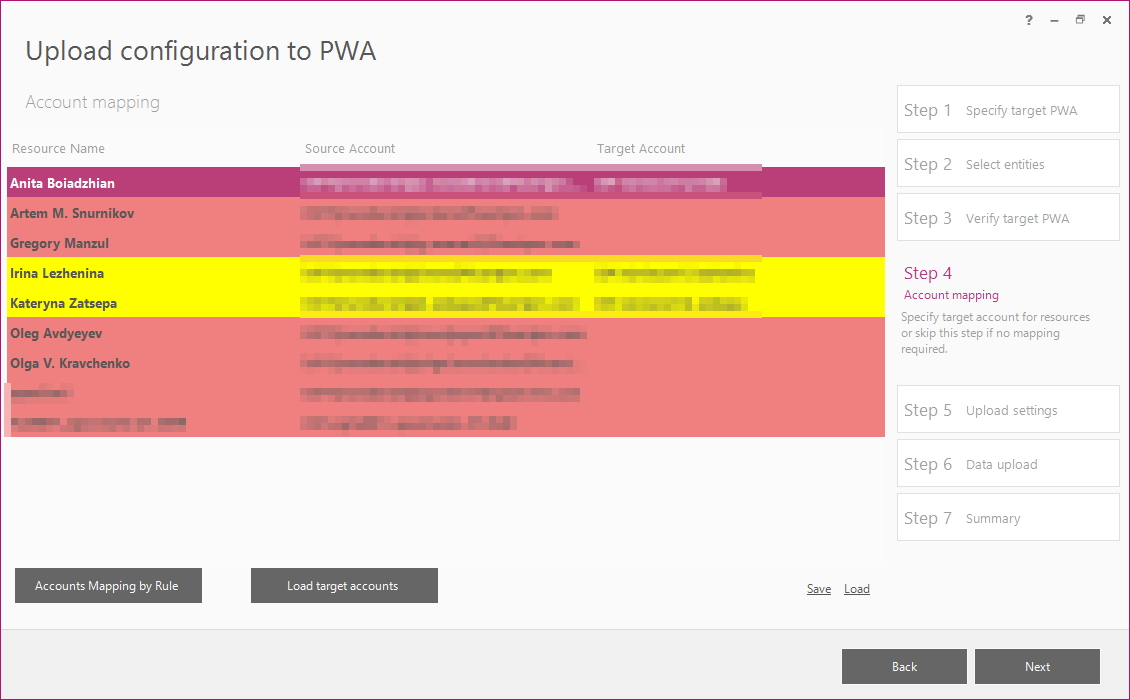
After FluentBooks finishes mapping the accounts, it is advisable to check that all accounts for resources are mapped correctly and to edit inaccuracies manually if there are any.
- If FluentBooks finds fully corresponding account, it will be marked white;
- If there is no corresponding account found in the target environment, it will be highlighted in red;
- If the target account does not fully correspond, it will be marked yellow.
3) Map accounts manually
Target accounts can be edited manually, to do this double-click the target account name and it will become editable, click the Enter key to confirm the changes.
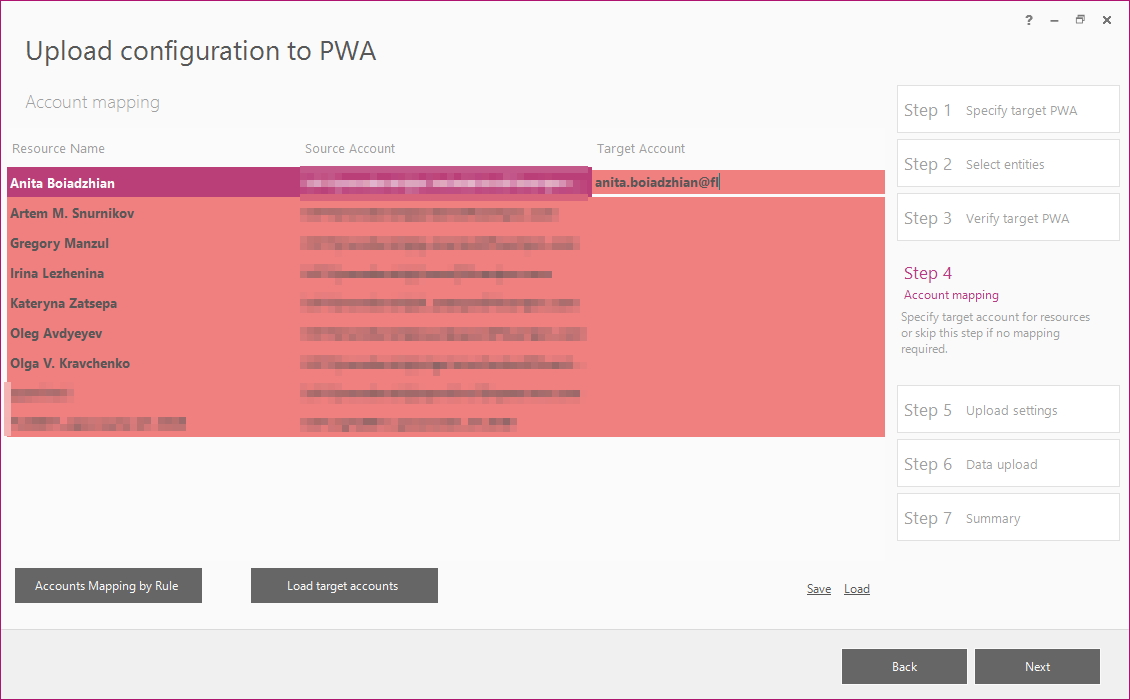
After all accounts are mapped as necessary, click Next to proceed to the next step.
Please refer to the Accounts Mapping (Project Server 2013 -> Project Online with Entra ID (formerly Azure AD) Resource Pool Synchronization enabled) if this is your usage scenario.
Step 5 - Upload settings
Verify/modify the upload settings.
Click Next to proceed to the next step.

| Setting | Description |
|---|---|
| General | |
| Terminate Export if any error | Stop the Upload process if any elements fail to upload. |
|
Advanced Data |
|
| Resolve Lookups by Name | In case of uploading the Lookup Table to the target PWA where a Lookup Table with the same name already exists, the existing Lookup Table will be updated. If the option is turned off, the Lookup Table will be exported with the new UID. |
| Resolve Project Types by Name | In case of uploading Project Type to the target PWA where Project Type with the same name already exists, the existing Project Type will be updated. If the option is turned off, the Project Type will be exported with the new UID. |
| Use Imported Attributes in Export | Enterprise Project Type will be saved during project migration. |
| Security | |
| Security Category Resources | Resources that belong to the Security Category on the source PWA will be added to the Security Category on the target PWA during the Security Categories upload, on the condition that these resources exist on the target PWA. |
| Security Category Projects | Projects that belong to the Security Category on the source PWA will be added to the Security Category on the target PWA during the Security Categories upload, on the condition that these projects exist on the target PWA. |
| User Security Groups membership | Users that belong to the Security Group on the source PWA will be added to the Security Group on the target PWA during resources upload, on the condition that the relevant Security Group exists on the target PWA. |
| Enterprise Data | |
| Lookup tables values | Migrate Lookup Table values as part of the Lookup Tables migration. |
| Export Options | |
| Continue on missed Dependencies | Do not stop the Upload process if any dependent elements fail to upload (E.g. when uploading the Custom Field associated with the Lookup Table which is missing in the workspace). |
| Generate new UID for Resources on UID collision | With this option turned ON, Resource will be saved with its UID, if such UID does not exist in the database on target PWA. If the option is turned OFF, then Resource UID specified in Workspace will be set, however, if the UID of a Resource in the workspace is taken up in the target PWA (e.g. there was a Resource, that was further removed, but UID is kept in the database), then this Resource will not be uploaded and error will be recorded in the Export log file. |
| Do not preserve Resource UID | With this option turned ON, Resource UIDs will not be preserved, Resources will be created with new UIDs. |
| Force Fields Creation with new UID | With this option turned ON, Custom Field will be saved with its UID, if such UID does not exist in the database on target PWA. If the option is turned OFF, then Custom Field UID specified in Workspace will be set, however, if UID of a Custom Field in the workspace is taken up in the target PWA (e.g. there was a Custom Field, that was further removed, but UID is kept in the database), then this Custom Field will not be uploaded and error will be recorded in the Export log file. |
| Force Lookups creation with new UID | With this option turned ON, Lookup Table will be saved with its UID, if such UID does not exist in the database on target PWA. If the option is turned OFF, then the Lookup Table UID specified in Workspace will be set, however, if the UID of a Lookup Table in the workspace is taken up in the target PWA (e.g. there was a Lookup Table, that was further removed, but UID is kept in the database), then this Lookup Table will not be uploaded and error will be recorded in Export log file. |
| Create Resources as users if logon specified | In case of uploading a resource that already has some value specified for the Windows User Account field, this resource will be uploaded as a user who can log on to the Project Server using the specified credentials. |
|
Require claim for resource account |
This setting controls how user identities are resolved when associating resources with user accounts during upload to Project Server (SE). When enabled, the full claim must be specified for the resource account. The system will use the exact claim provided and will not attempt automatic identity resolution. When disabled (default behavior), the system resolves the user account automatically based on the login value, which may result in a different identity being selected if multiple identity providers are configured. Enable this setting to ensure that the intended user identity is used when the same login exists in more than one identity provider (e.g., on-premises Active Directory (AD) or Entra ID (Azure AD)). |
| Clean up pages before adding webparts | When exporting the Project Detail Page which already exists on the target PWA, all existing web parts will be removed from the page. Otherwise, web parts will be added/merged. |
| Overwrite Projects Timeline | Overwrite the Project Timeline in the Project Center. |
| Create Project Site | Project Site that does not exist on target PWA will be created during Project export. Otherwise, the project will be created and published, but the Project Site will not be created. |
| Remove Permissions | Allow removing user permissions when updating existing Security Templates (Caution: Users may lose access to the target environment after updating security with this setting turned on). |
| Skip Projects to Stage | Check this checkbox, if you want FluentBooks to skip project status to a certain stage. If the checkbox is not checked, then all projects will start at the first stage. |
|
Projects |
|
| Resources Plan | Migrate the project’s resource plan as part of the project migration. NOTE: Resource Plans will be automatically converted to Resource Engagements for Project Server 2010/2013 to Project Server 2016/Project Online migrations. |
| Team | Migrate the project’s team as part of the project migration. |
| Owner | Migrate project’s owner as a part of the project migration. If this option is switched off, then the user account, whose credentials were specified in Fluentbooks, will be set as the project owner on the target PWA during project migration. |
| Full Publish | Force automatically synchronizes PWA users with Project Workspaces during Project Publish regardless of the appropriate setting in target PWA settings. |
| Project ID | Migrate the value for the OOB field “Project ID” as part of Project migration. |
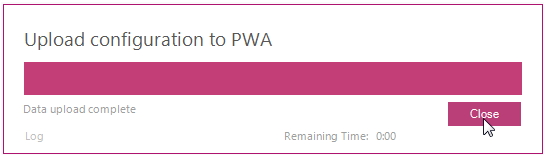
Step 6 - Data upload
Allow the wizard some time to upload the configuration to PWA.
Log option allows viewing the log records in real time during the upload process.
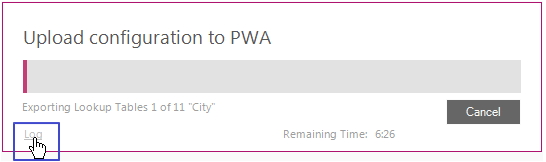
Click Close after the upload is completed.
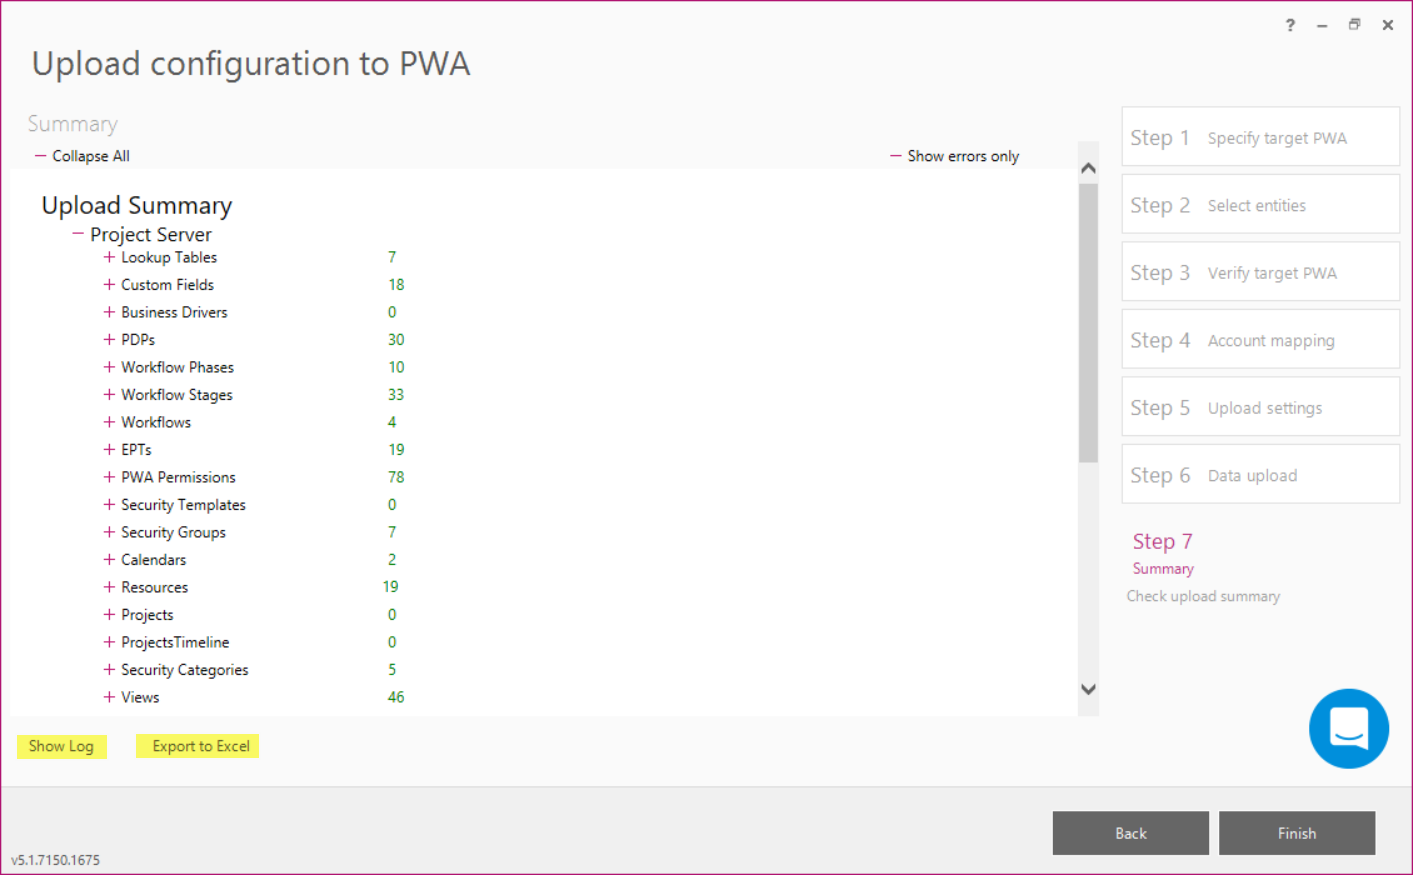
Step 7 - Summary
Upload Summary shows the results of the export, which can be reviewed from the screen and also can be exported to Excel.
Show Log option allows reviewing the full upload log.
Export to Excel option allows exporting the results of upload to an Excel file.
Click Finish to close the wizard.