
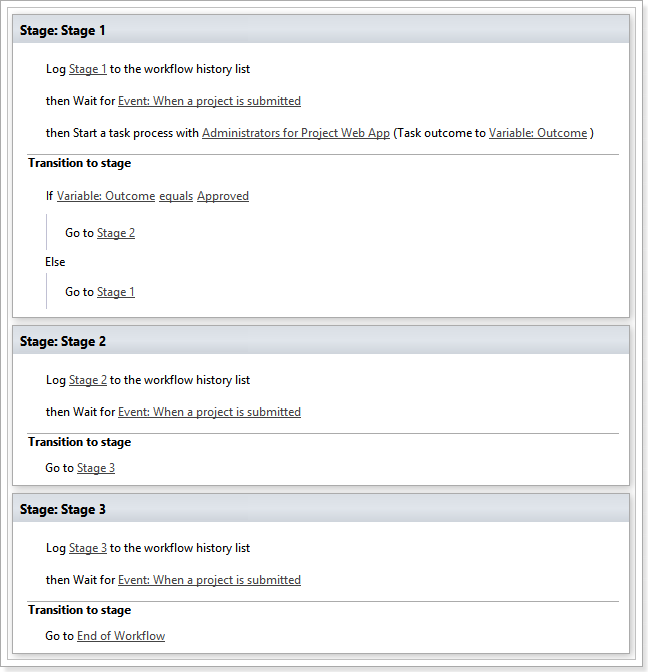
In this article, we will review how to add a “Skip to stage” functionality to your workflow in SharePoint Designer.
There is an “Include this Stage” SharePoint designer condition that needs to be added to a workflow in order to allow this workflow to skip to a particular stage.
The steps below describe the process of adding the required condition on the example of the 1st stage.
Follow the steps below to add the “Include this Stage” condition for the 1st stage and then repeat these steps with other stages.
1. Create a variable of Boolean type with the name “IncludeThisStage”: click “Local Variables” on the Ribbon and add a new variable.
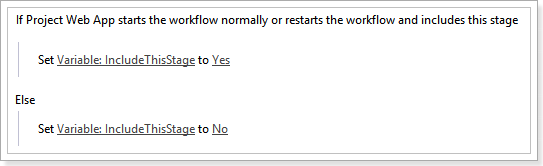
2. Add the “Include this Stage” condition to Stage 1 to the very top.
3. Add the “Set workflow variable” action to “If Project Web App starts the workflow normally or restarts the workflow and includes this stage” condition and set variable “IncludeThisStage” to “Yes”.

4. Add Else branch to “If Project Web App starts the workflow normally or restarts the workflow and includes this stage” condition by right-clicking on the condition.

5. Add “Set workflow variable” action to Else branch and set variable “IncludeThisStage” to “No”
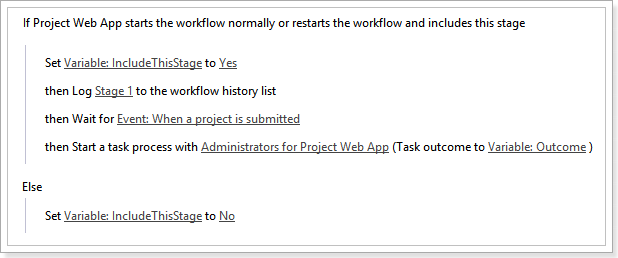
6. Move all actions below the “If Project Web App starts the workflow normally or restarts the workflow and includes this stage” condition just after the “Set Variable: IncludeThisStage to Yes” action.
7. Cut the condition located in the “Transition to stage” section.
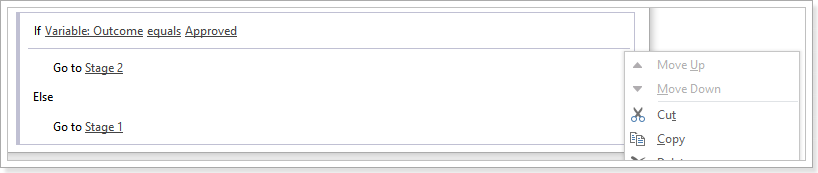
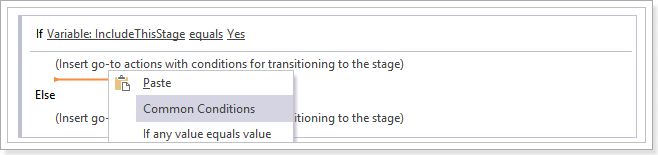
8. Add the “If any value equals value” condition to the “Transition to stage” section and set the first value to IncludeThisStage variable and the second value to “Yes”.
9. Paste into the condition.
10. Add the “Go to a stage” action to the Else branch of the condition and set the “Stage 2” stage (a stage that is next to the “Stage 1”).

11. Perform the steps 2 – 10 for other stages.