There are cases when it is necessary to create a copy of a PDP that exists in PWA.
One way is to create a new PDP and add all the content manually, however, for complex PDPs this can be a pretty time-consuming task.
Another way is to use FluentBooks, which can assist a user with the creation of PDP copy, and, therefore, decrease the time and efforts spent on the operation.
This article describes how to use the “Download PWA Configuration” and ”Upload Configuration to PWA” FluentBooks wizards to create a copy of any PDP that exists in PWA.
Download PDP from PWA using FluentBooks
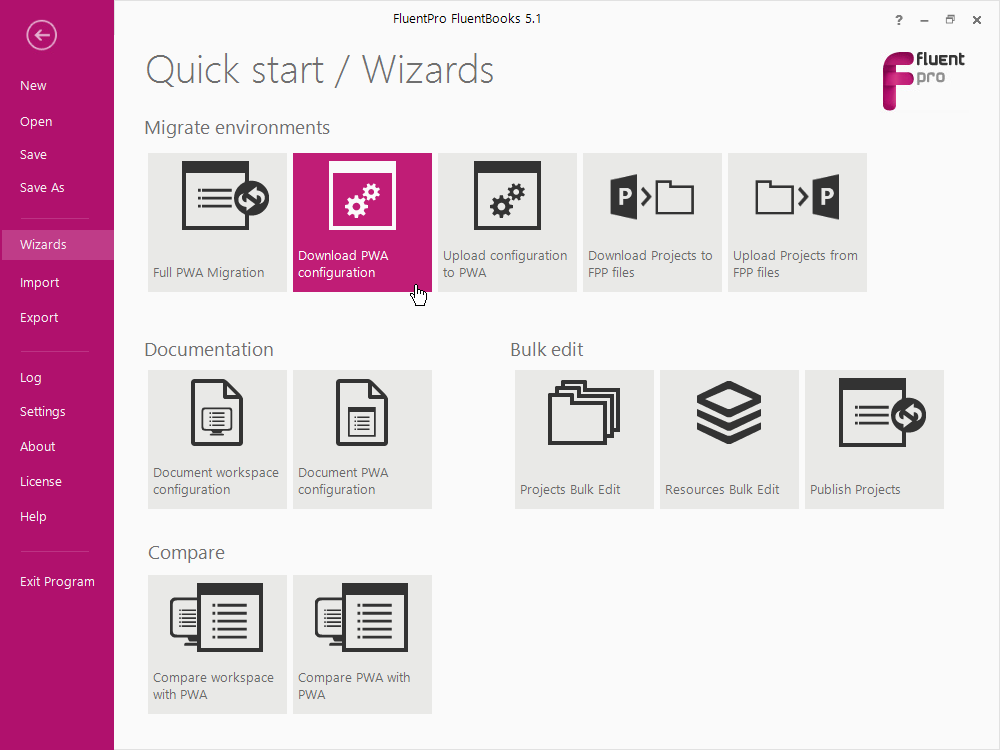
1. Run FluentBooks and launch the “Download PWA Configuration” wizard from the Wizards screen.
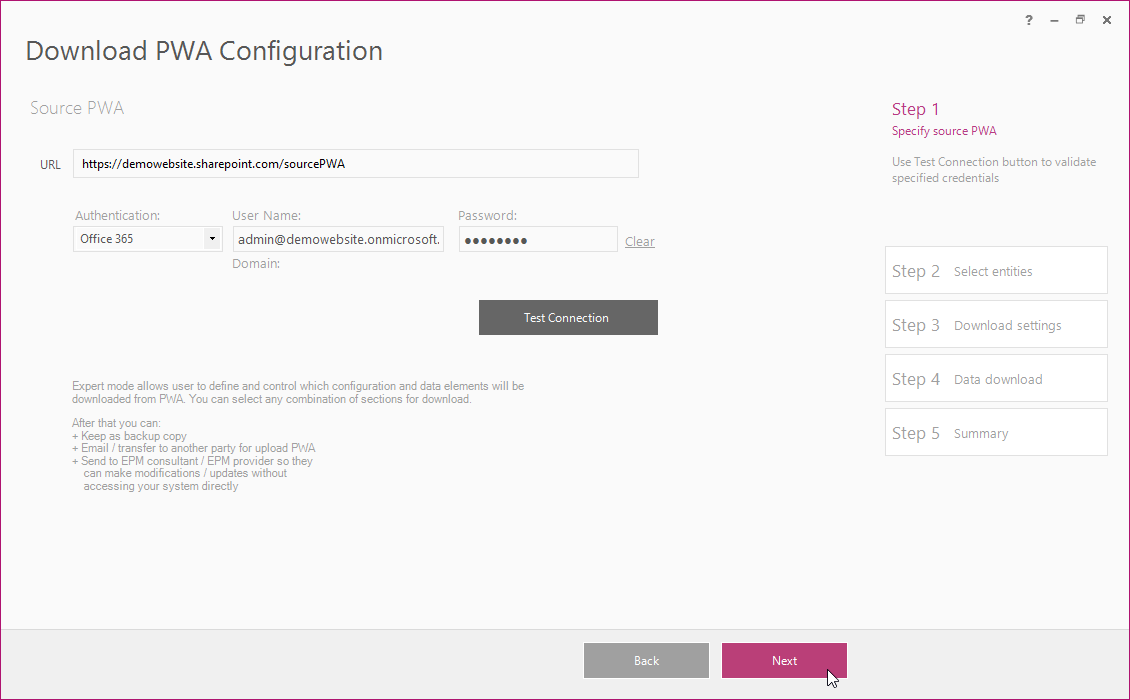
2. Specify the PWA URL, login credentials and click Next to proceed.
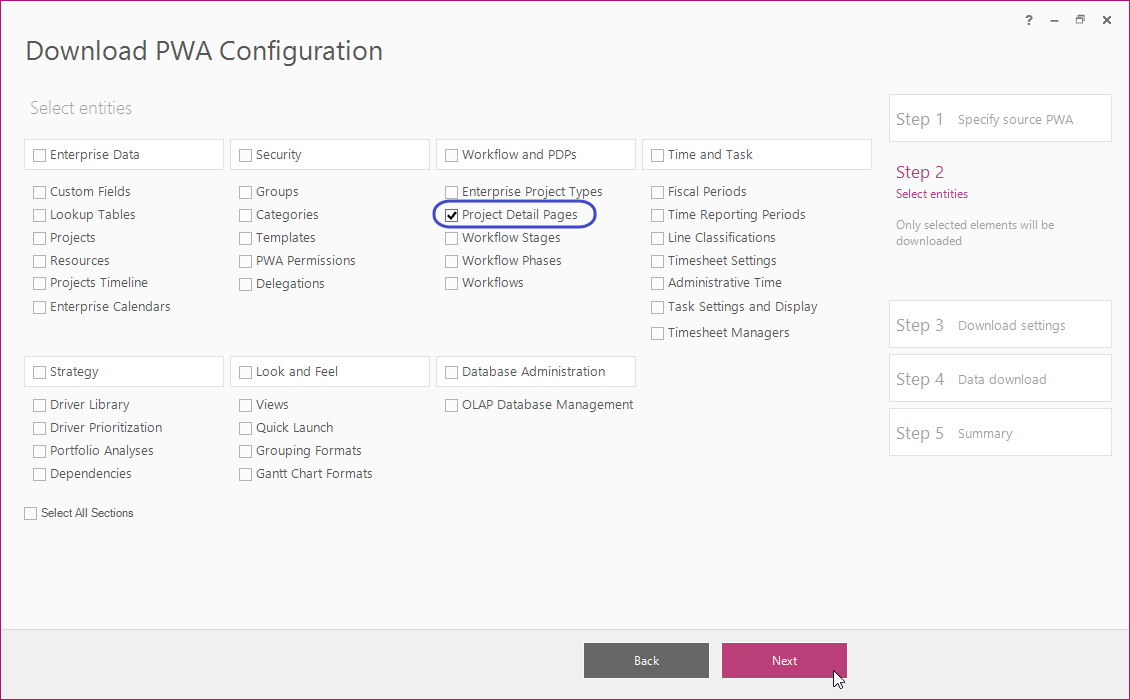
3. Select the elements to be downloaded, in this case it will be “Project Details Pages” and click Next.
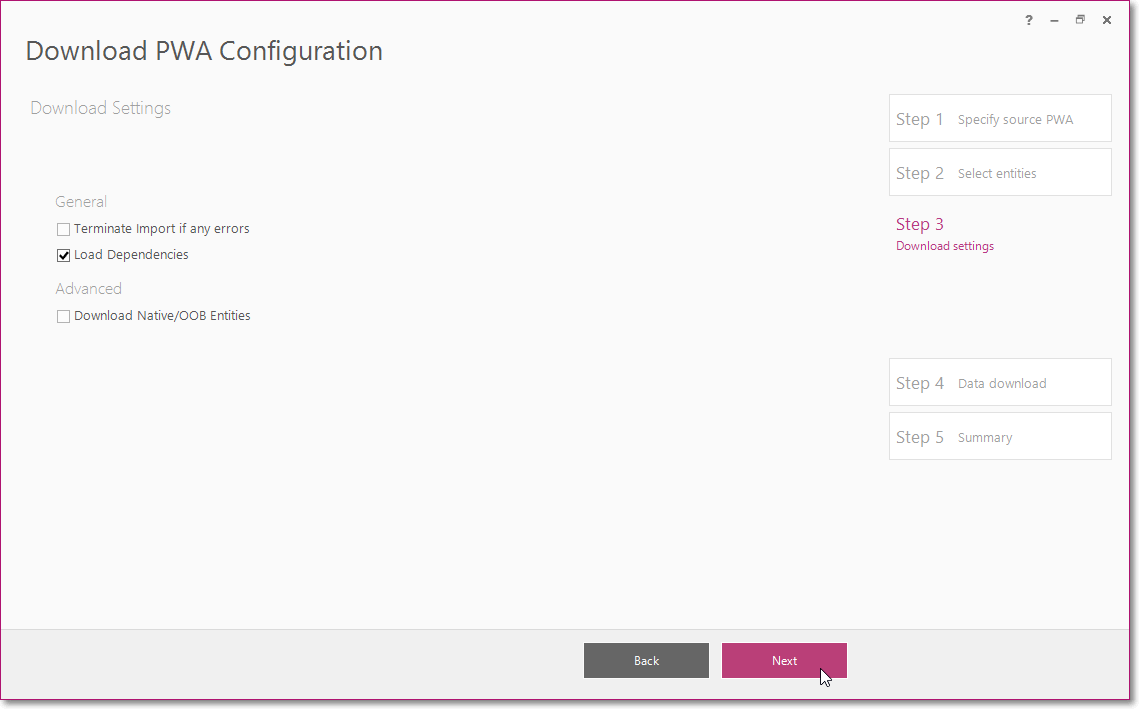
4. Click Next on the Download Settings screen.
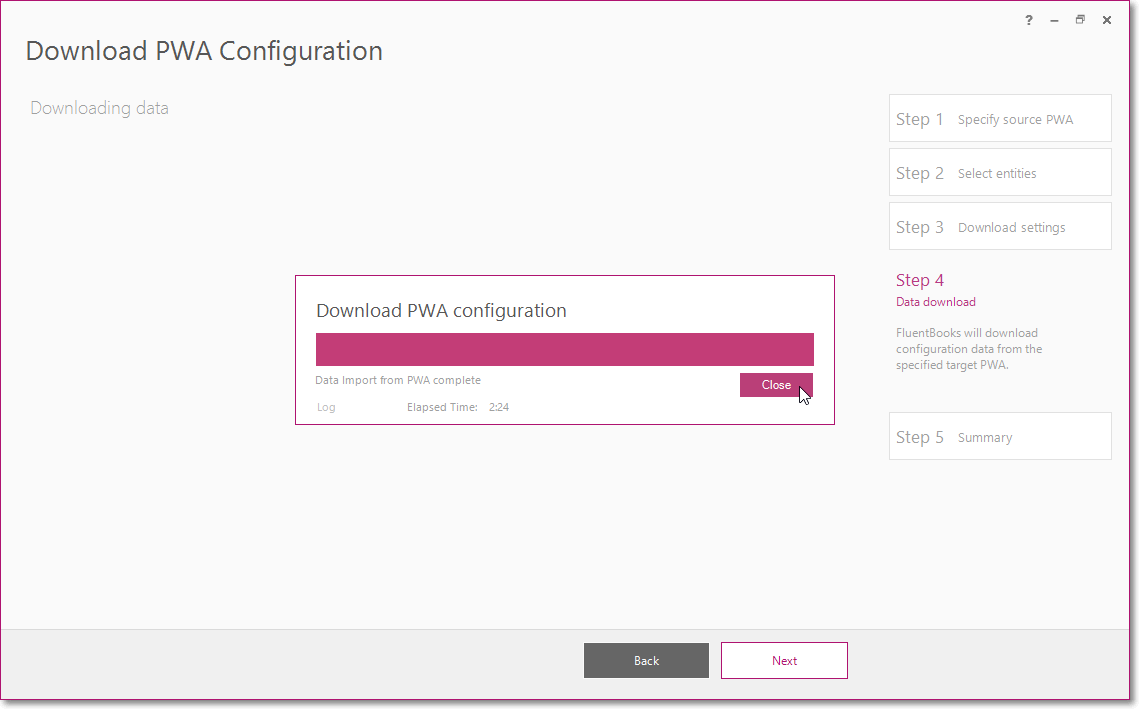
5. Allow FluentBooks some time to download PDPs from PWA.
After the download process is finished, click Close button.
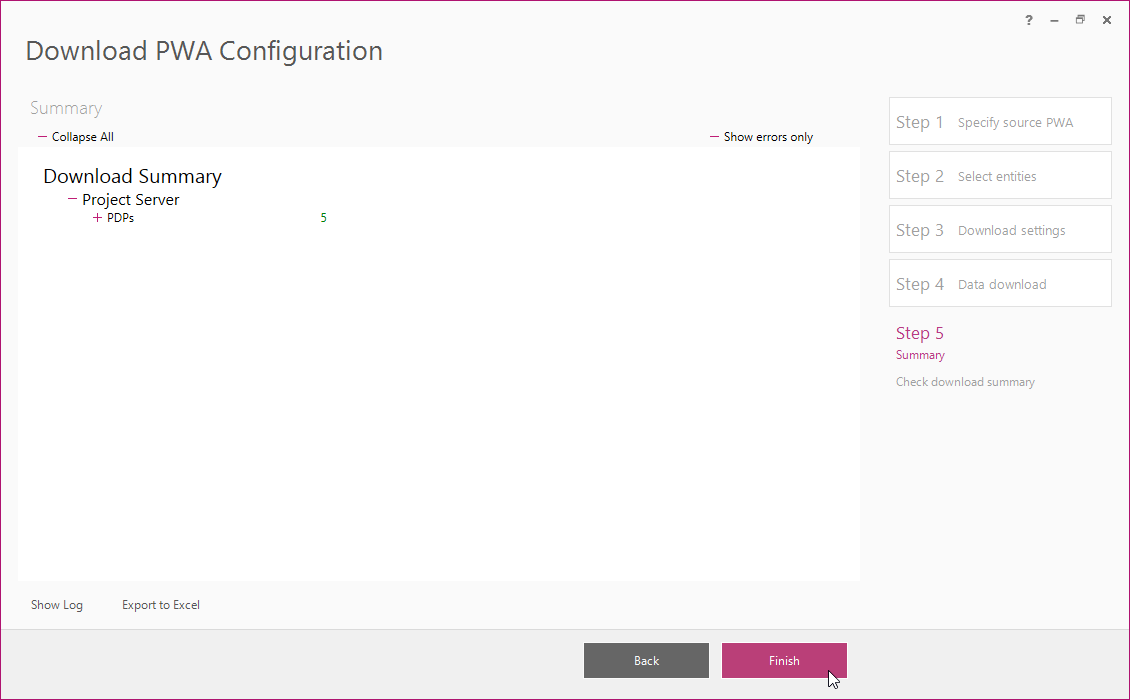
6. On the Summary screen check if PDP that is being copied was downloaded successfully, and click Finish to close the wizard.
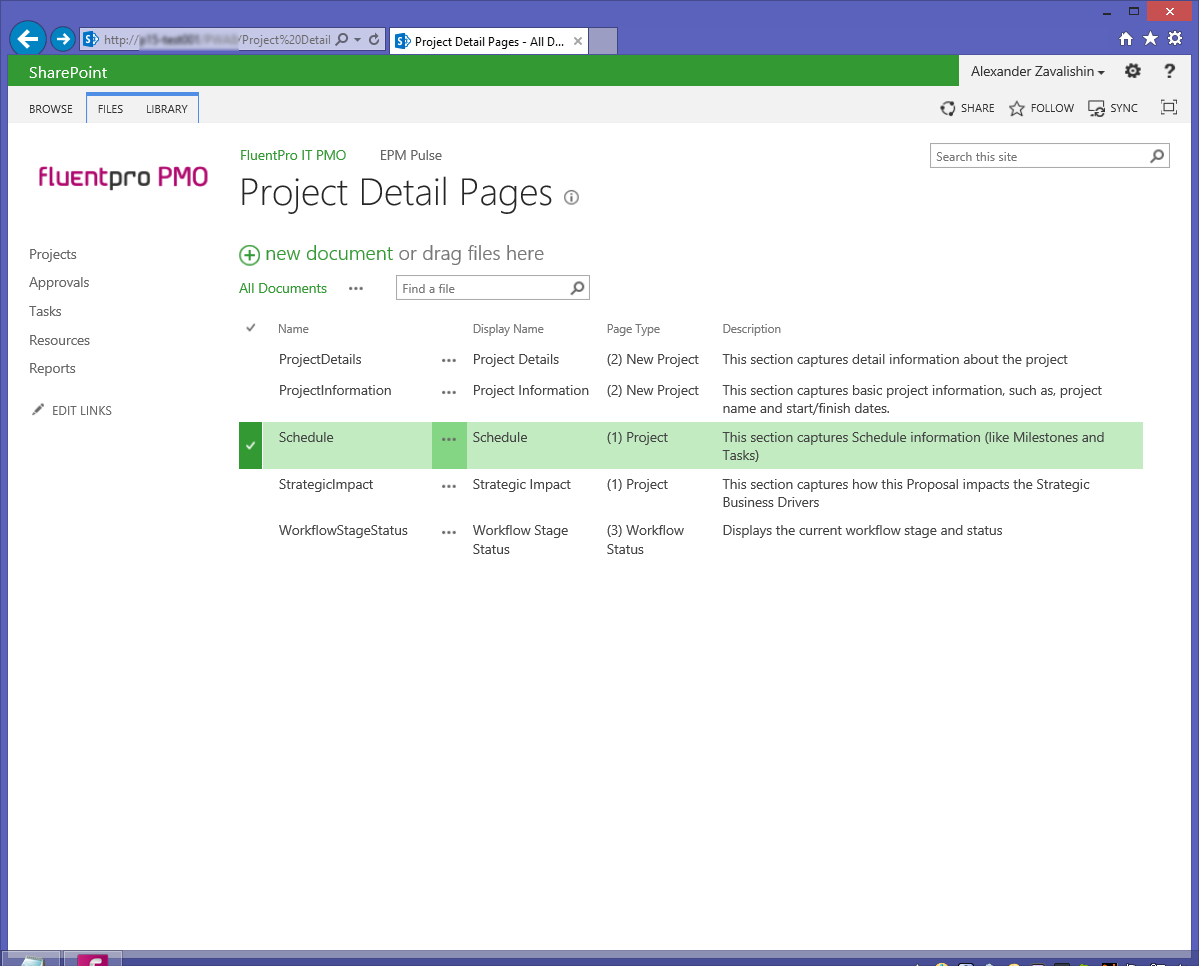
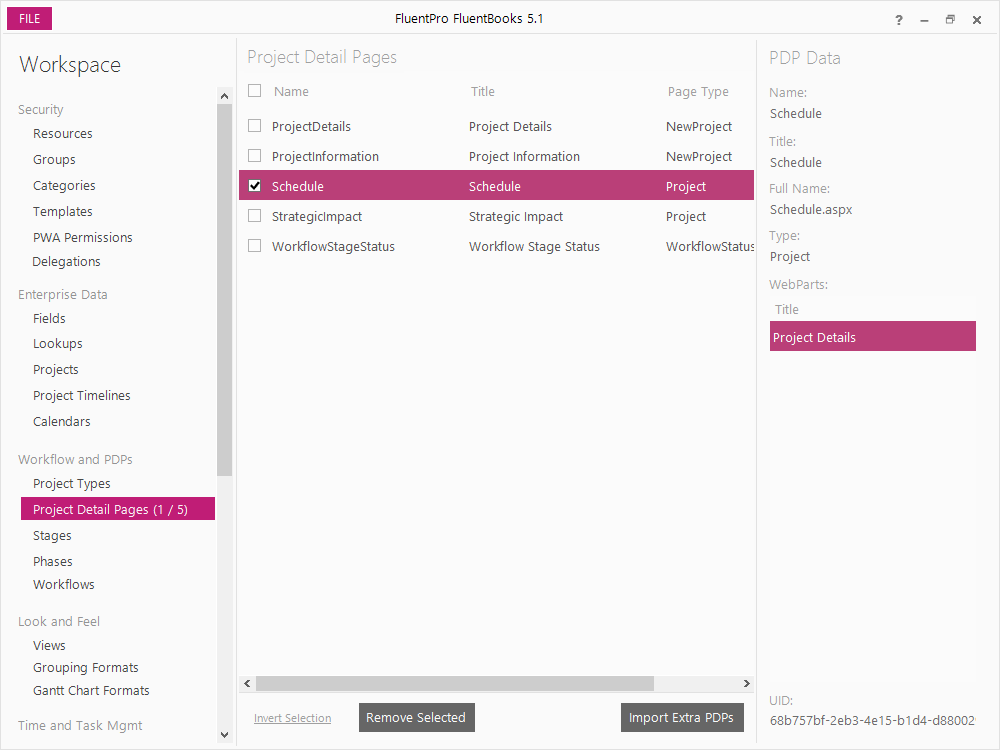
All PDPs are now downloaded into FluentBooks workspace.

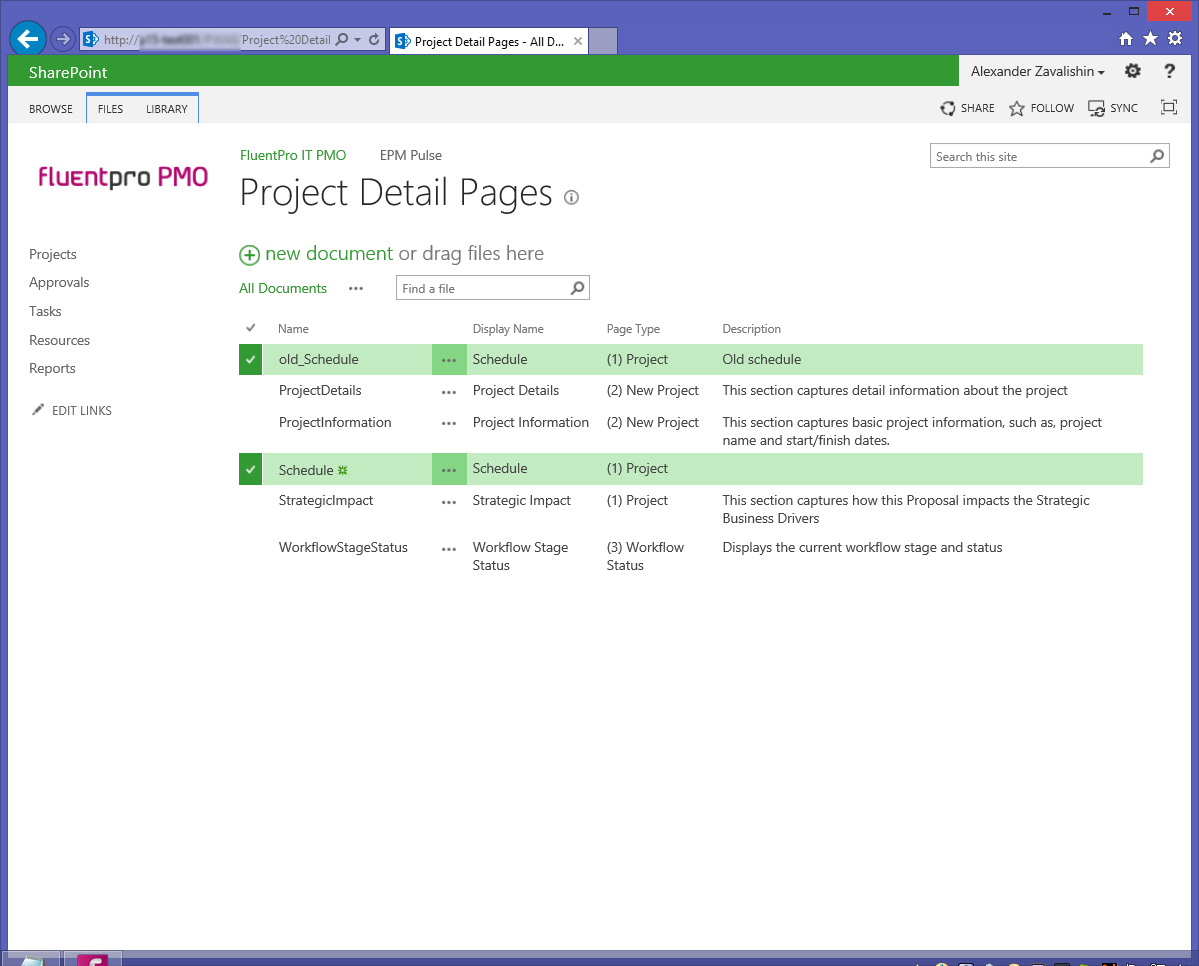
Rename existing PDP in PWA
The next step is to give a new name to the PDP that is being copied, it can be some temporary name that will be updated after uploading a PDP from FluentBooks workspace back into PWA.
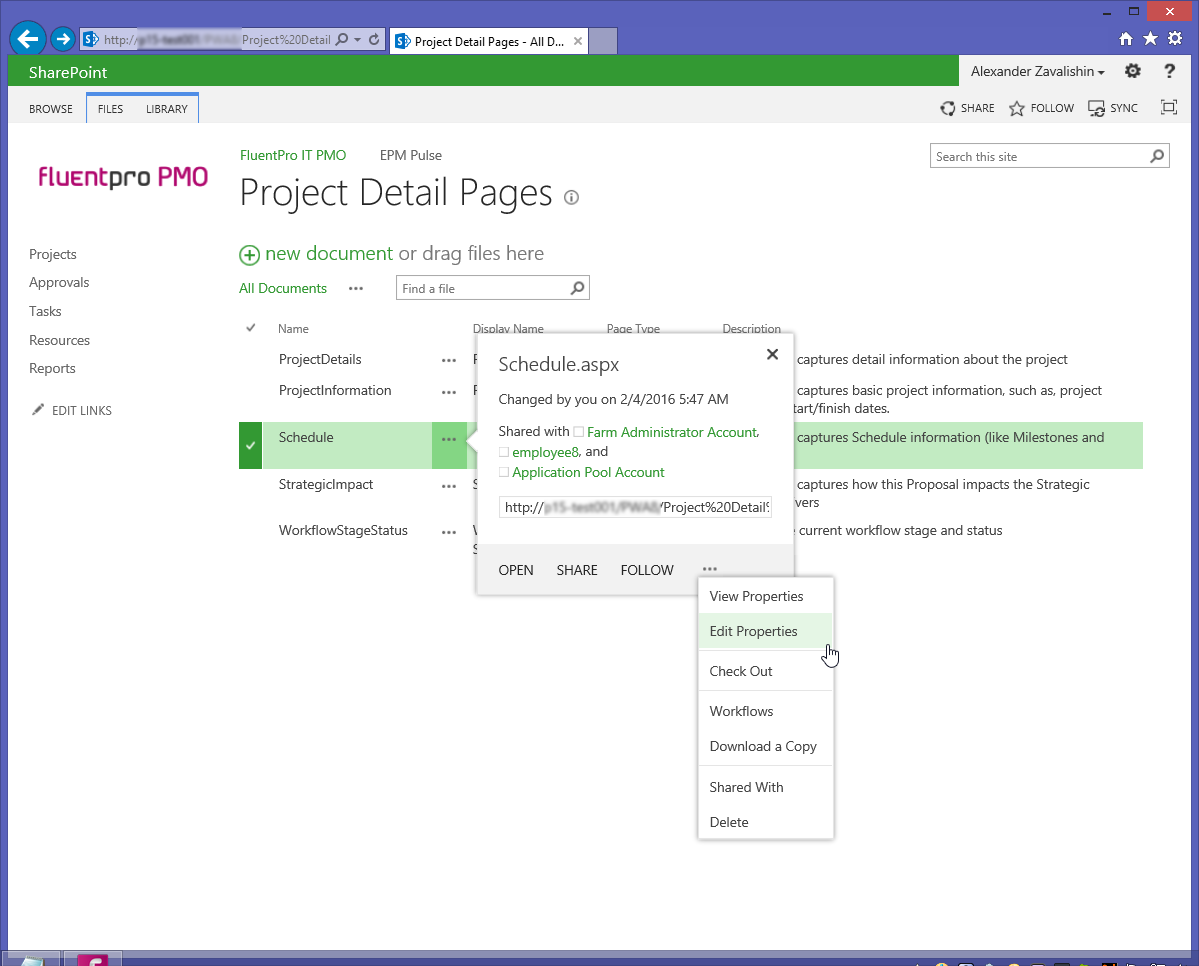
Make sure to update either PDP Name or both PDP Name and Display Name fields – in this case FluentBooks will create a new PDP when uploading the PDP from workspace to PWA.
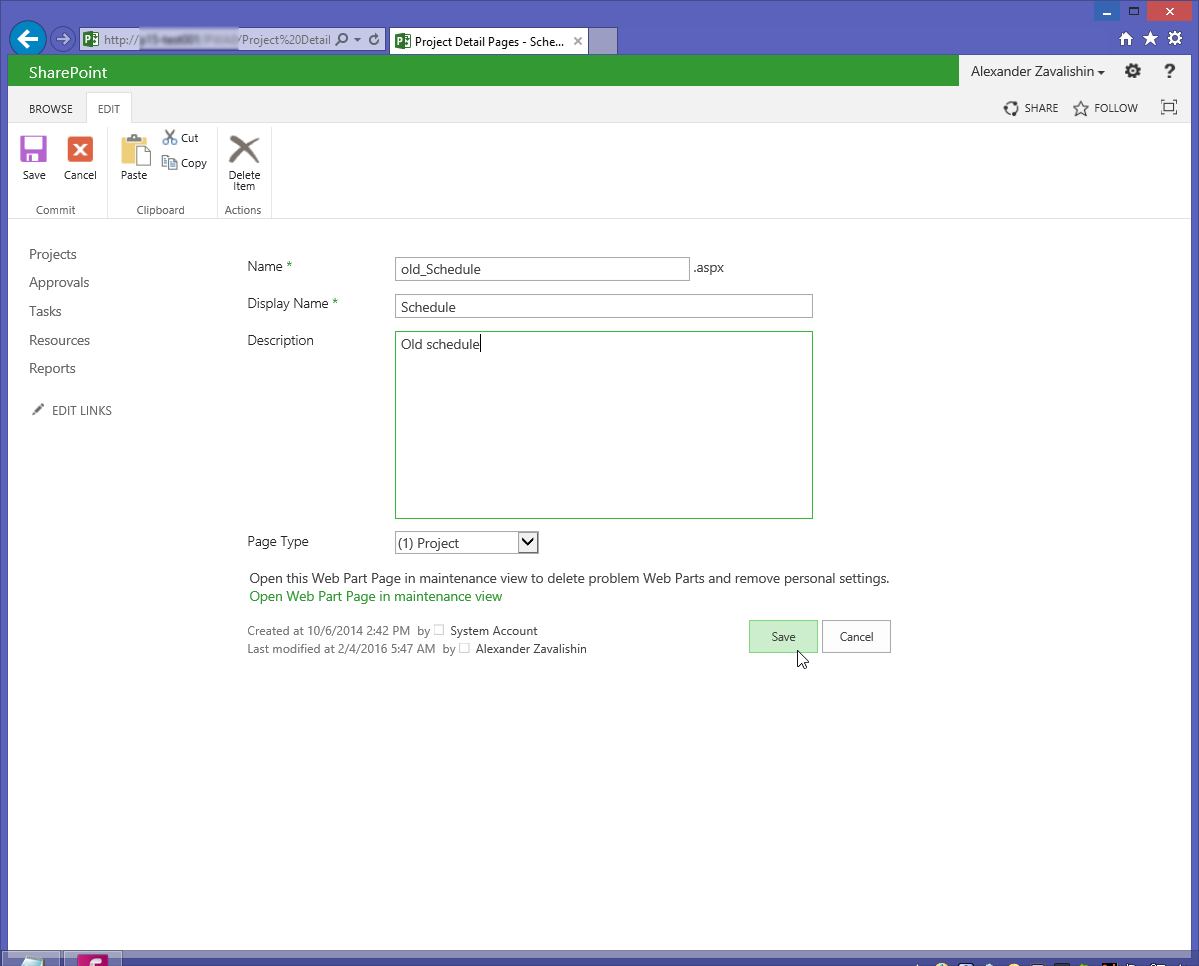
If only PDP Display Name field is changed, then FluentBooks will update the existing PDP instead of creating new, and in the context of this article this is not the desired result.
Upload PDP from FluentBooks workspace to PWA
1. In the workspace select the PDP that will be uploaded to PWA by checking its checkbox. PDPs with unchecked checkboxes will not be uploaded to PWA.
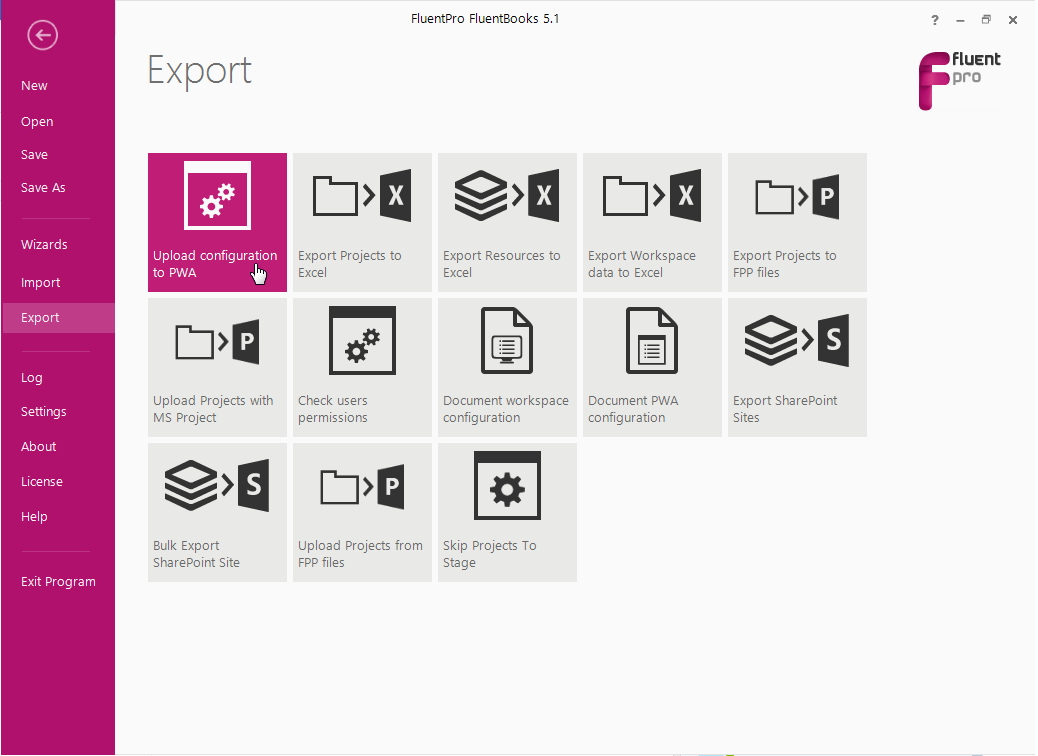
2. Launch the “Upload Configuration to PWA” wizard from the File → Export screen.
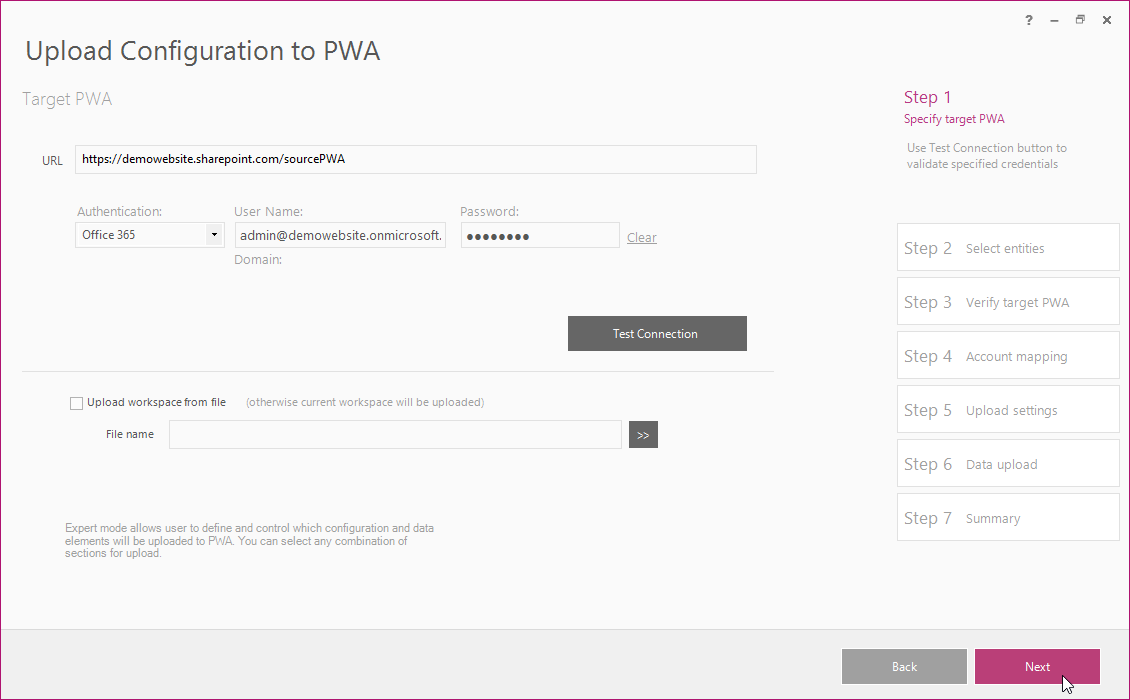
3. Specify the PWA URL, login credentials and click Next to proceed.
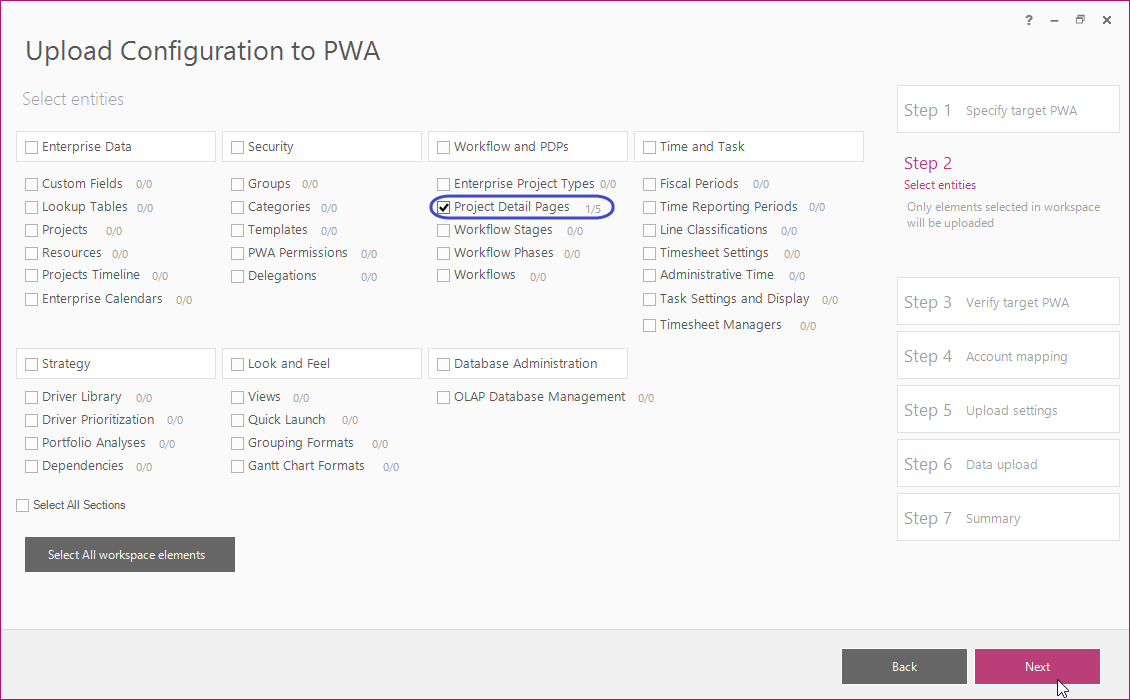
4. Select the elements to be uploaded, in this case it will be “Project Details Pages” and click Next.
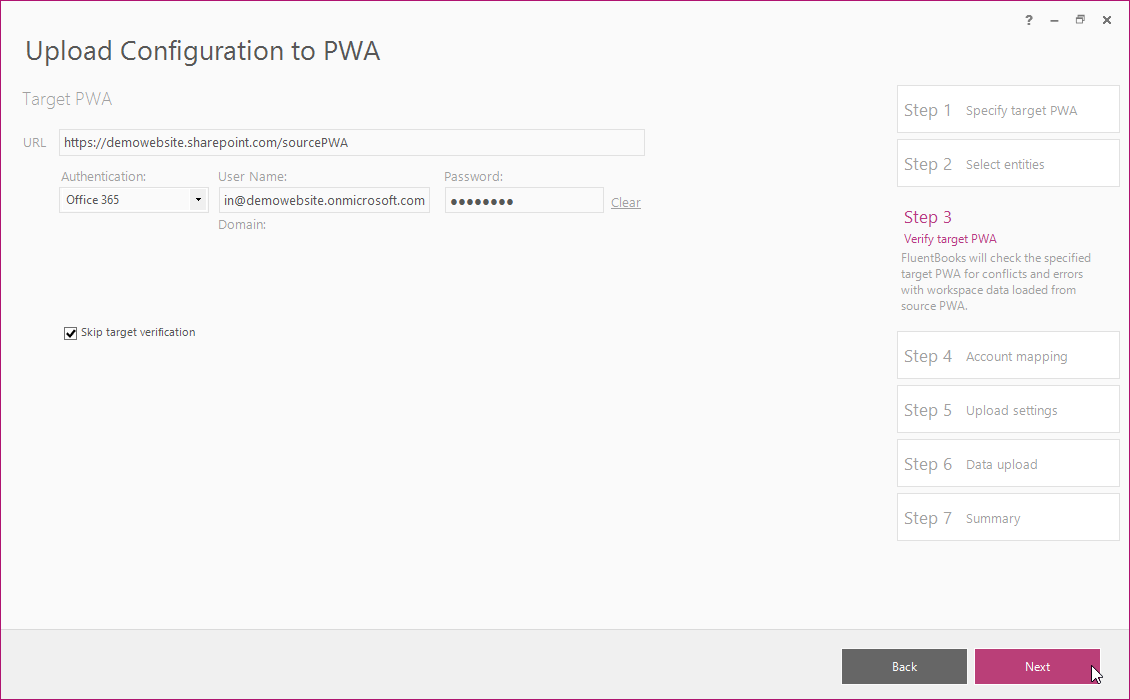
5. Verify target PWA URL and credentials and click Next.
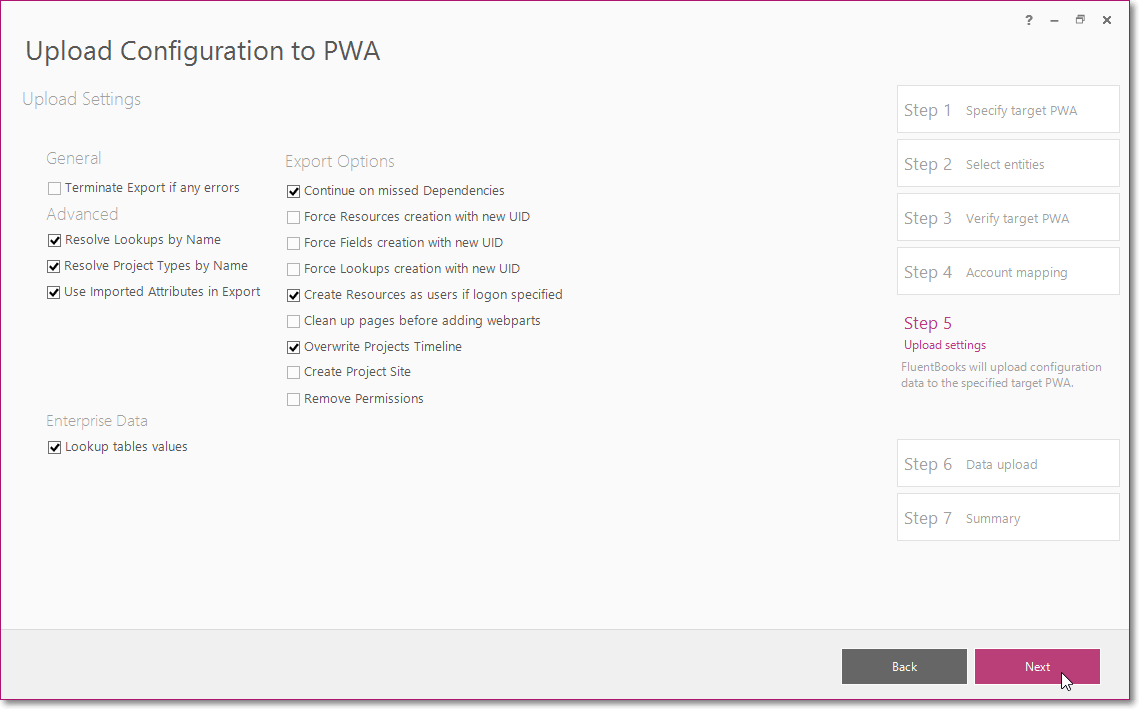
6. Click Next on the Upload Settings screen.
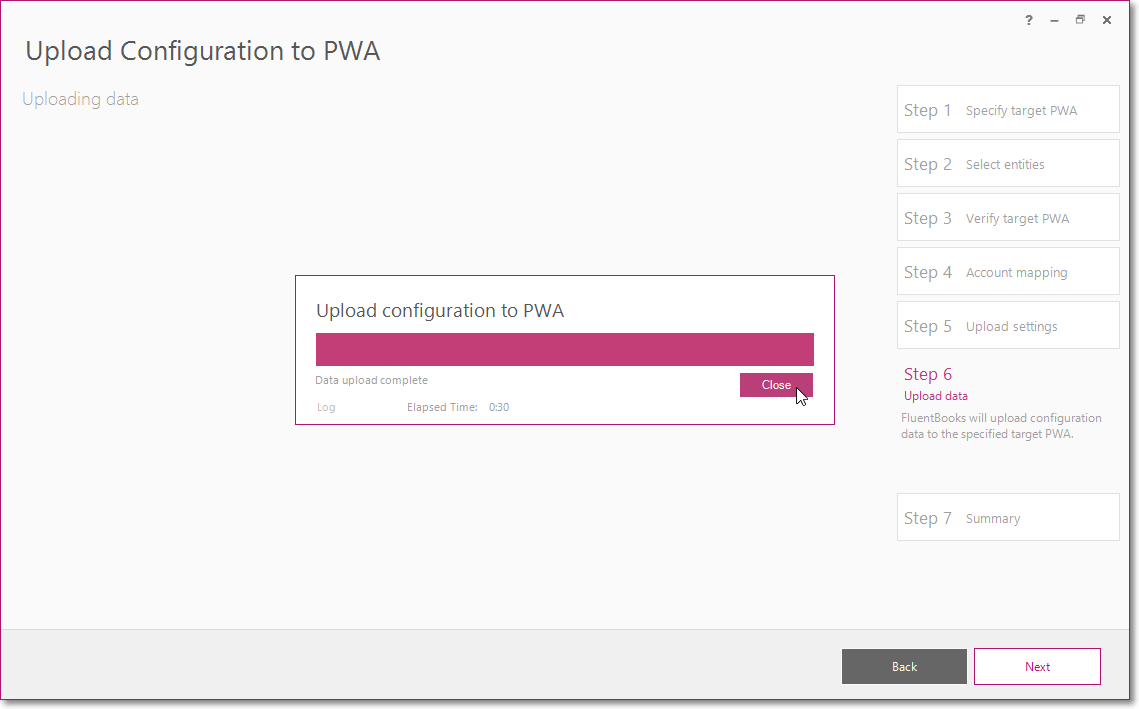
7. Allow the wizard some time to upload configuration to PWA.
Click Close after the upload is completed.
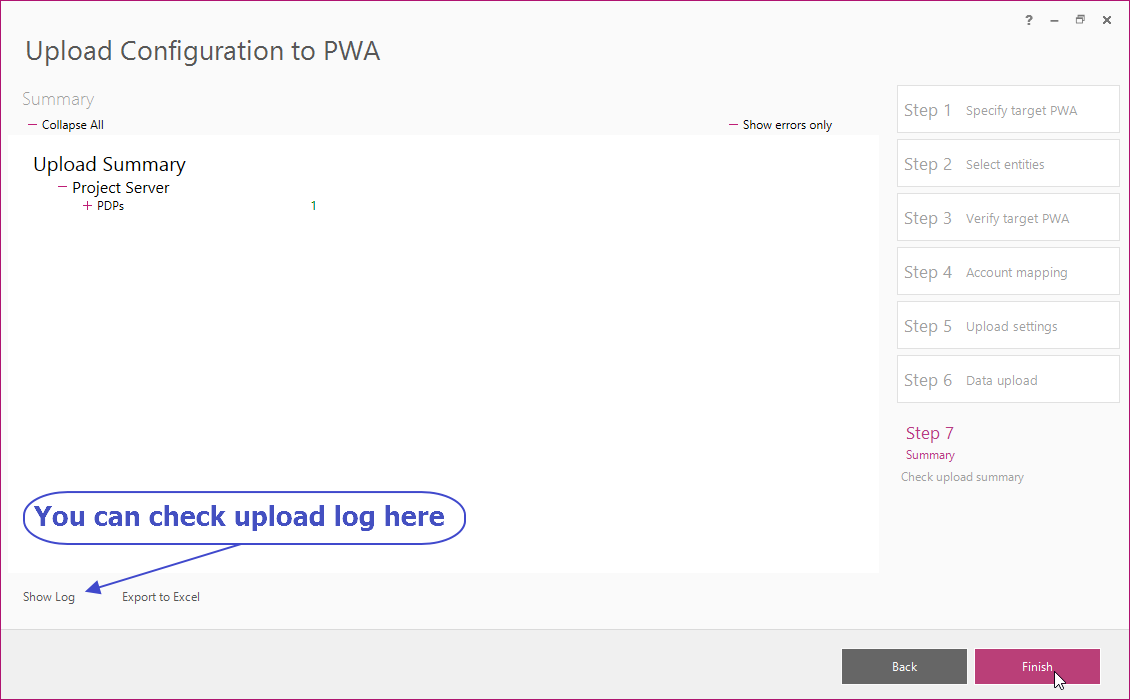
8. On the Summary screen check if PDP that is being copied was uploaded successfully, and click Finish to close the wizard.
Rename PDPs in PWA
Go back to PWA and make sure that there are 2 PDPs – the original PDP with a temporary name and a new PDP with the initial name. You can now update PDP Names and Display names as needed.