This article describes how to use FluentBooks Download(Import) SharePoint Sites and Upload(Export) SharePoint Sites wizards in order to migrate the following Look and Feel attributes from the source PWA to the target PWA:
- Title
- Description
- Logo
- Welcome page
- Site look
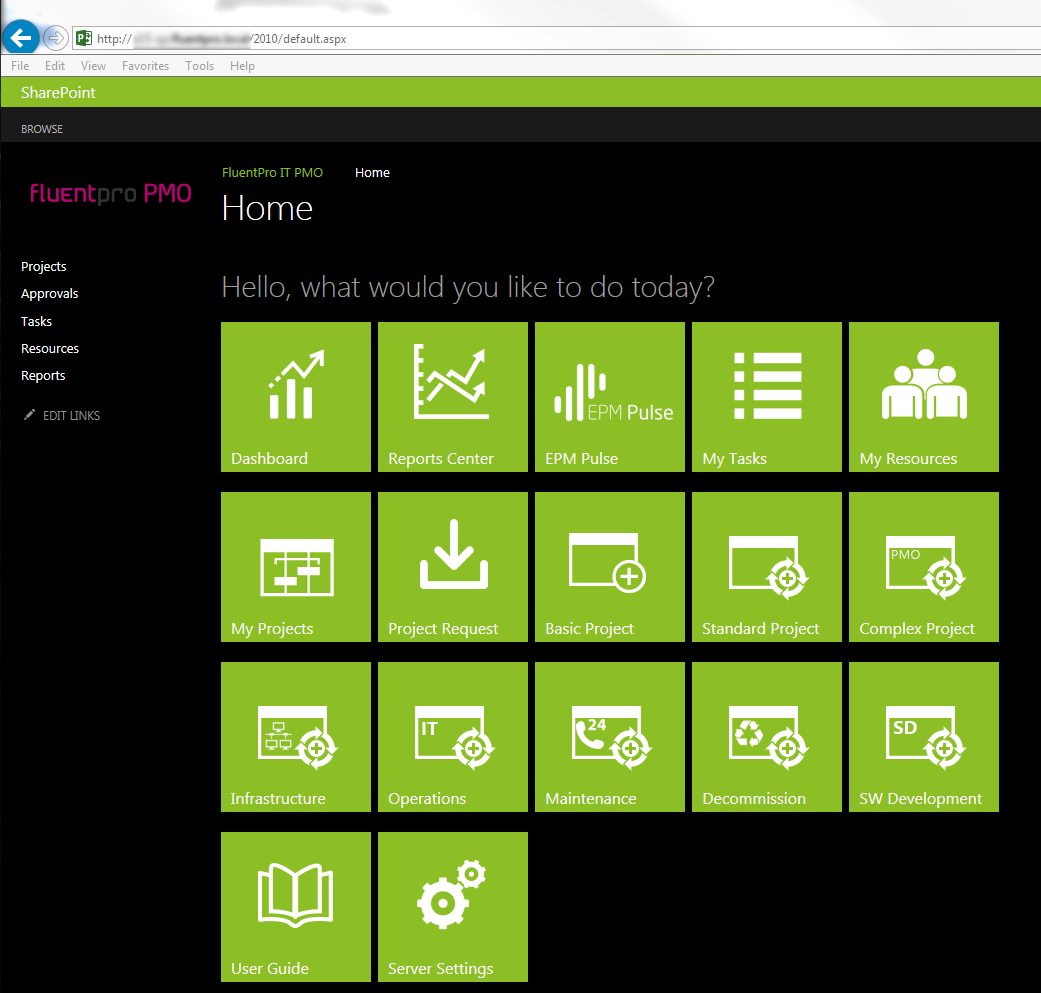
The screenshot below represents the source PWA which will be used as an example in this article:
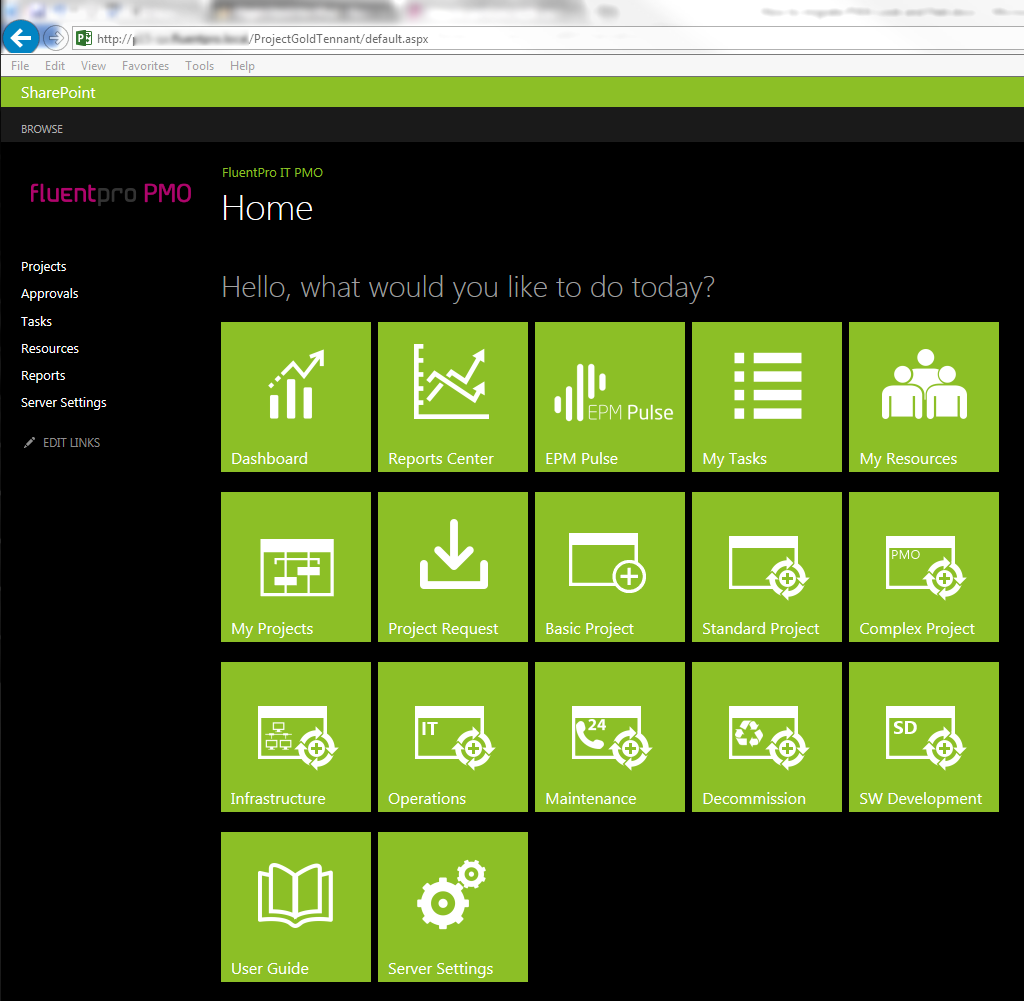
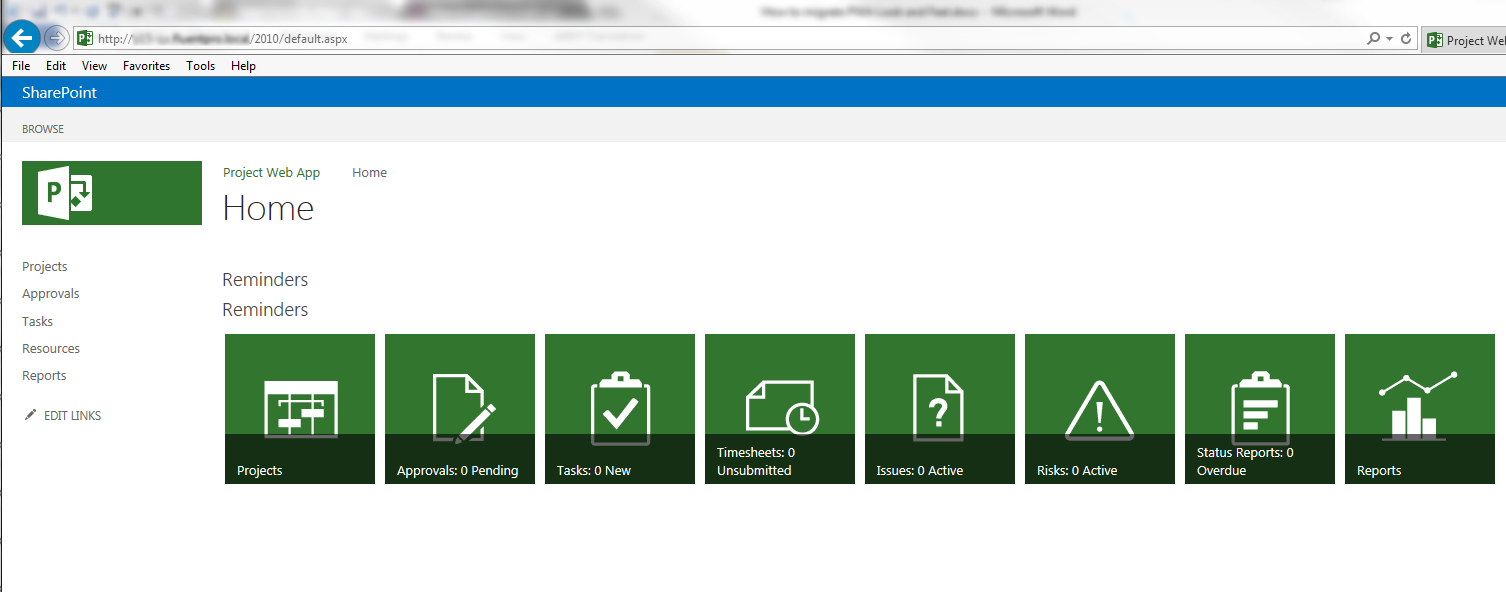
And the following screenshot represents the target PWA which will be used as an example in this article:
Import the Look and Feel from the source PWA
The first step of the Look and Feel migration is to import the SharePoint site with Look and Feel attributes from the source PWA.
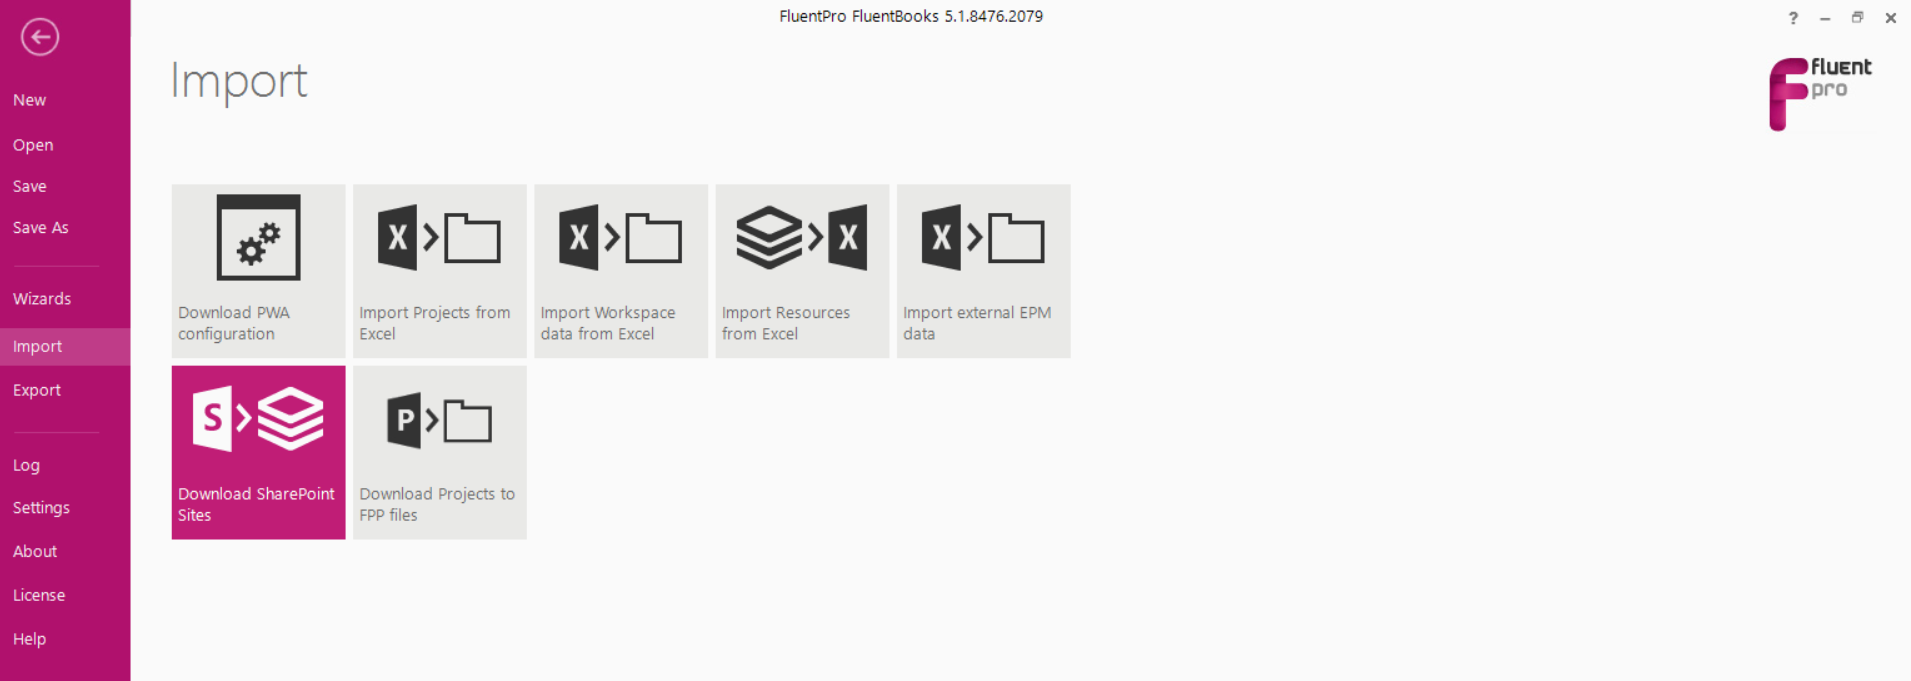
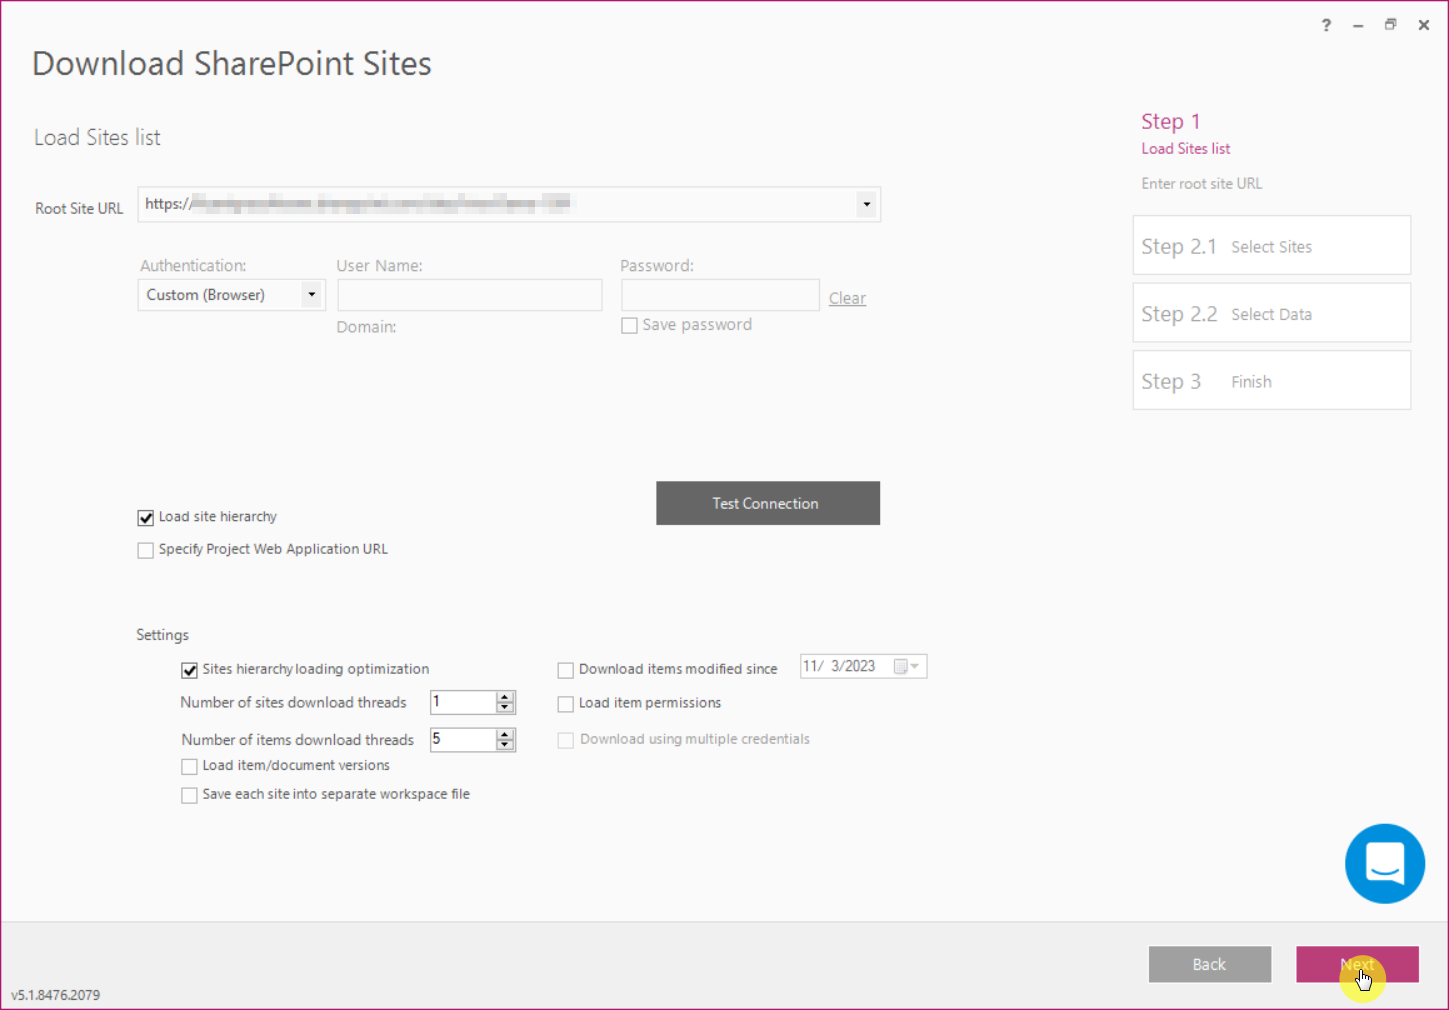
1) Run FluentBooks, select the Import option from the File menu, and then the ‘Download(Import) SharePoint Sites’ wizard.
2) Specify the Root Site URL of the source PWA, login credentials and click Next to load the sites list.
Please note: User account that is used by FluentBooks when migrating SharePoint content should have Site Collection Administrator rights. If the user account does not have Site Collection Administrator rights, then FluentBooks will not be able to create a new Site. The existing Site might be updated successfully, but it is strongly recommended to use a user account with Site Collection Administrator rights to avoid unexpected issues.
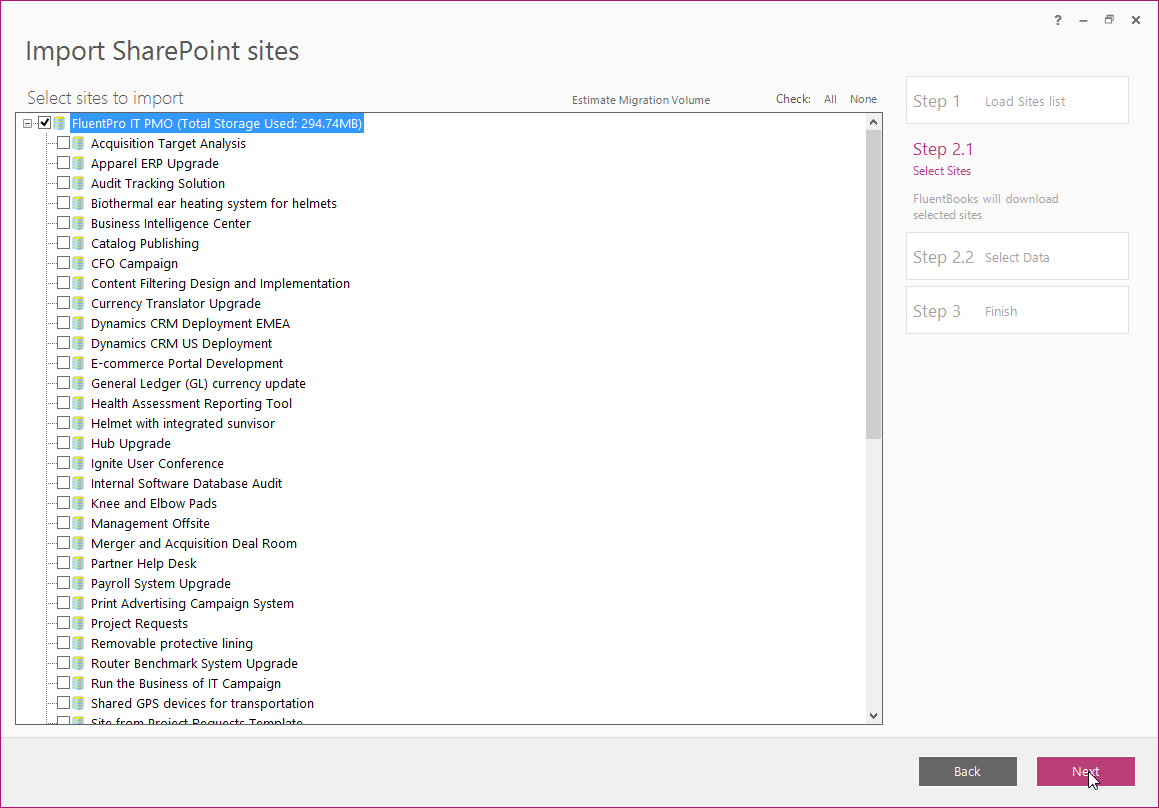
3) After the site hierarchy is loaded select the Root Site to be downloaded by checking its check-box. Click Next to proceed.
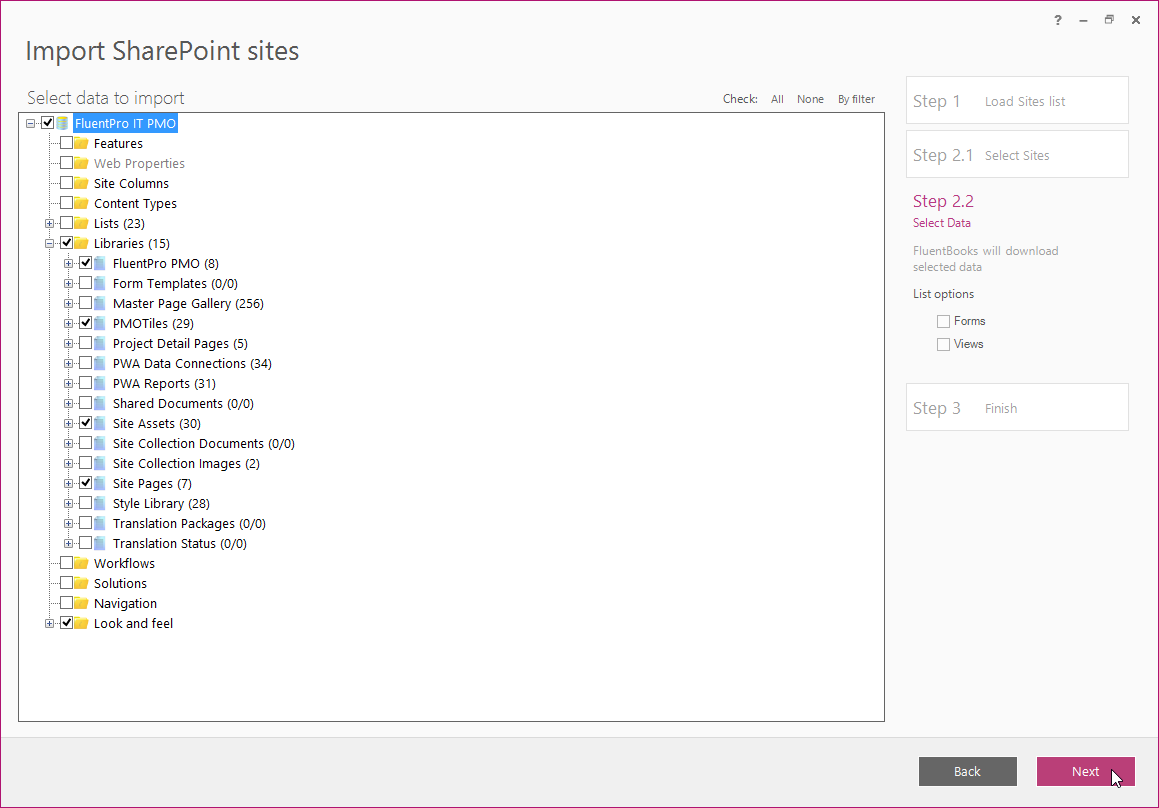
4) Select the SharePoint Site data to be imported from the source PWA. Click Next to start the loading process.
Please note: In addition to the ‘Look and Feel’ option make sure to select all the Libraries from which the Look and Feel elements depend, e.g. the Library that holds the site logo (Site Assets for this example source PWA), all the Libraries from which the Welcome page web part elements depend (FluentPro PMO, PMOTiles and Site Pages for this example source PWA).
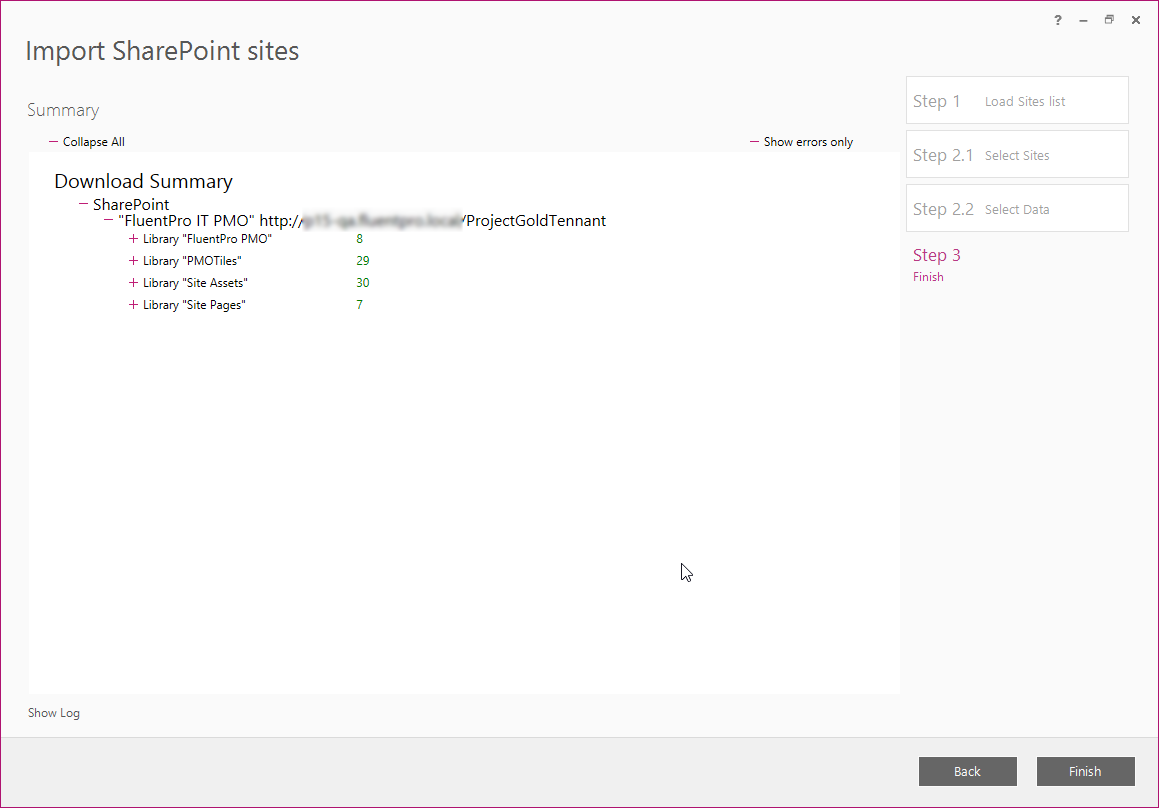
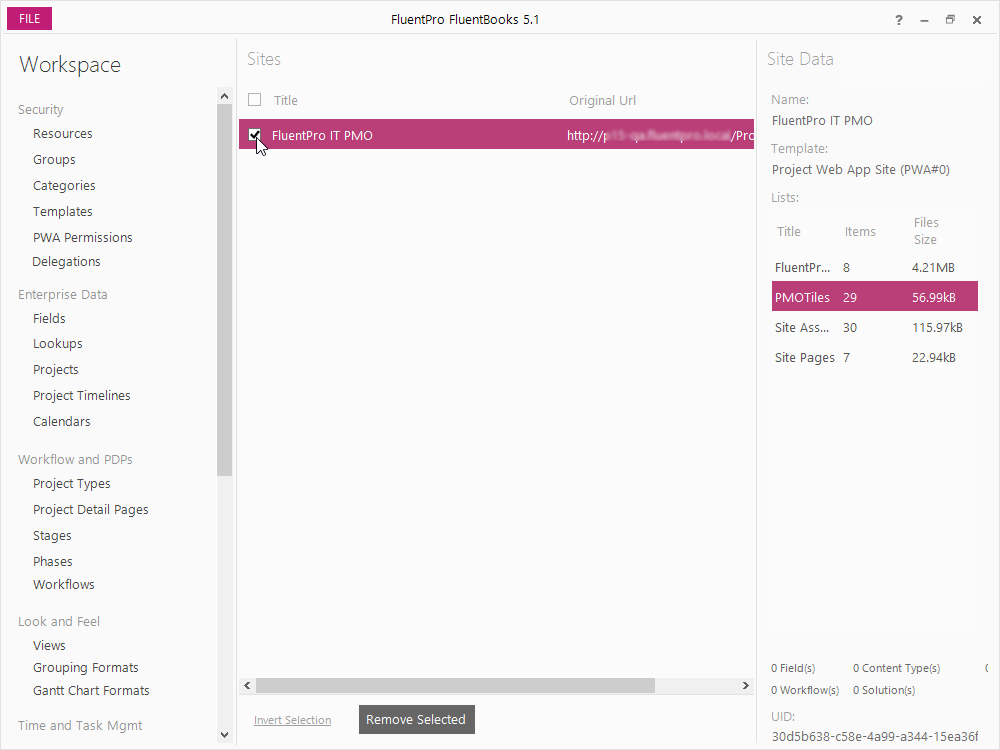
5) The Imported sites displayed after the load process is finished will show the SharePoint Site that was loaded from the source PWA.
Click Finish to complete this step.
Export the Look and Feel to the target PWA
SharePoint Site imported from the source PWA is shown on the Workspace and is now ready to be exported to the Sites on the target PWA.
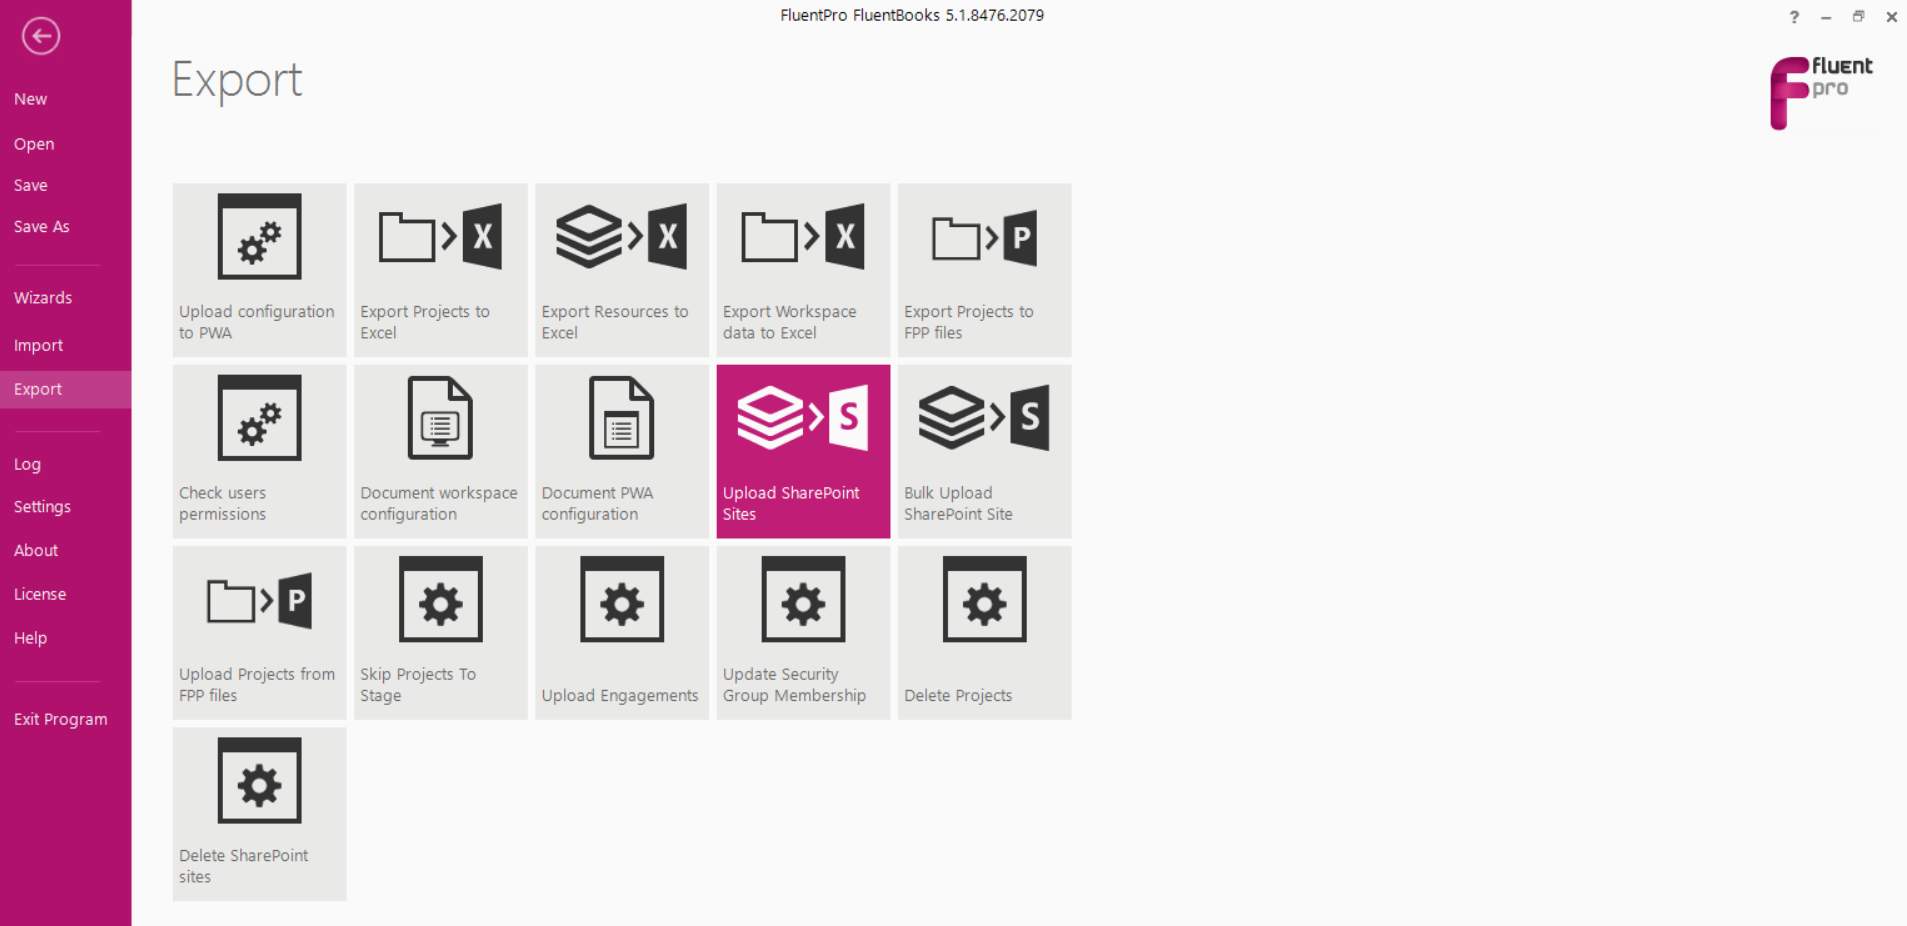
1) Click the Export option from the File menu to start the export process.
2) Select the ‘Upload(Export) SharePoint Sites’ option from the Export menu.
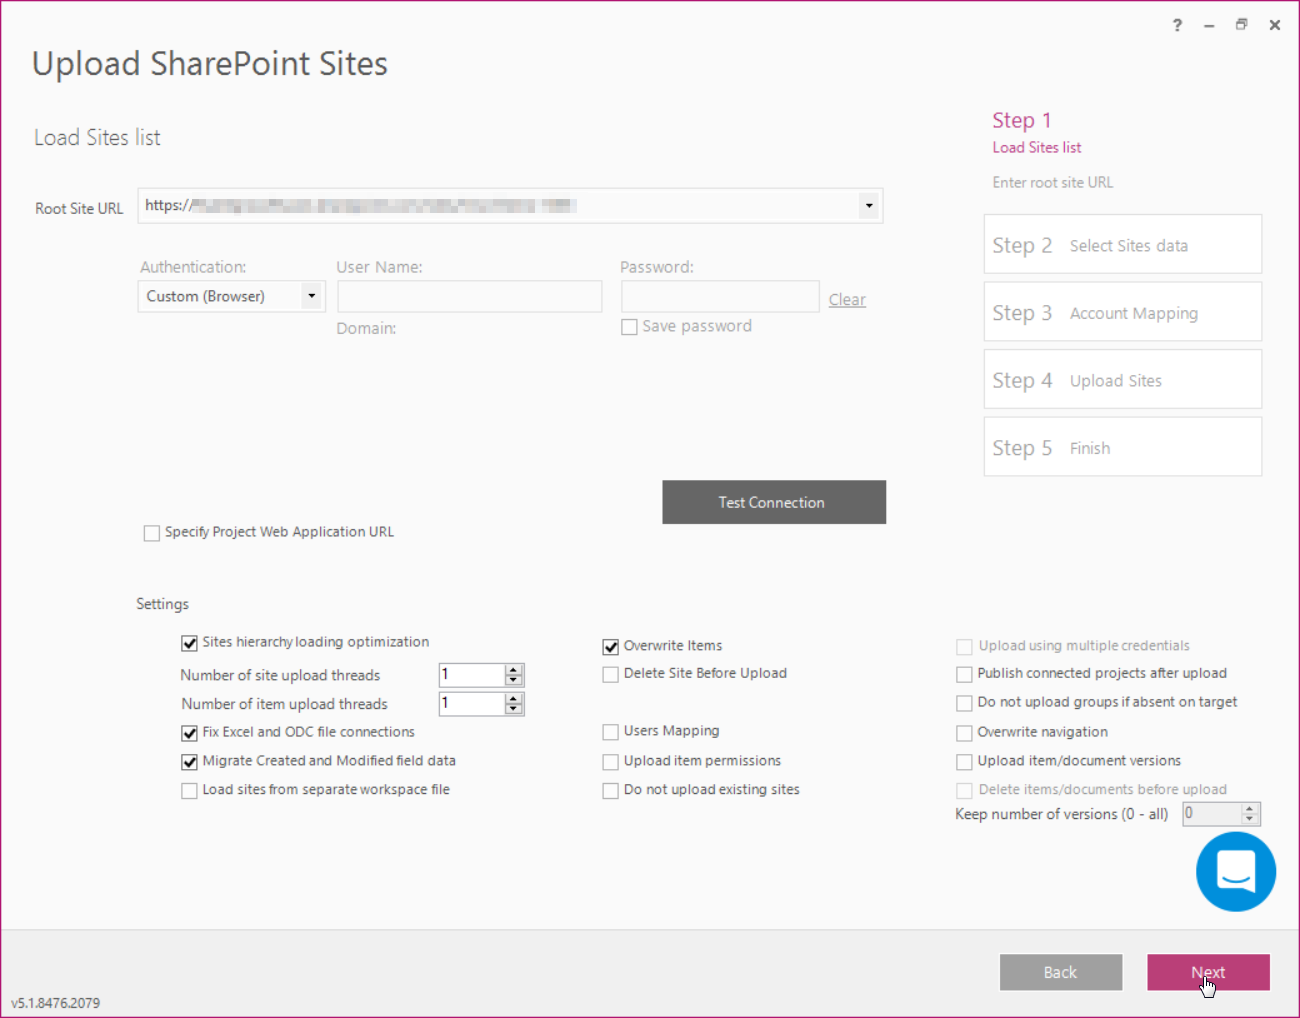
3) Specify the Root Site URL of the target PWA, login credentials and click Next to load the sites list.
Please note: User account that is used by FluentBooks when migrating SharePoint content should have Site Collection Administrator rights. If the user account does not have Site Collection Administrator rights, then FluentBooks will not be able to create a new Site. The existing Site might be updated successfully, but it is strongly recommended to use a user account with Site Collection Administrator rights to avoid unexpected issues.
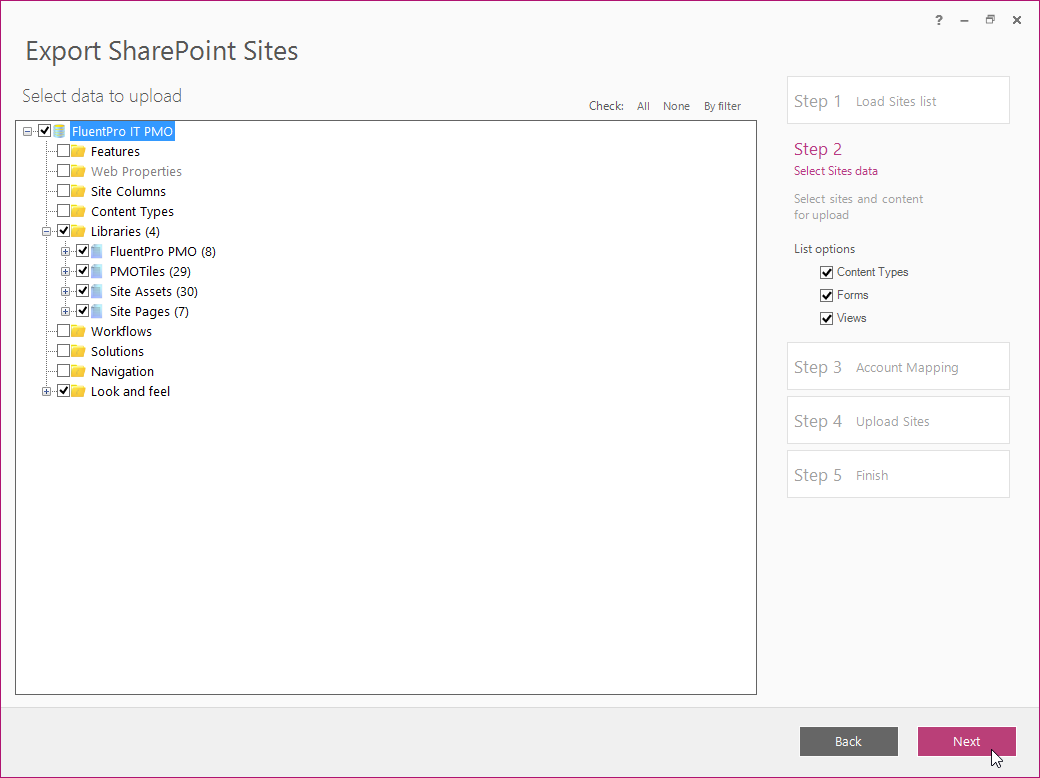
4) Select the SharePoint Site data to be exported to the target PWA. Make sure to select the elements that were selected during the import from the source PWA.
Click Next to proceed.
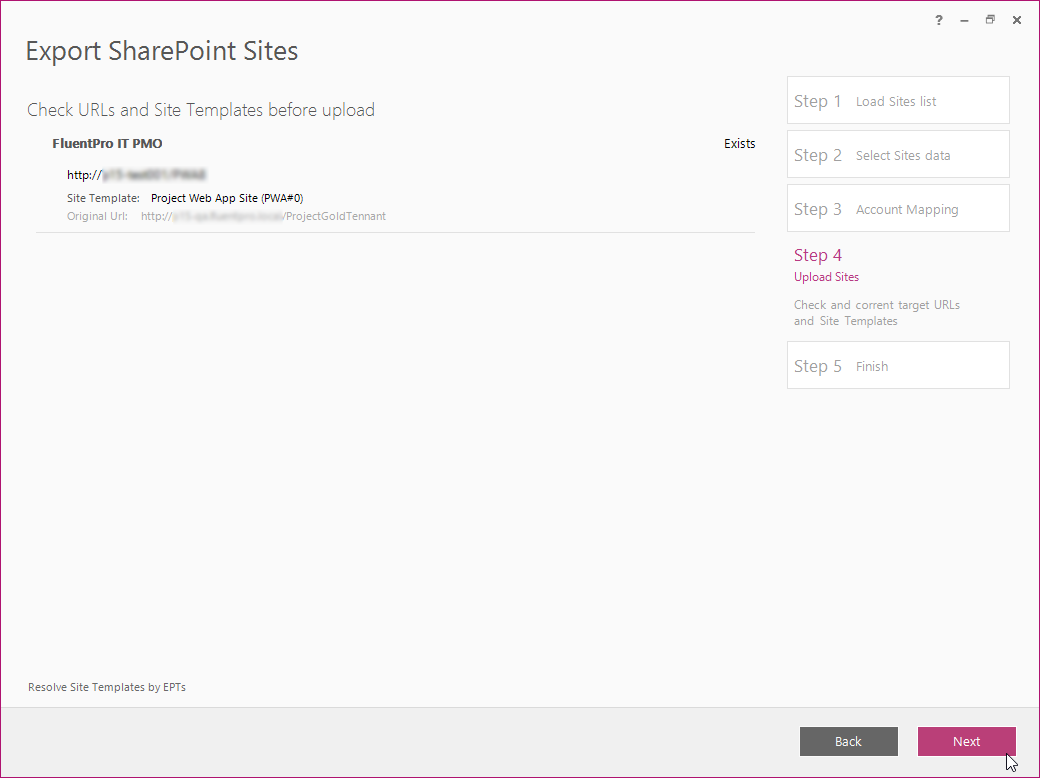
5) Check that the correct URL and Site Template is shown and click Next to start the upload process.
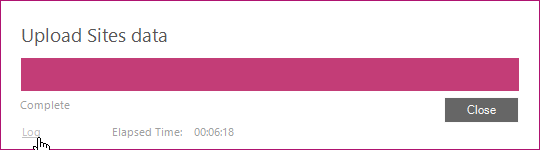
6) Review the log file for the errors after the Sites data upload is completed by clicking the Log link. Then click Close to close this window.
7) The Exported sites displayed after the upload process is finished will show the SharePoint Site that was updated on the target PWA.
Click Finish to complete this step.

8) Navigate to the target PWA and make sure that all the necessary Look and Feel attributes are present.