
There are cases when it is necessary to edit a significant number of Lookup Tables and Custom Fields in a PWA.
One way is to edit all the Lookup Tables and Custom Fields manually, but this operation can be quite time-consuming and requires a good deal of attention and carefulness.
Another way is to use FluentBooks, which can assist a user with the bulk edit of Lookup Tables and Custom Fields, and thus save the time and decrease the efforts spent on the operation.
This article describes how to use the following FluentBooks wizards in order to perform the bulk edit of Lookup Tables and Custom Fields:
- Download PWA configuration
- Export Workspace data to Excel
- Import Workspace data from Excel
- Upload configuration to PWA
Download Lookup Tables and Custom Fields from the PWA
First step is to download Lookup Tables and Custom Fields from the PWA into FluentBooks Workspace. This can be done using ‘Download PWA configuration’ wizard.
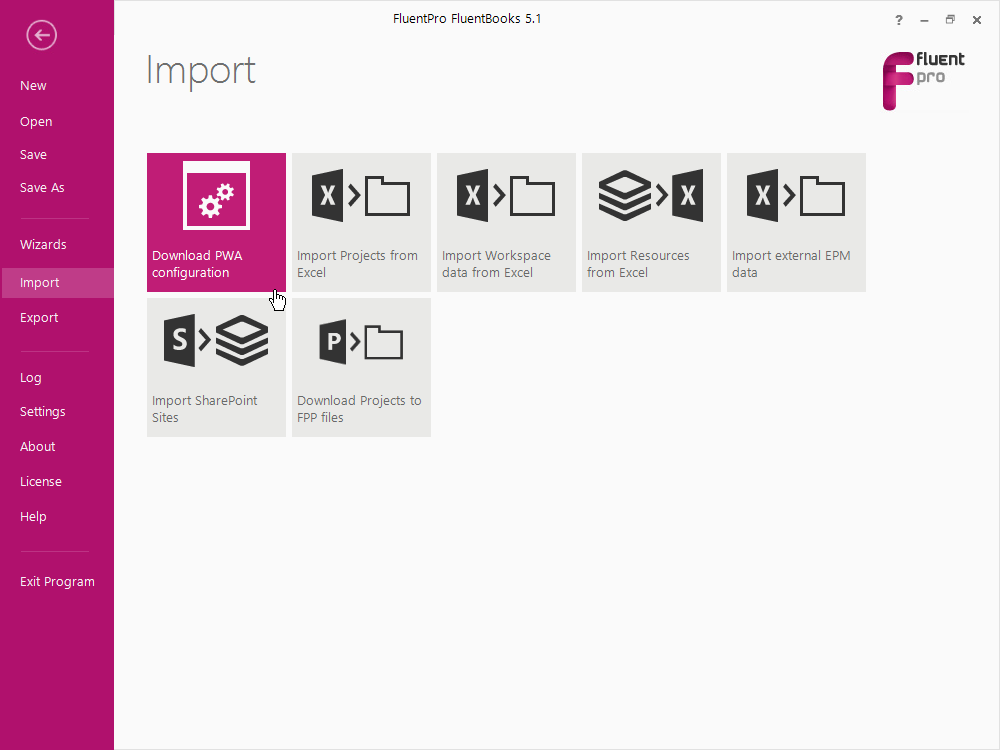
1. Run FluentBooks, select Import option from the File menu and then ‘Download PWA Configuration’ wizard.
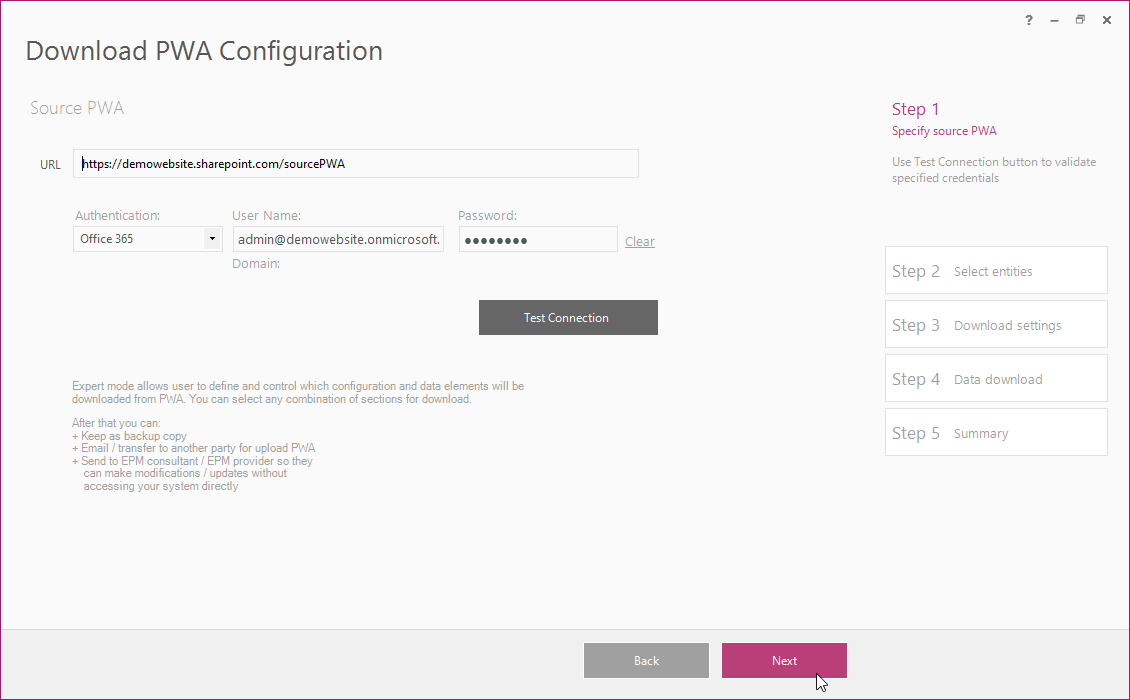
2. Specify the PWA URL, login credentials and click Next to proceed.
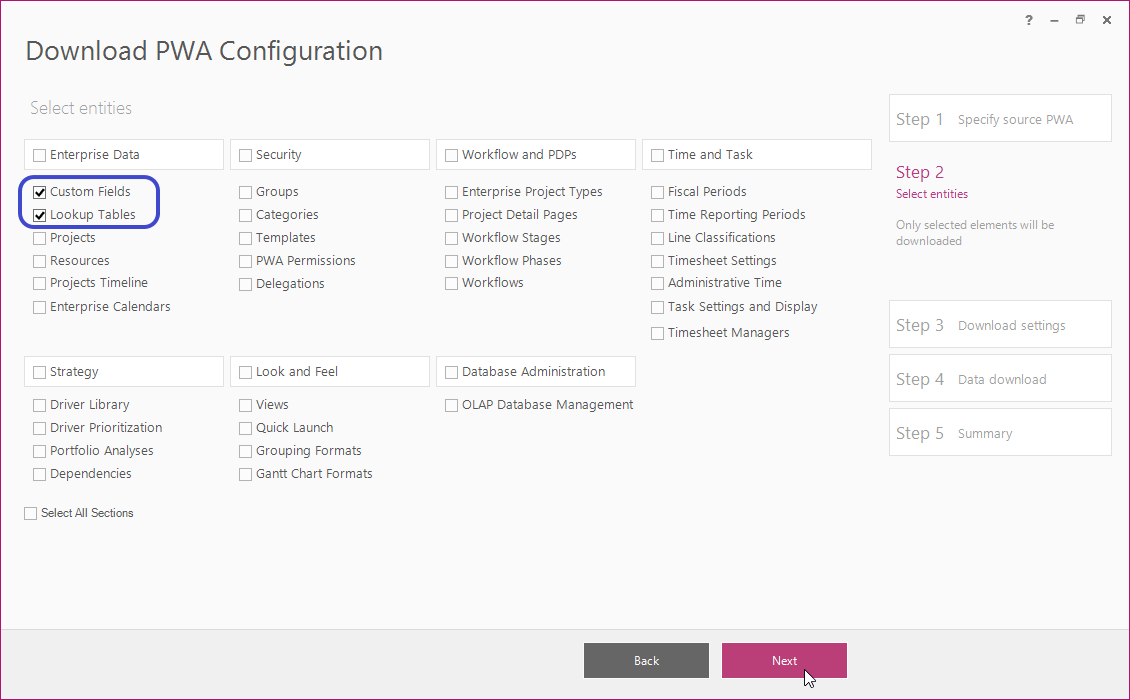
3. Select entities to be downloaded – Custom Fields and Lookup Tables. Please note that only selected entities will be downloaded.
After all the necessary entities are selected click Next to proceed.
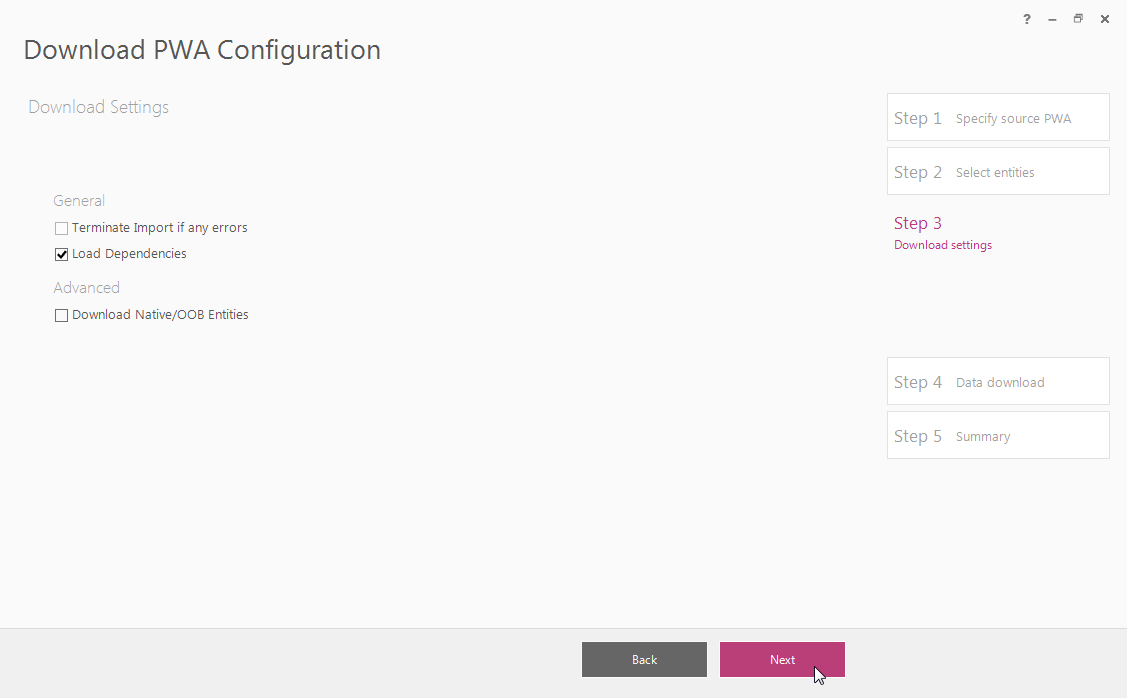
4. Turn the necessary download settings ON by checking their check-boxes.
Click Next to proceed.
Please note: More info about download settings can be found in the Workspace Settings article.
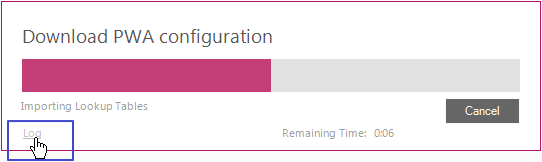
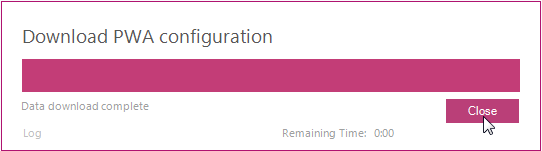
5. Allow the wizard some time to download the PWA configuration, Log option allows viewing the log records in real-time during the download process.
Click Close after the download is completed.
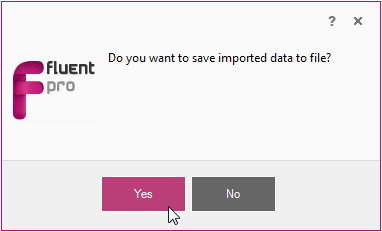
FluentBooks enables users to save imported data to file (it will be FluentBooks Workspace file - *.fbwx2). Click Yes in the dialogue window to save the data and proceed or No to proceed without saving imported data to file.
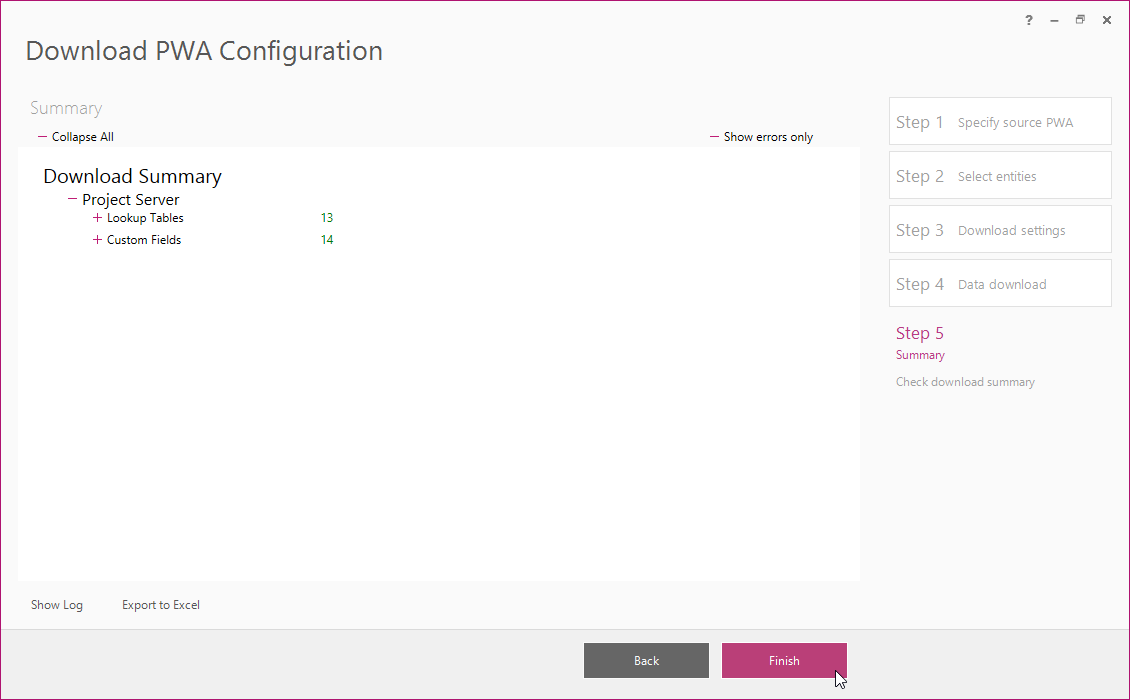
6. Download Summary shows the results of the import, which can be reviewed from the screen and also can be exported to Excel.
Click Finish to close the wizard.
All Lookup Tables and Custom Fields are now downloaded from the PWA into FluentBooks Workspace.

Export Lookup Tables and Custom Fields to Excel
The next step is to export Lookup Tables and Custom Fields from the FluentBooks Workspace into Excel file, where these entities can be easily edited.
FluentBooks Workspace displays all the Custom Fields and Lookups that were downloaded from the PWA; it is possible to select the exact fields and lookup tables that should be exported. Only elements with the checked checkbox will be exported into an Excel file.
Besides clicking the checkboxes manually, the following tools can be also used to speed up the selection process:
- all the elements will get checked/unchecked if click the checkbox in the column header;
- clicking the column header will allow sorting each of the columns, this will be helpful if, for example, all fields of one type or entity type need to be transferred;
- a range of elements will be selected if hold Shift and press Page Up/Page Down keys, or hold Shift and click the element by mouse;
- when several elements are selected, they can be checked or unchecked by pressing Space on the keyboard;
- the ‘Invert Selection’ link on the bottom of the window will check all the unchecked elements and uncheck all the checked elements.
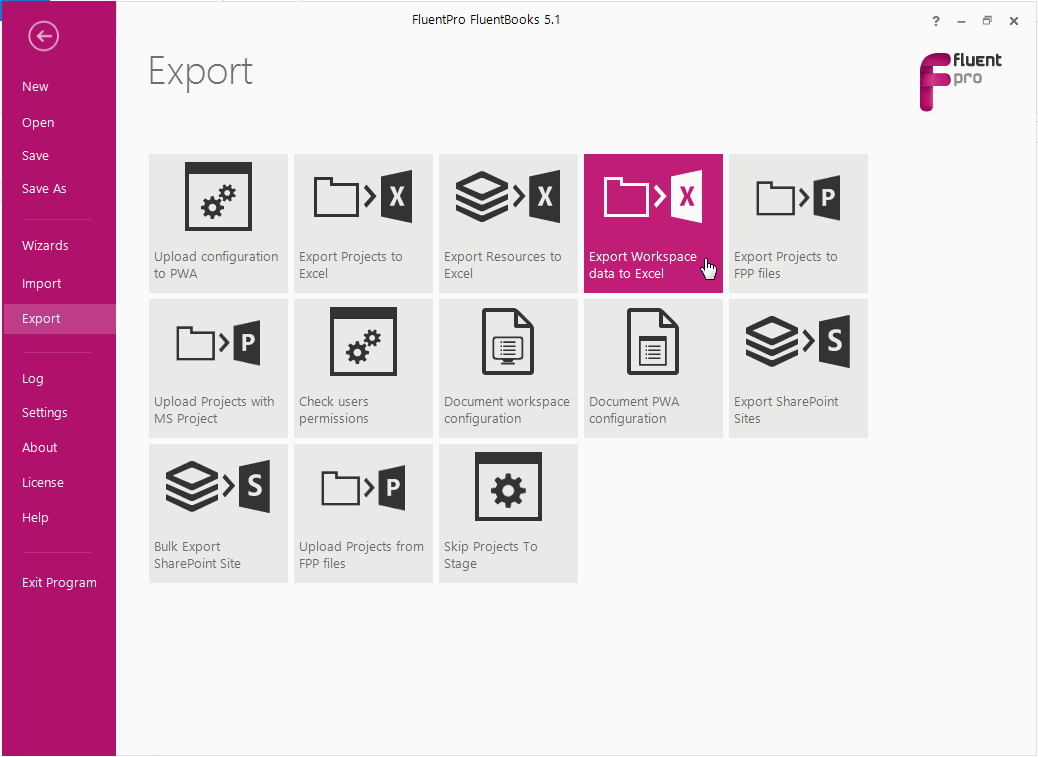
After all necessary Lookup Tables and Custom Fields were selected, they can now be exported into Excel file using ‘Export Workspace data to Excel’ wizard:
1. Select the Export option from the File menu and then the ‘Export Workspace data to Excel’ wizard.
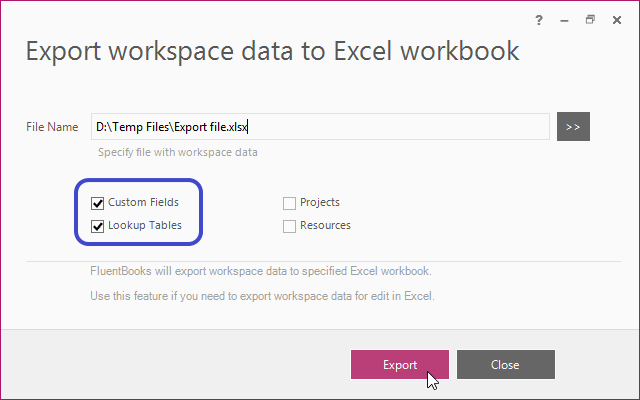
2. Specify the Excel file to which Workspace data should be exported, make sure that ‘Custom Fields’ and ‘Lookup Tables’check-boxes are checked (entities for which the check-box is unchecked will not be exported).
Click Export to start the export process.
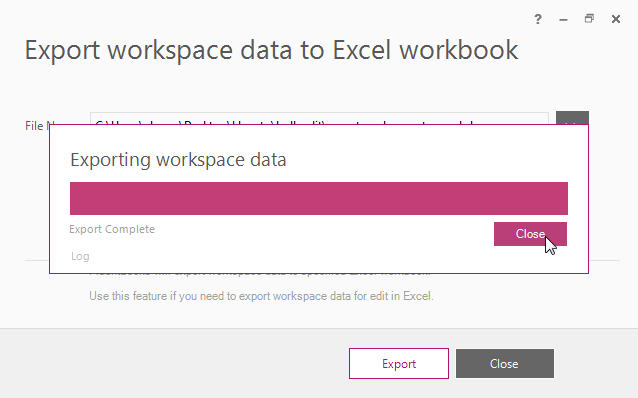
3. Allow the wizard some time to export Lookup Tables and Custom Fields. Log option allows viewing the log records in real-time during the export process.
Click Close after the export is completed.
Excel file with the exported Lookup Tables and Custom Fields will be opened automatically; exported data is spread between 3 tabs: Fields, Lookups and Lookup Values.
Excel tools can be used to edit Lookup Tables and Custom Fields as needed, e.g. ‘Require that this field has information’ setting can be easily set to ‘yes’ or ‘no’ for all necessary fields, without opening each of the fields in the PWA.
‘Export Workspace data to Excel’ wizard can be closed now.

Please make sure not to close the current Workspace with Lookup Tables and Custom Fields. After editing the exported data will be imported back into the Workspace and FluentBooks will update the existing elements and add any new elements.
Import Lookup Tables and Custom Fields from Excel
Save the Excel file after Lookup Tables and Custom Fields were updated as per requirements and close the file.
The next step is to import the edited data from the Excel file back into the FluentBooks workspace.
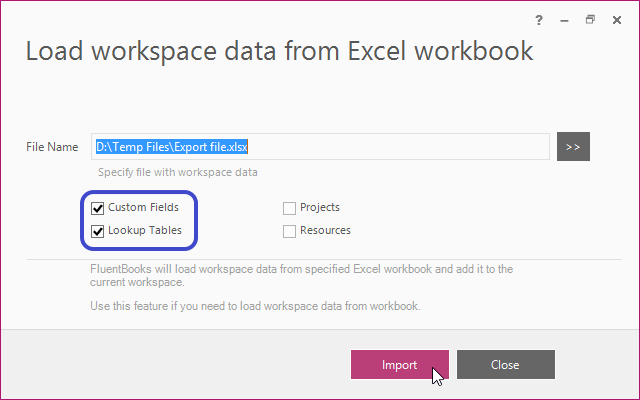
1. Select the Import option from the File menu and then the ‘Import Workspace data from Excel’ wizard.
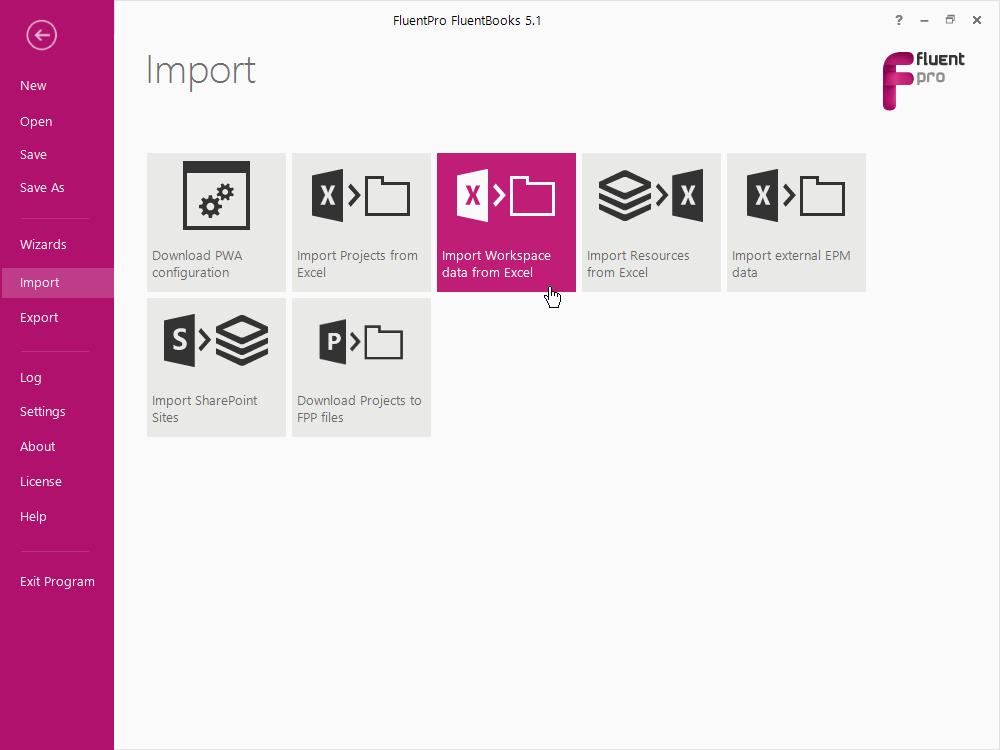
2. Specify the Excel file from which Workspace data should be imported, make sure that ‘Custom Fields’ and ‘Lookup Tables’ check-boxes are checked (entities for which the check-box is unchecked will not be imported).
Click Import to start the import process.
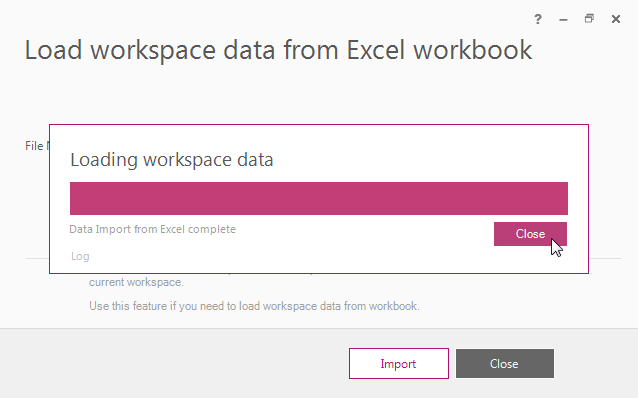
3. Allow the wizard some time to import Lookup Tables and Custom Fields. Log option allows viewing the log records in real-time during the import process.
Click Close after the import is completed.
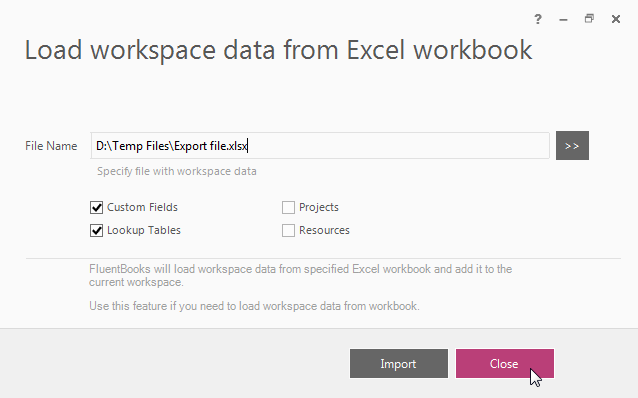
Workspace window with the imported data will be shown.

Upload Lookup Tables and Custom Fields back to the PWA
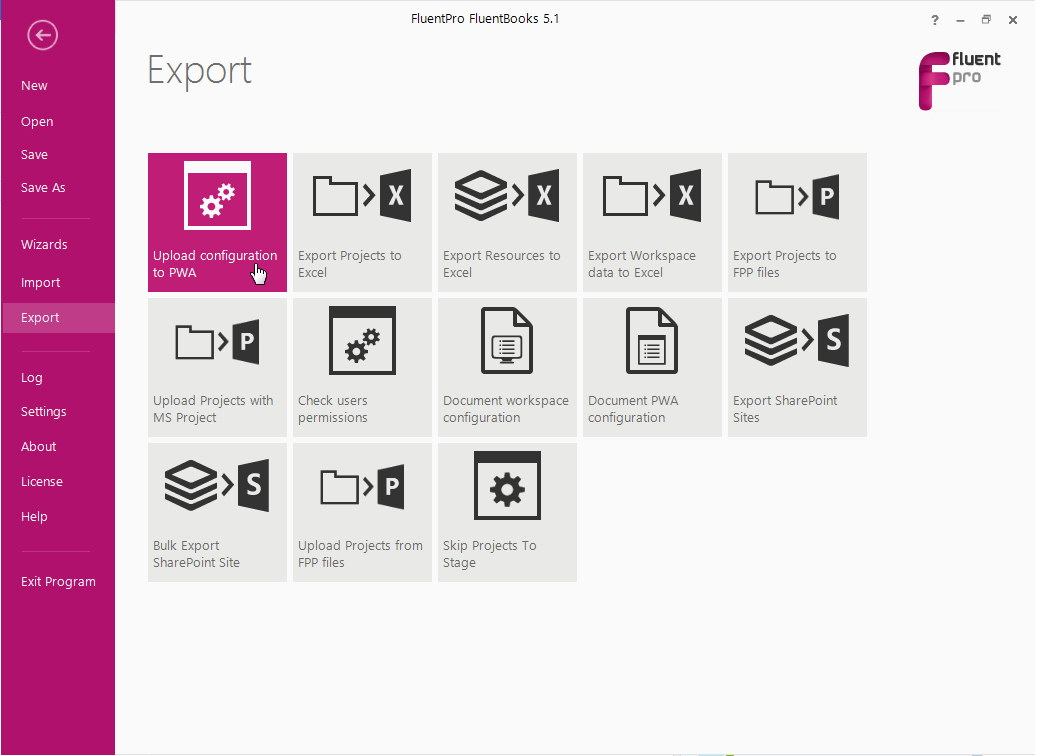
The last step is to upload the updated Lookup Tables and Custom Fields back to the PWA. This can be done using the ‘Upload configuration to PWA’ wizard.
1. Make sure that all Lookups and Fields that need to be imported to PWA are selected in the Workspace, i.e. their check-boxes are checked.

2. Select the Export option from the File menu and then the ‘Upload configuration to PWA’ wizard.
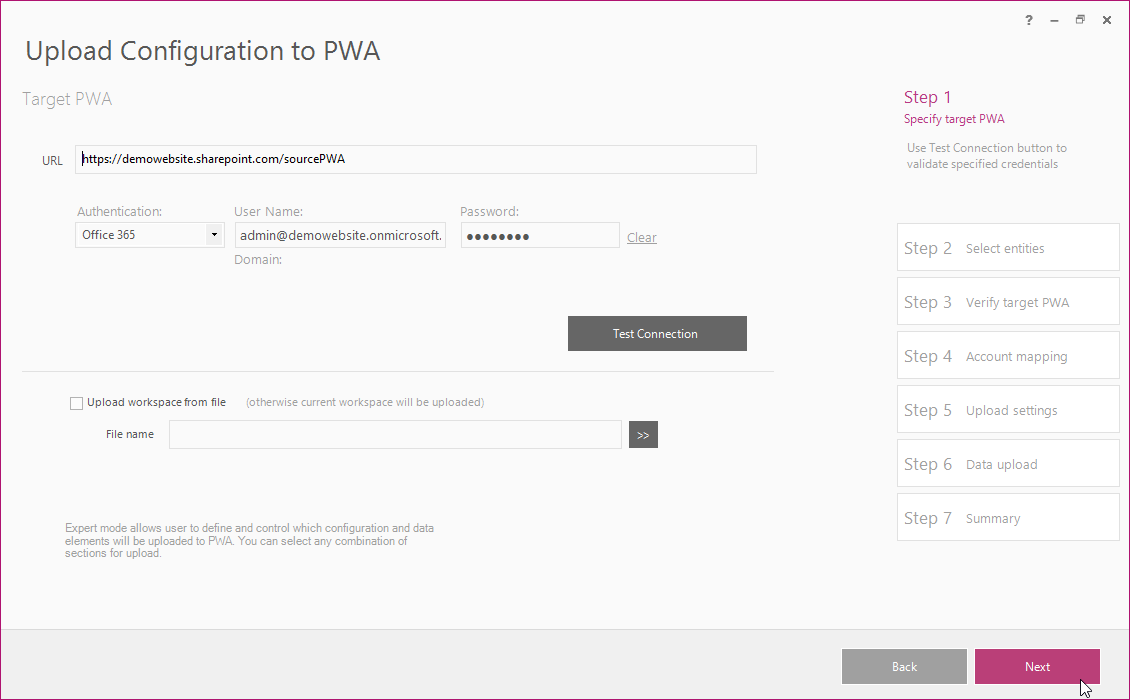
3. Specify the PWA URL, login credentials, and click Next to proceed.
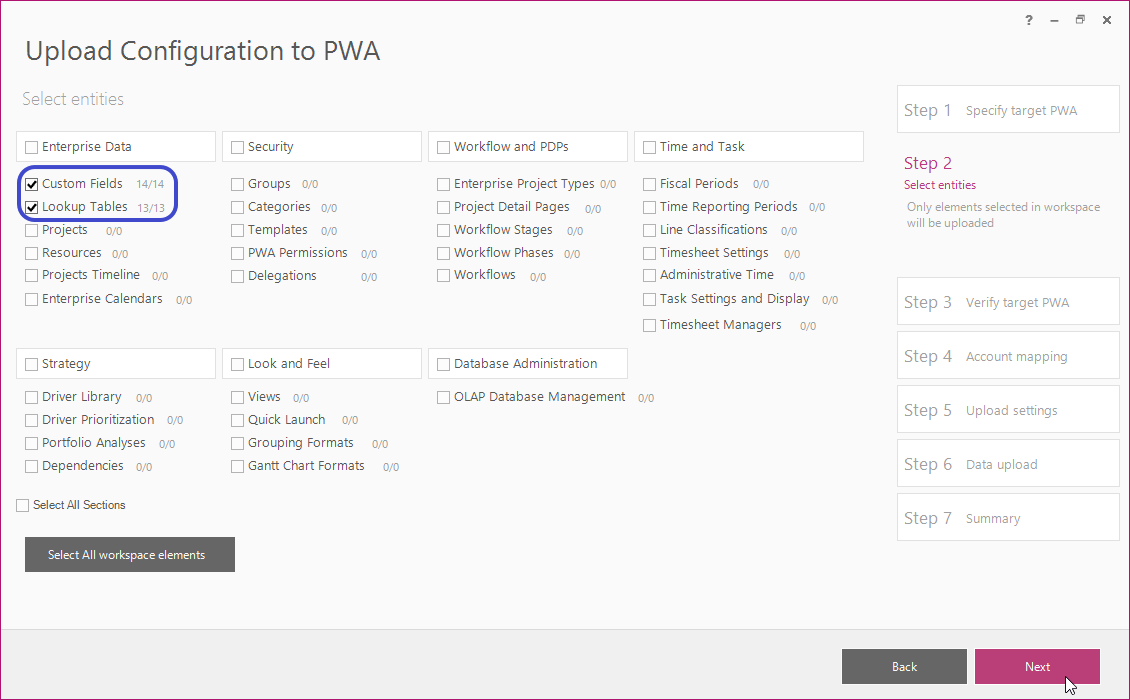
4. Select entities to be uploaded - Custom Fields and Lookup Tables. Please note that only selected entities will be uploaded. After all the necessary entities are selected click Next to proceed.
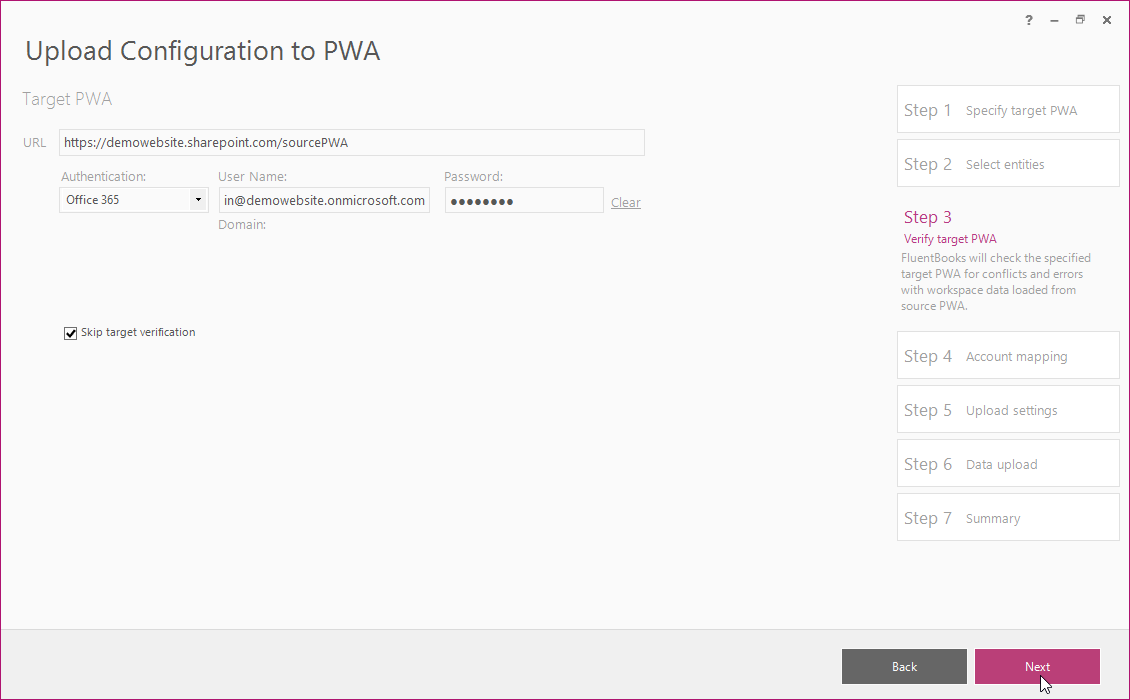
5. Make sure that the correct PWA URL and login credentials are displayed and click Next to proceed.
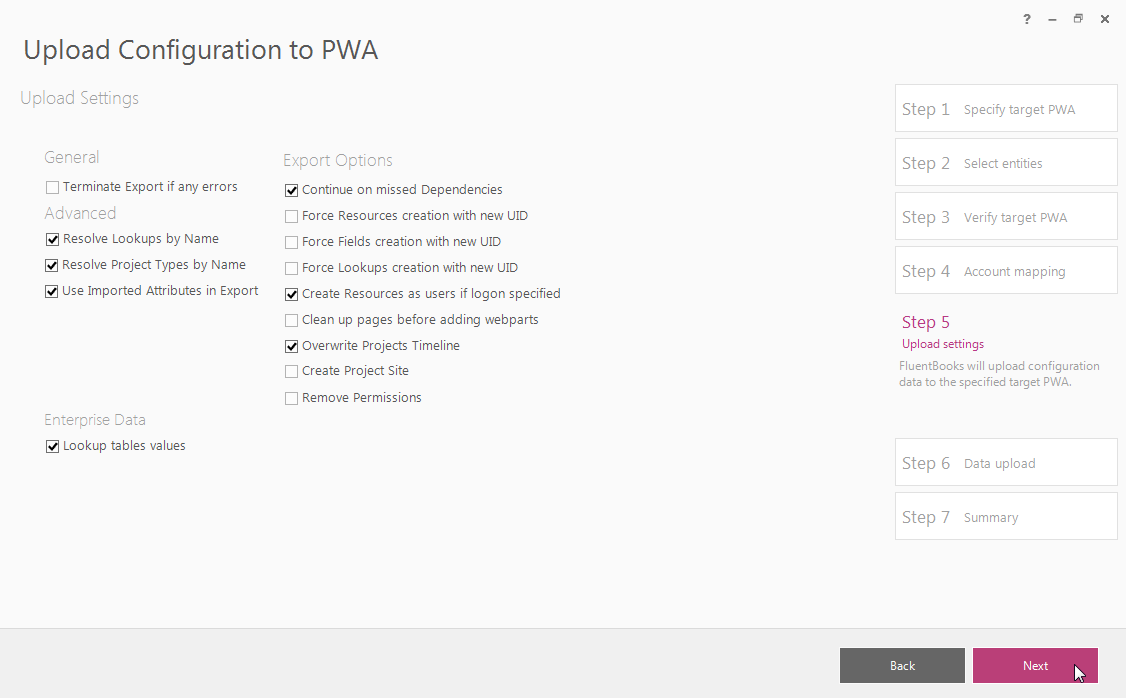
6. Turn the necessary upload settings ON by checking their checkboxes.
Click Next to proceed.
7. Allow the wizard some time to upload the configuration to PWA, Log option allows viewing the log records in real-time during the upload process.
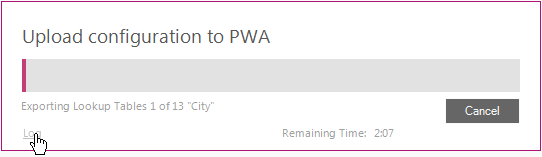
Click Close after the upload is completed.

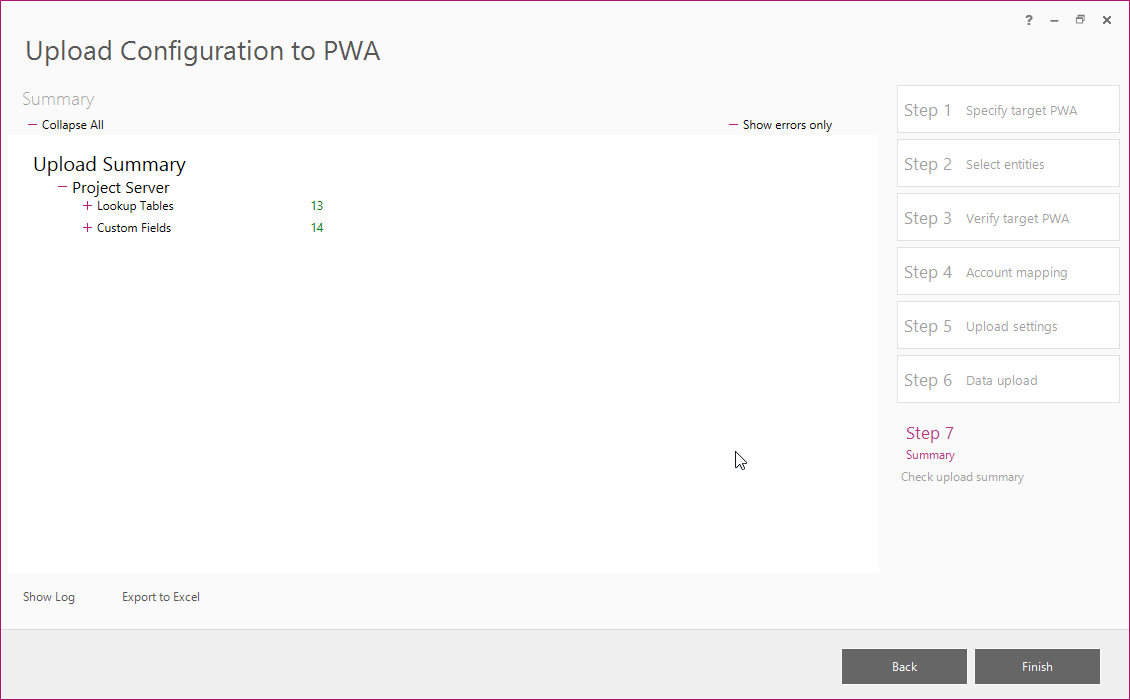
8. Upload Summary shows the results of the export, which can be reviewed from the screen and also can be exported to Excel.
Click Finish to close the wizard.
Updated Lookup Tables and Custom Fields are now uploaded on the PWA.