
If you need to migrate a big amount of projects (more than 100), we recommend to split this migration into smaller parts.
Downloading project batches into FPP files
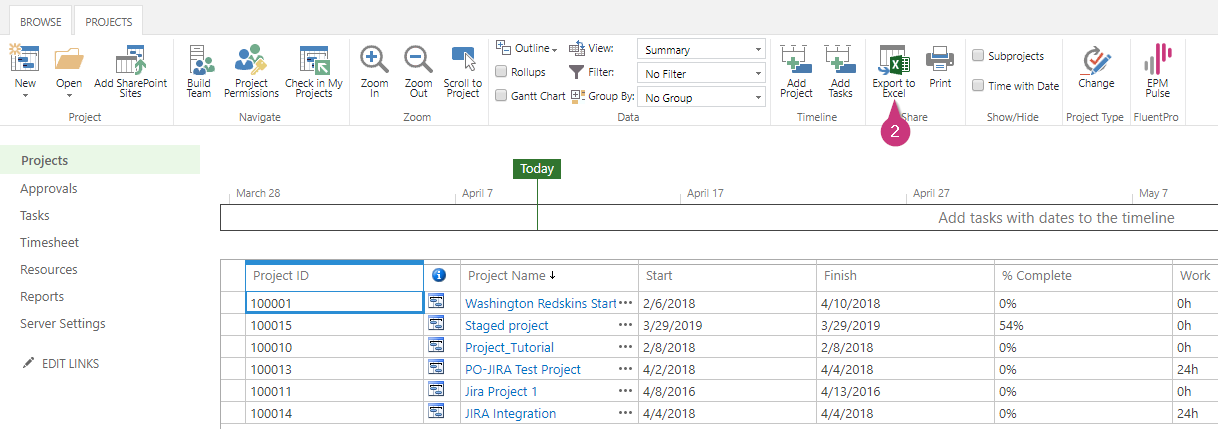
1. Open your PWA and navigate to the Project Center to see the full list of your projects.
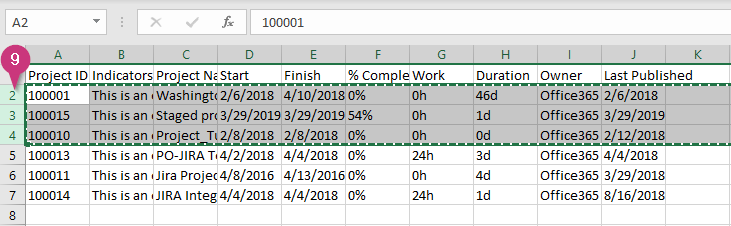
2. Switch to the Projects tab on the toolbar and click the Export to Excel button to load the list of your projects as an Excel file.
3. Open the downloaded file in Excel. Later it will help correctly selecting the projects batches in FluentBooks.
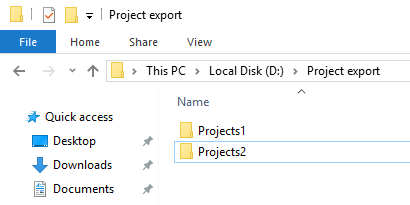
4. On your PC, create a separate folder for each batch of projects.
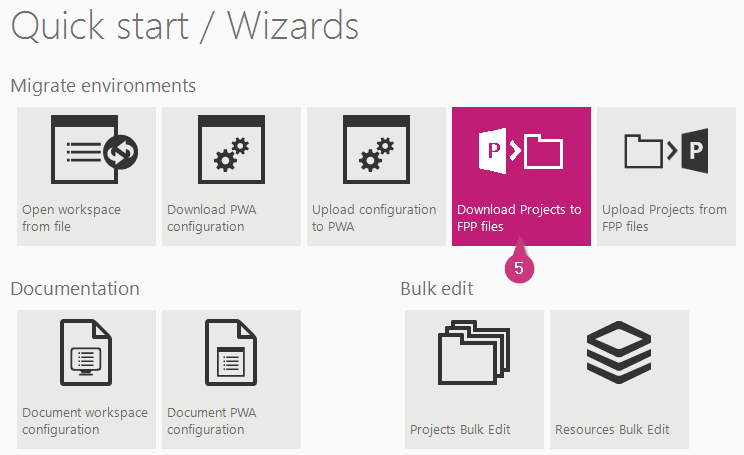
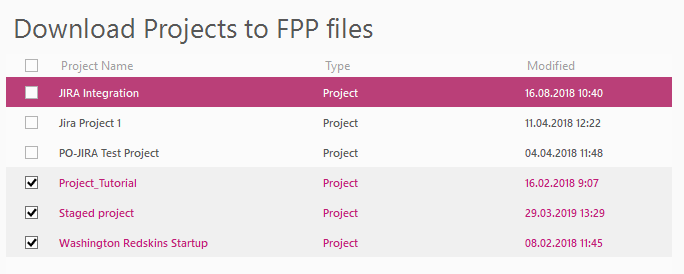
5. Launch FluentBooks and select the Download Projects to FPP files wizard.
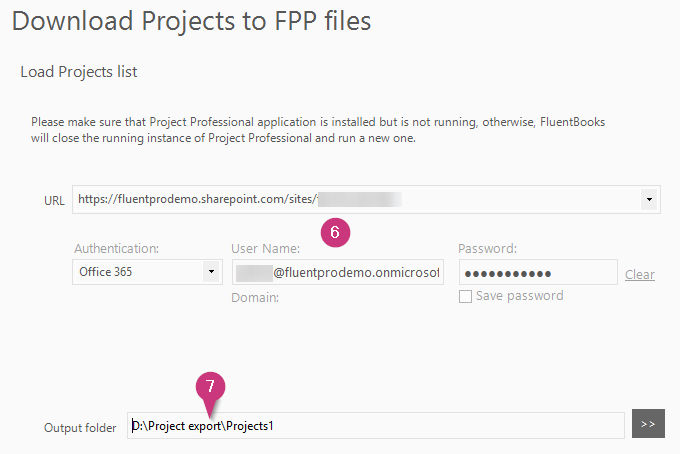
6. Make sure that all the necessary credentials are entered correctly on the first page of the wizard.
7. In the Output folder field select the folder on your PC which will be used to store the first batch of the projects.
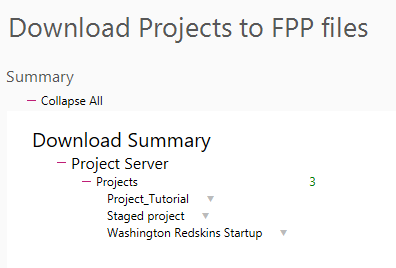
8. Press Next and wait for the Projects list to be loaded to move to the next page of the wizard.
9. Switch to Excel, select the rows containing the first batch of projects and copy them to clipboard (Ctrl+C). You can copy the corresponding rows completely or just copy the column with the project names of the first batch.
10. Switch to Fluentbooks again and press Ctrl+Shift+Space. The corresponding projects will be automatically selected.
11. Press Next and wait until your data is loaded. If Fluentbooks prompts to launch Microsoft Project, press Yes.
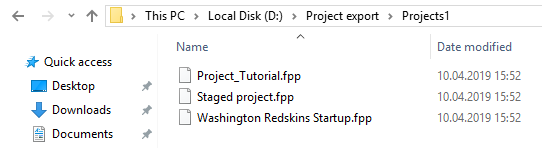
12. Press Finish to return to the Quick Start screen. Repeat steps 5 to 11 for all the other project batches.
Uploading FPP files to the target PWA
After all the project batches are successfully downloaded into FPP files, we need to upload them to the target PWA.
1. On the Quick Start page of Fluentbooks, select the Upload Projects from FPP files wizard.
2. Provide all the necessary credentials to the target PWA.
3. In the FPP files folder field, select the folder containing the first batch of the FPP files saved earlier.
4. Press Next and wait until the data is loaded and the next wizard page is opened.
5. On the second page of the wizard, mark the Select all checkbox on top of the projects list to select all projects.
6. Press Next and wait until projects are exported to the target PWA. When prompted to launch MS Project, click Yes.
7. Click Finish and repeat the same operations for the next folder of FPP files.