
Next step of data migration is to upload Projects and Project Plan Templates to the target PWA.
Windows session is required to be active at all times when “Upload Projects from FPP files” wizard is running.
Workflow State (Workflow Phase and Stage of a project) will be migrated only on condition that the corresponding Workflow, Workflow Phases and Workflow Stages exist in the target PWA and the Workflow allows skipping to the necessary Stage.
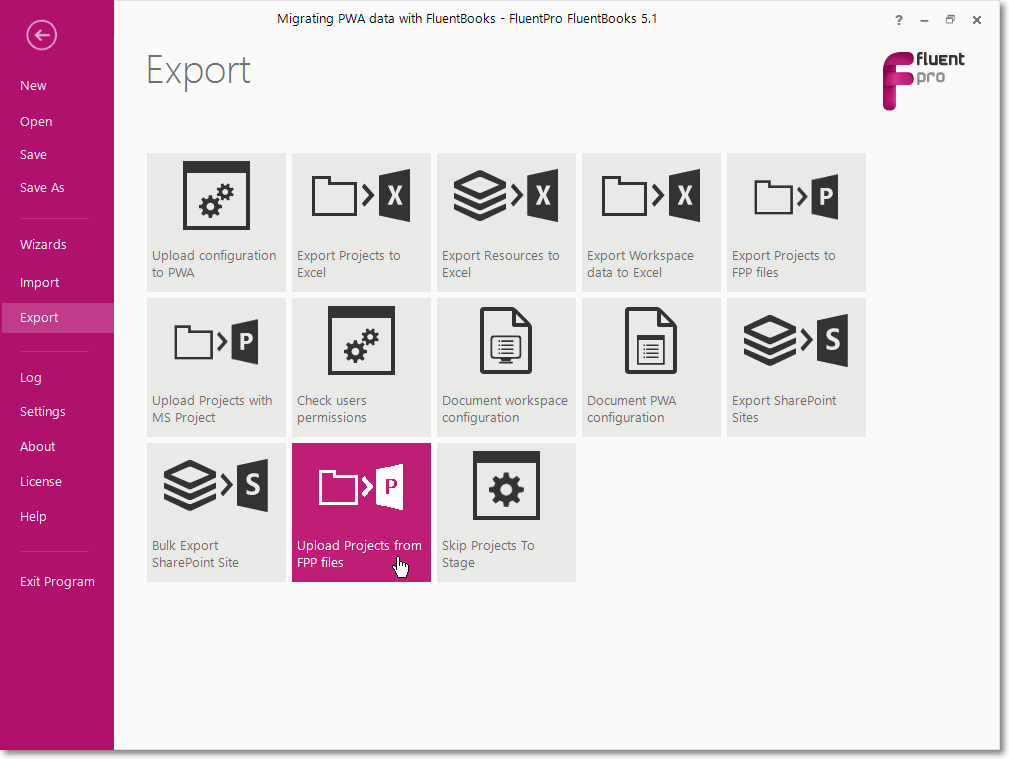
1. Select the Export option from the File menu and then the ‘Upload Projects from FPP files’ wizard.
2. Specify the target PWA URL, login credentials, and the folder containing FPP files.
Check the Settings check-boxes and specify paths in Advanced Settings if needed.
Resource Mapping setting must be turned ON in case the source and target PWA are in the different tenants / farms.
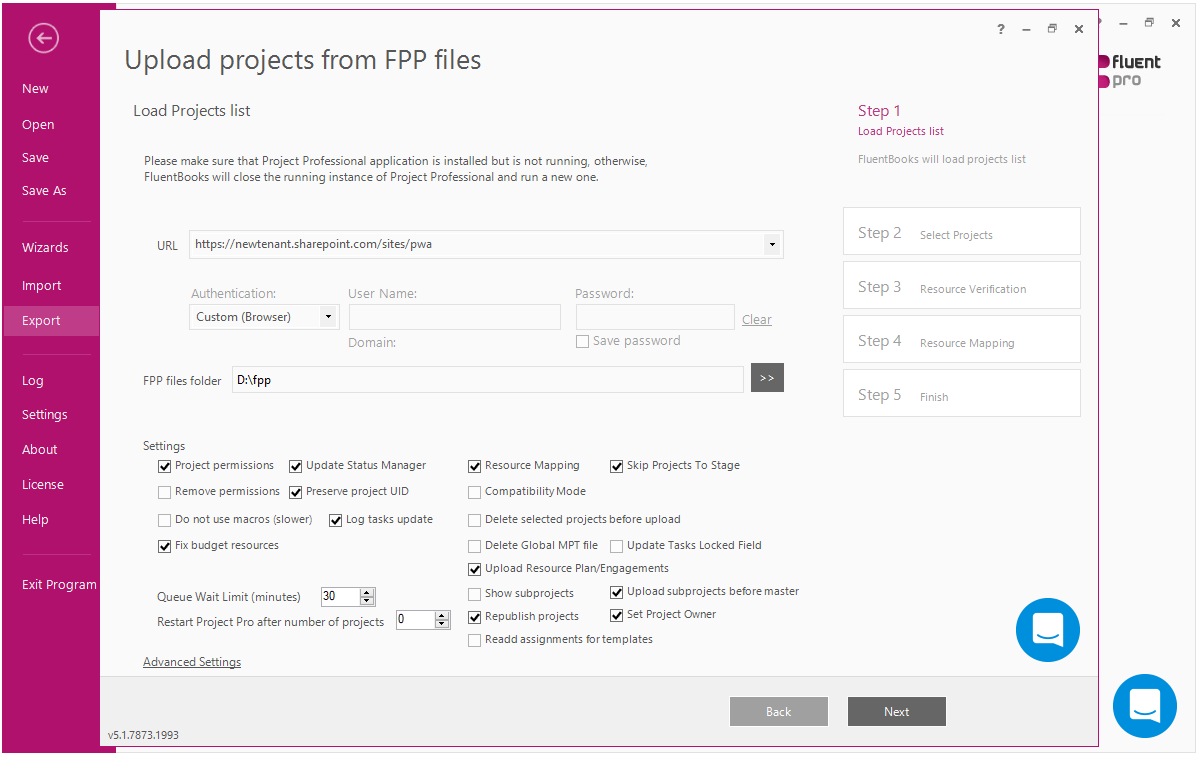
Project Permissions – сheck this checkbox, if you want to upload Project Permissions for the project (Project Permissions were downloaded to FPP files, when downloading projects from the source PWA). If the checkbox is not checked, then Project Permissions will not be uploaded.
Remove permissions – this setting allows to remove excessive Project Permissions on the target PWA. E.g. there is a case when a project exists on both source and target PWAs, and permission is added for a certain security group on the source and target PWAs, but on the source PWA security group has less rights. If when uploading projects from FPP you leave the ‘Remove permissions’ checkbox unchecked, FluentBooks will not remove excessive permissions from the security group on the target PWA. And if you check the ‘Remove permissions’ checkbox, then FluentBooks will update the permissions on the target PWA and will remove those of them, that do not exist on the source PWA.
Project Permissions and Remove Permissions settings work in Project Server Permission Mode only, i.e. both source PWA and target PWA should be in Project Server Permission Mode. SharePoint mode is not supported.
Update Status Manager – check this checkbox, if you want to update Status Manager values during the upload operation. If the checkbox is not checked, then Status Manager values will not be updated. In case Update Status Manager checkbox is unchecked, task manager field will be set to the current user account, the one who performs the upload.
Please note: Status Managers for Master Projects will be set to the migration account. Status Managers for Standard and Sub-projects will be migrated correctly, if corresponding user account is available in the target PWA and the corresponding checkbox was selected during upload. For tasks that have cost resources assigned, Status Manager will be set to the migration account.
Do not use macros (slower) – check this checkbox, if you don’t want to use macros when setting task fields values. If the checkbox is not checked, then macros will be used when setting task field values, thus making the operation faster.
Fix Budget Resources - this option is used when Project Tasks have assignments with Budget Resources (is ON by default). During migration, FluentBooks first saves a Project with all Resources from the Project Team as local Resources using the MS Project Professional client. Later on, during the upload process, it substitutes local Resources with Enterprise ones, if they exist in the Resource Center. The MS Project Professional client does not allow saving Budget Resources as local resources. There is specific logic in FluentBooks that allows bypassing this limitation by temporarily renaming such Resources, adding ‘1’ to the end of the Display Name, and removing it after upload is completed. This logic applies if the ‘Fix budget resource’ setting is ON.
When the Fix Budget Resources option is turned OFF, FluentBooks uses Project Professional to auto-map such Resources. However, the automatic mapping may be incorrect, causing upload failures. For projects containing Budget Resources, it is recommended to keep this option enabled.
Compatibility Mode – сheck this checkbox, if you want to use Microsoft Project 2007 format for *.mpp files. If the checkbox is unchecked, then the latest format of *.mpp files will be used.
Delete selected projects before upload - select this option, if you would like to remove projects selected for upload from the target PWA before upload. (projects with the same name and/or project UID will be deleted)
Delete Global MPT file - check this check-box, if you would like to remove Global MPT file created earlier.
Resource Mapping – this setting allows to perform mapping of source to target Resource names. If this setting is turned ON, then on step 3 of the wizard FluentBooks will load resources from the FPP files and from the target PWA and will attempt to map them automatically. Note, that in order to update the resources in FPP files, FluentBooks will request to start Project Professional in offline mode. If the checkbox is unchecked, then the step 3 – Resource Mapping will be skipped.
Skip Projects To Stage - check this checkbox if you want FluentBooks to skip project status to certain stage as noted in the FPP file. If the checkbox is not checked, then all projects will start at the first stage.
Please refer to the FluentBooks does not skip projects to stage when uploading projects from FPP files article if FluentBooks failed to skip projects to the specified stage.
Preserve project UID - click this checkbox if you want to migrate the project with the same UID as in source.
Upload Resource Plan/Engagements - select this option if you would like to migrate project plans/engagements during projects upload.
Update Tasks Locked Field - click this checkbox in case of migrations from Project Server 2010 to Project Server 2013/2016 or Project Online in order to migrate Locked Tasks.
Log tasks update – click this checkbox to see the notes in the log files related to setting values in Custom Fields in the process of migration.
Show subprojects – click this option to see the subprojects in the list. By default only master projects are displayed in the list. Please note that the subprojects should be firstly downloaded to the FPP files to be available for this option.
Upload subprojects before master – with this option checked, FluentBooks will upload firstly subprojects, and after that master project. If the option is unchecked, only master project will be uploaded.
Queue Wait Limit (minutes) – sets the time limit provided to FluentBooks to wait while the jobs (save, publish, etc.) are processing and to check the jobs` status. If the timeout period expired and job (jobs) is not completed, it is considered that the action is failed.
Republish Projects - This checkbox is checked by default. FluentBooks publishes projects twice in the target PWA in the process of migration. The second time is needed to re-calculate all the projects and double-check data by the end of migration. If this option is unchecked, it allows avoiding the second projects publishing that may save time during the upload of a high number of projects or projects that contain a high amount of data.
Advanced Settings – these settings are optional, and allow to specify path to WINPROJ.EXE file for MS Project 2010 and MS Project 2013 in order to speed up the start of MS Project Professional. If the path is not specified, FluentBooks will search for the corresponding file and start MS Project Professional, but it will take longer.
Set Project Owner - if this setting is turned on, Project owner on the target PWA will be set according to the source PWA. If the setting is turned off, Project owner on the target PWA will be set to the migration account. Please note: For Master Projects Project Owner will be always set to the migration account.
Re-add assignments for templates - if the setting is turned on, Project template assignments will be deleted and re-added during the upload process. If the setting is turned off, Project template assignments will be uploaded from the source to the target PWA in a usual way. Please note: we recommend turning this setting off except for specific cases when Project template assignments need to be re-added.
Restart Project Pro after number of projects - if you set the number of projects, FluentBooks will automatically restart Project Professional when the upload of the specified number of projects is completed.
Click Next to load the Projects list.
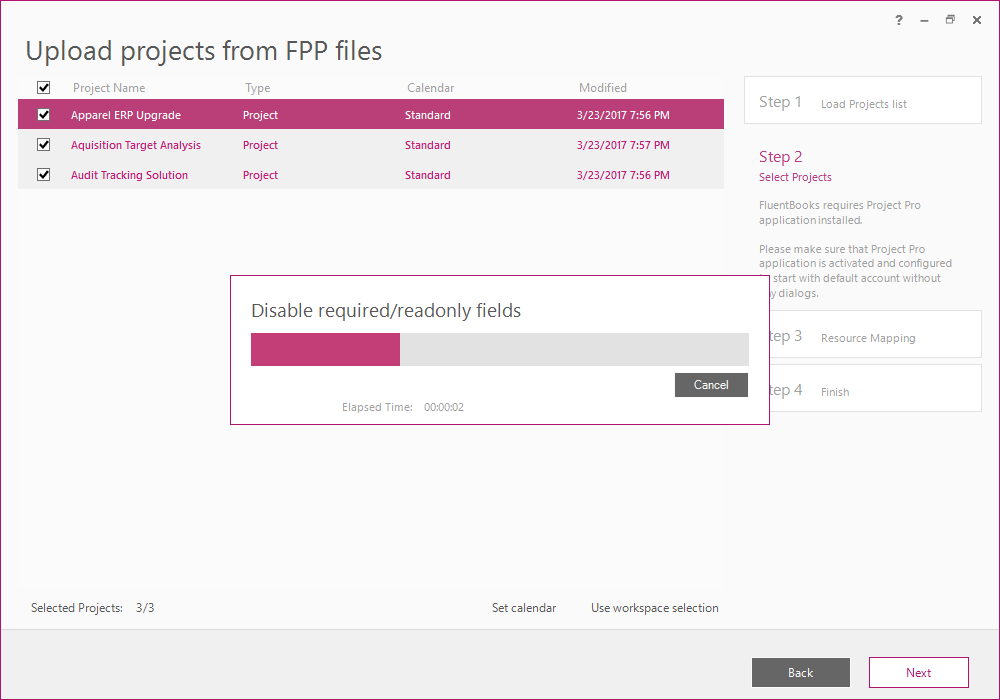
3. Select the Projects and Project Plan Templates to be uploaded and click Next to proceed.
Use workspace selection option allows you to check the checkboxes of those projects that have been previously imported into the FluentBooks workspace via the “Download PWA Configuration” wizard.
Set calendar option allows to bulk set a calendar for all selected projects that have no calendar set in the Calendar column (this can happen in case the calendar that was set for the project in the source PWA does not exist in the target PWA).

To bulk set a calendar for projects, select these projects by checking their check-boxes and click Set calendar. In the Select Calendar dialog window, select a calendar from the list as necessary and click OK. This calendar will be set for all selected projects that did not have a calendar set previously (projects with defined calendars will not be updated).
It is also possible to use local calendars if needed. If you select the "Use local calendar" option, please ensure that using local calendars is allowed on your PWA (Server Settings -> Additional Server Settings -> Allow Projects to use local base calendars).

If any of the selected projects are left without a calendar set, FluentBooks will prompt you to select a calendar for these projects.
4. If Resource Mapping is turned OFF
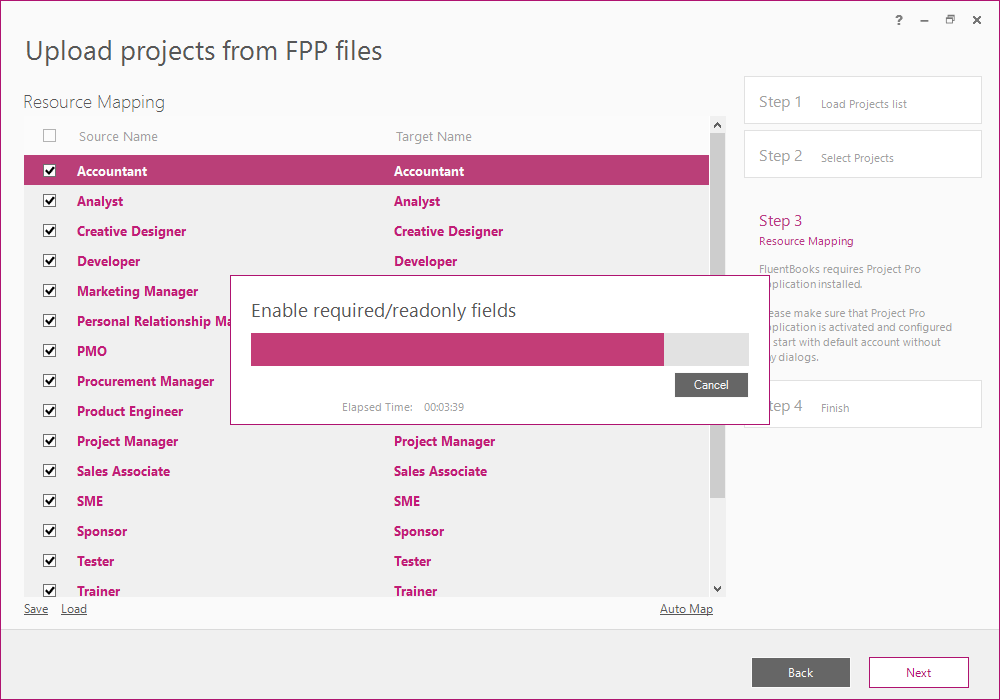
FluentBooks will disable required/read-only fields first.
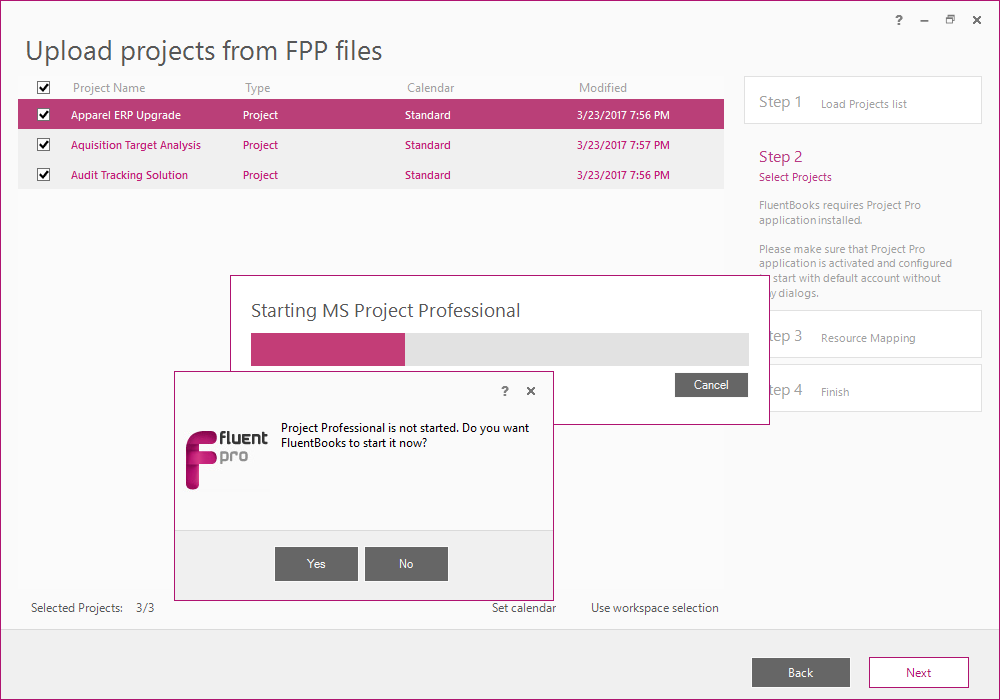
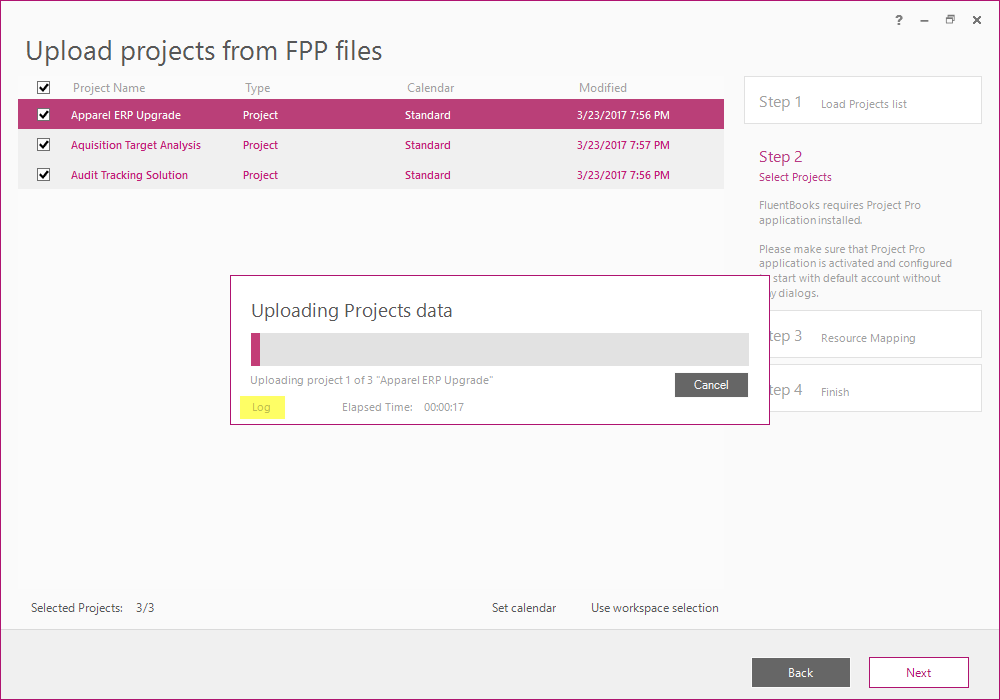
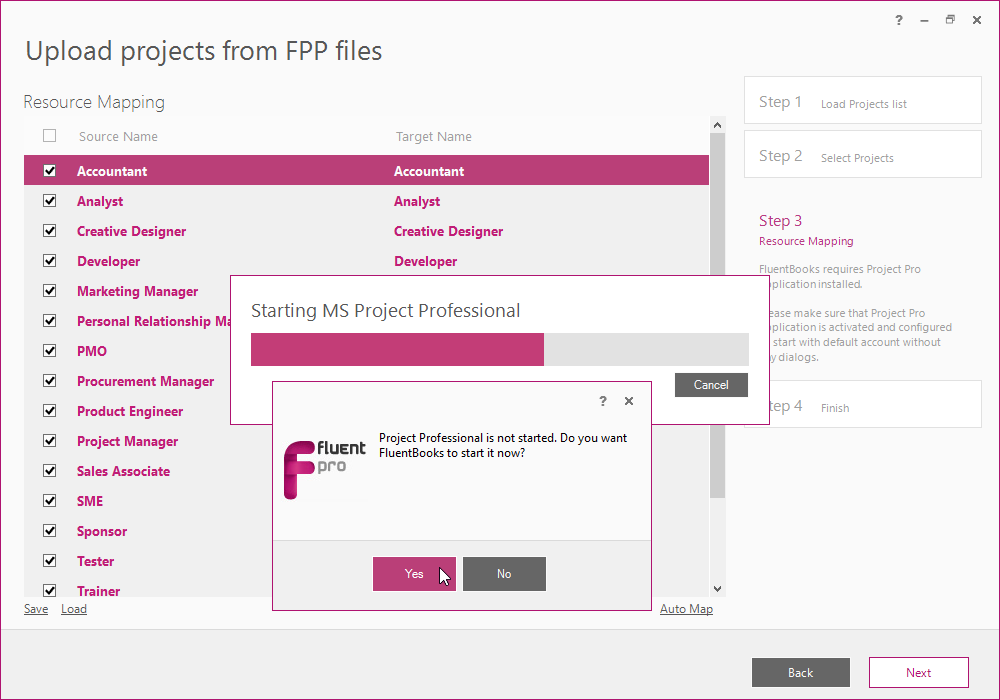
FluentBooks will request to start Project Professional which is required for Projects data upload, click Yes in the dialog window to confirm the start.
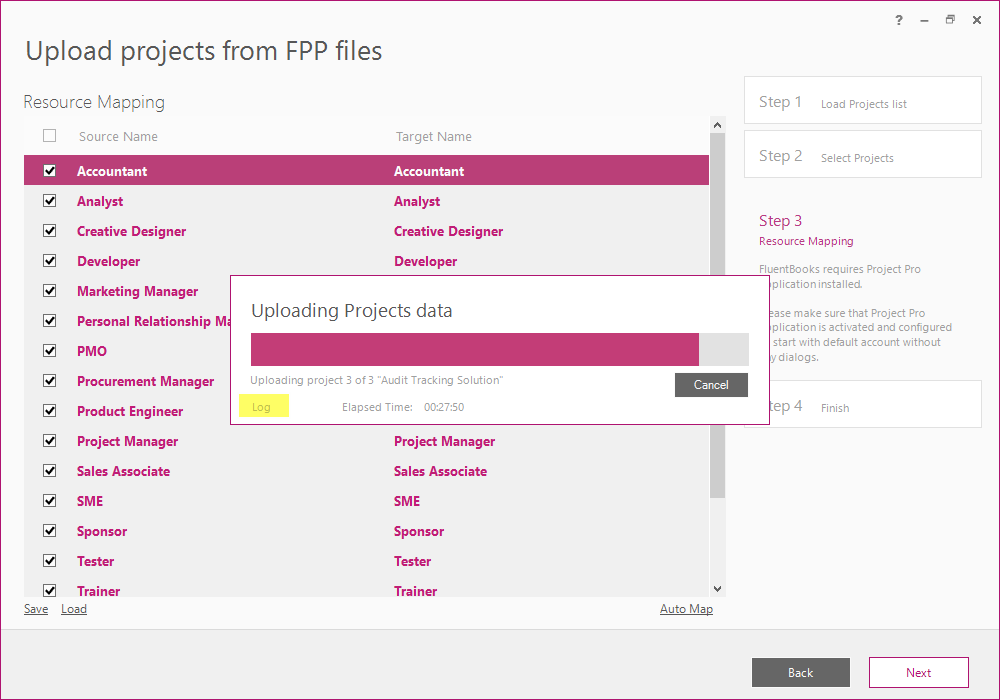
Allow the wizard some time to upload Projects data, Log option allows viewing the log records in real-time during the upload process.
5) If Resource Mapping is turned ON
If “Resource Mapping” checkbox was unchecked on the Step 1 of the wizard, then this step will be skipped.
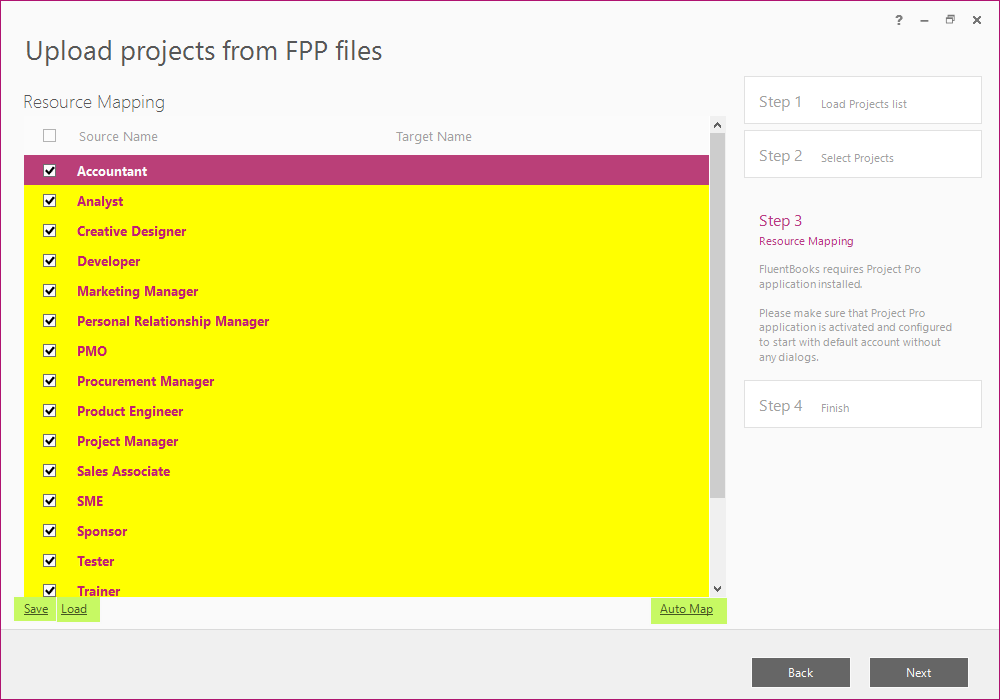
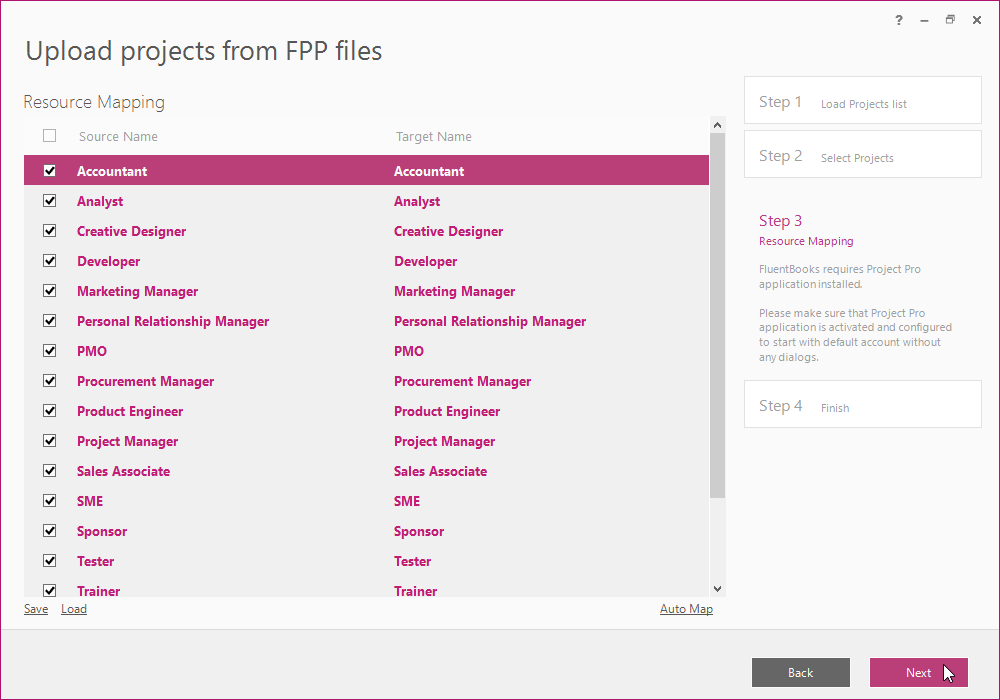
FluentBooks will load accounts from the FPP files and from the target PWA. Click the ‘Auto Map’ button, and FluentBooks will attempt to map the resources automatically.
Update the mapping if needed. Target Resource Name can be edited manually, to do this double-click the target name and it will become editable, click Enter key to confirm the changes.
- If there is no corresponding resource on the target PWA, then the line with such resource will be highlighted in red. Uncheck the checkbox of such resource to prevent the ‘Unresolved resource mapping found’ error.
- If FluentBooks found an incomplete correspondence for some of the resources, their names will be marked with yellow. Pay attention to such lines and correct the mapping if need.
- If there was a complete correspondence found, such resource will not be marked with any color.
- FluentBooks marks Status Managers accounts with brown color.
Make sure not to map invalid resources and resources where type does not match, e.g. mapping Cost resource to Work or Generic to non-Generic will result in an error.
Click Save to save the current mapping into a file. This file will be used later during comparison of projects.
Load option allows to load previously saved mapping from a file and to apply it to the current set of resources.
After all resources are mapped, click Next to proceed.
6) FluentBooks will disable required fields first.
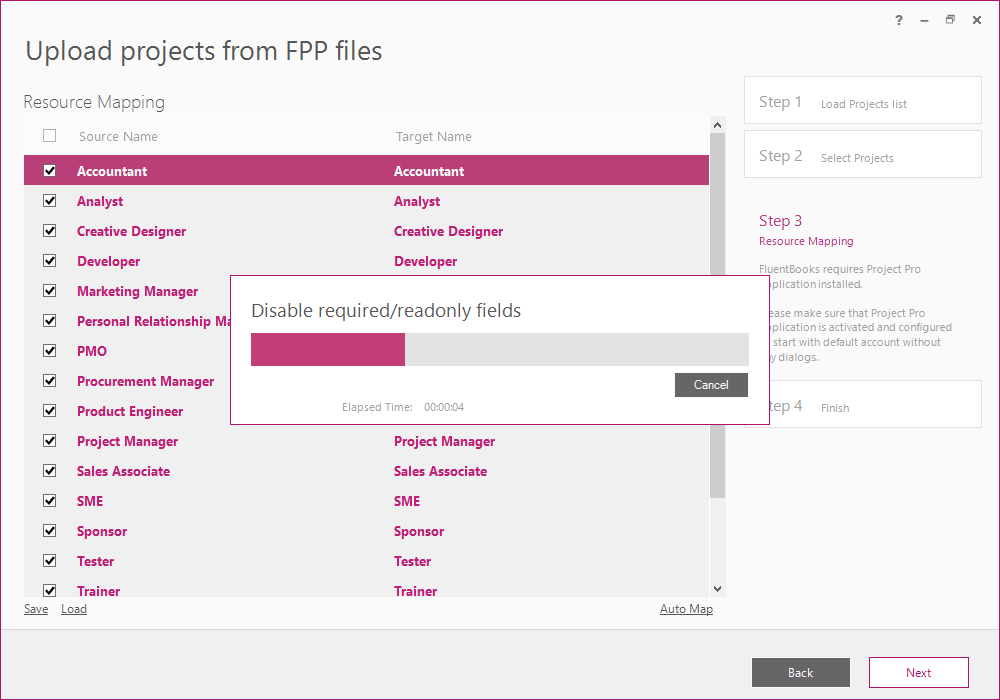
FluentBooks will request to start Project Professional, click Yes in the dialog window to confirm the start.
Allow the wizard some time to upload Project data, Log option allows viewing the log records in real-time during the upload process.
After all projects are uploaded, FluentBooks will restore required/read-only fields settings.
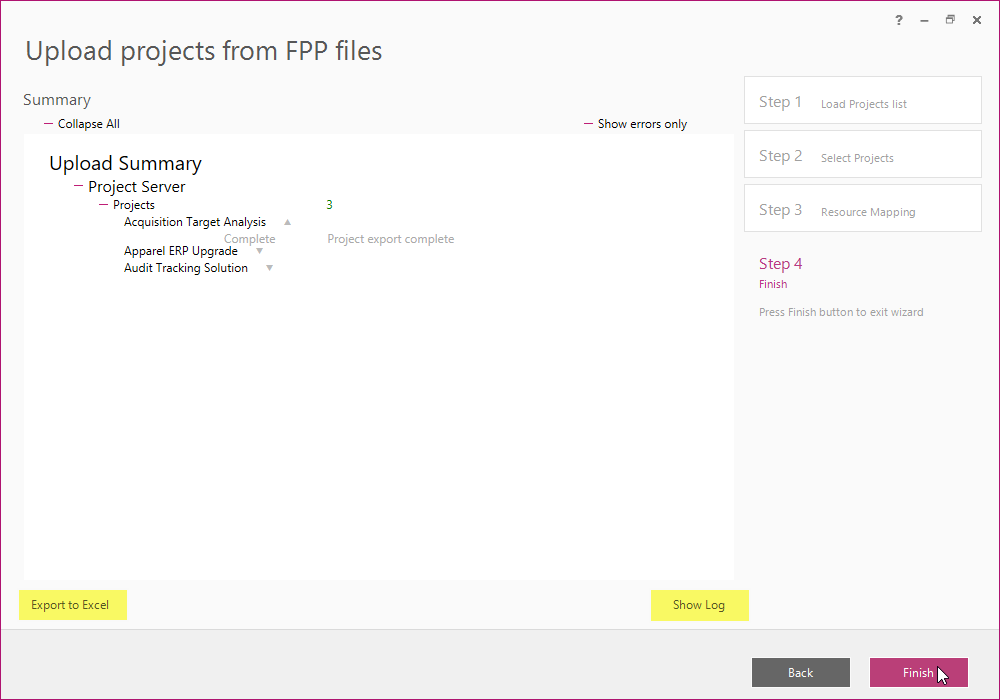
7) Upload Summary displayed after the export process is finished will show the Projects that were exported from FPP files to the target PWA.
Export to Excel the Upload Summary for future reference.
Click Finish to close the wizard.
8) NOTE: If the Project Timeline on the source PWA contains project tasks they will not be displayed on the target PWA Project Timeline.
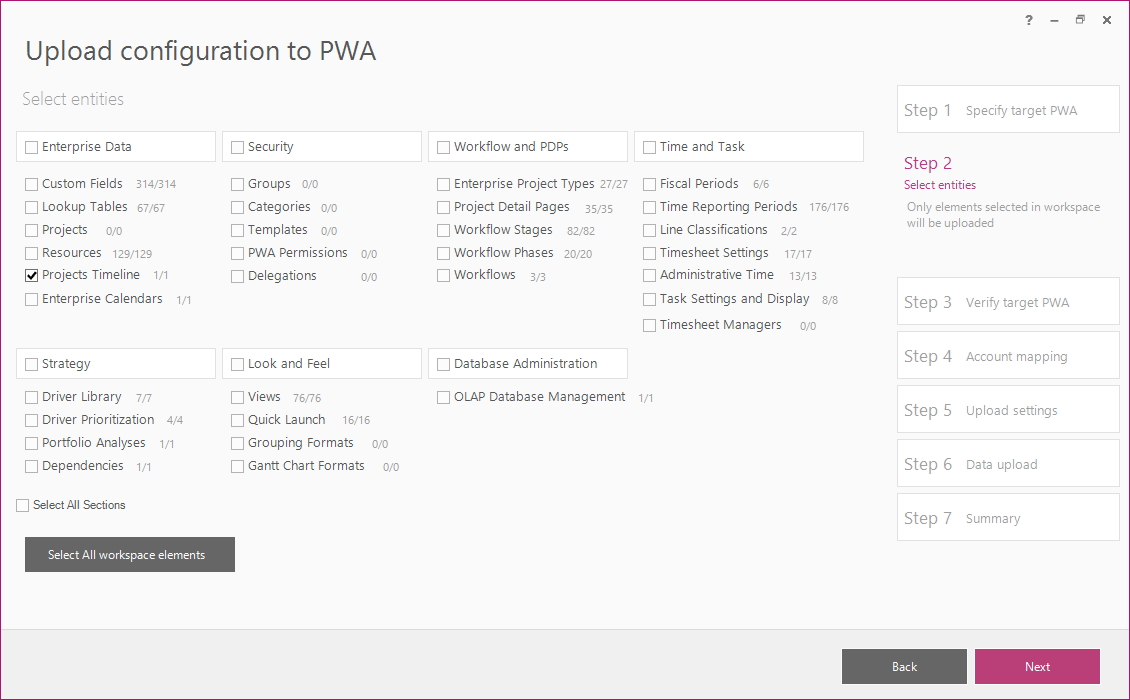
Run the 'Upload configuration to PWA' wizard again and select only Projects Timeline for upload.
Now your projects were migrated to the target PWA and you can proceed to Compare Projects.