Subscription Management is designed to provide a third party that does not have access to EPM Pulse or EPM Pulse users with reports based on EPM Pulse Dashboards and Storyboards.
The recipient will receive a letter with PDF/PNG files, or a zip file with several PNG files on a daily or weekly basis.
You can create a subscription by the following steps:
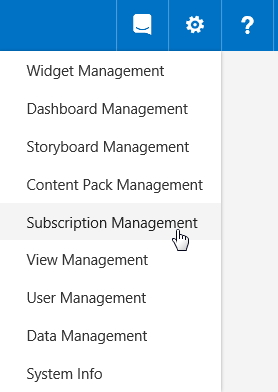
1. Click Gear button and select Subscription Management.
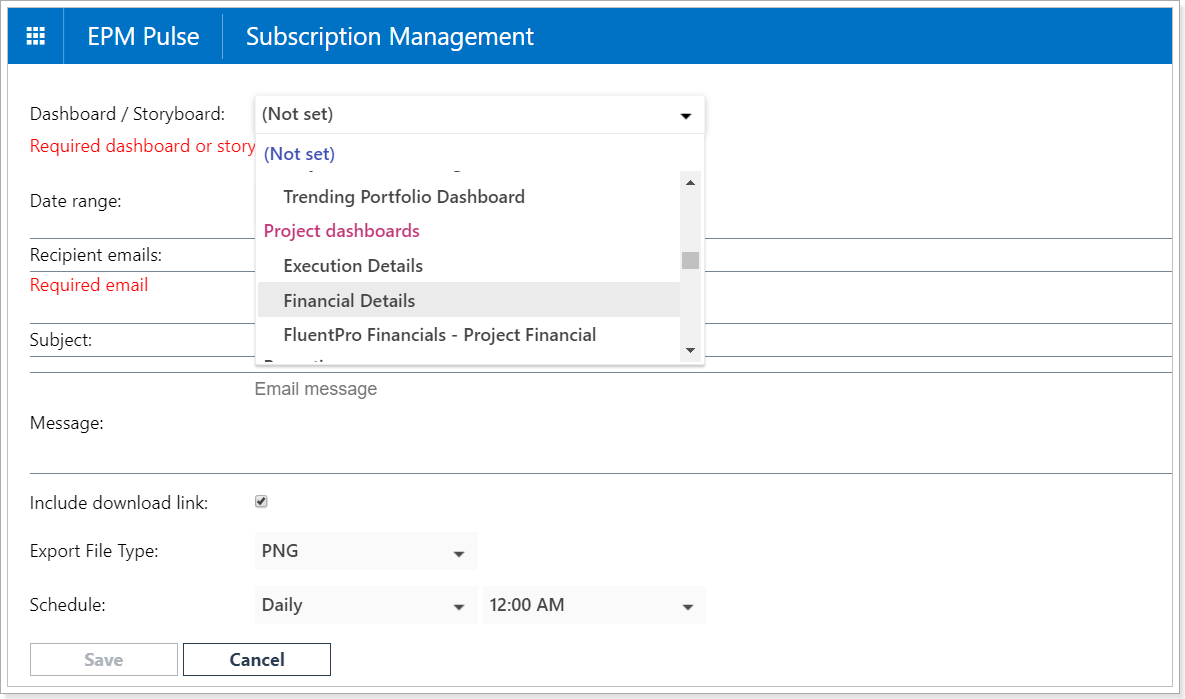
2. Click Create New. From the dropdown list select a specific Storyboard or Dashboard that you want to send out.
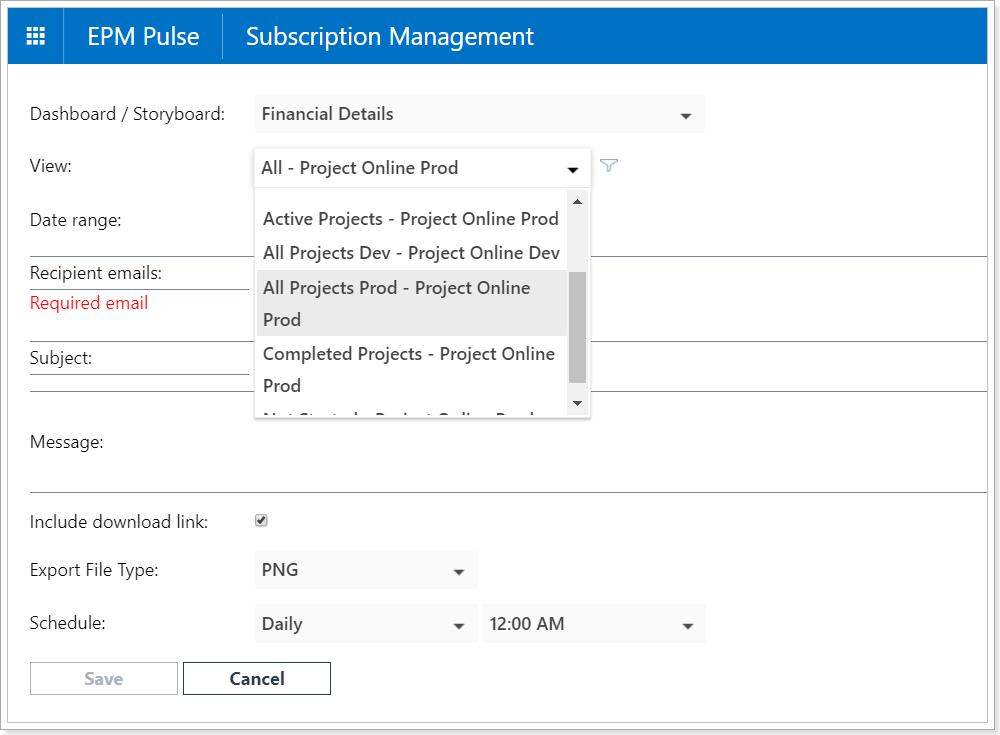
3. As the Storyboard/Dashboard is selected, you can select a specific View by which PDF/PNG files will be formed or select a specific project/several projects from a chosen view.
Choose the required view from the dropdown list.
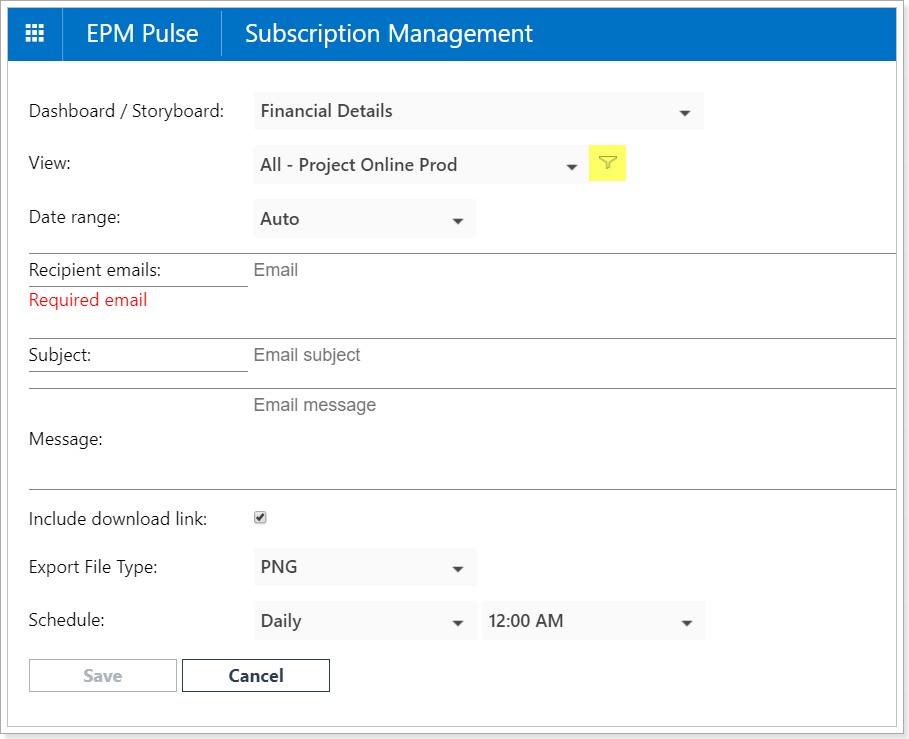
4. If you would like to send information for the specific projects, it is possible to select the required projects by clicking on the filter button and selecting the ones you need.
The View setting for Storyboards can be enabled by checking Use Custom Filter option.
Please note: In case the Storyboard contains only Portfolio/Project or Resource Pool/Resource level dashboards, Project and Resource views will be available correspondingly.
In case the Storyboard contains both Portfolio/Project and Resource Pool/Resource level dashboards, both Project and Resource views will be available.

Please note: PDF/PNG files will be created on the basis of the chosen dashboard taking into account the settings of the subscription, i.e. in case the chosen dashboard includes only active projects, you can create a subscription with all projects, if you choose the view “All Projects”.
5. Select the Date range that will be applied to the dashboard or storyboard or set a custom date range. Date range works exactly as Timeline while creating a widget and allows to define a time period for time-phased information displayed on the dashboards.
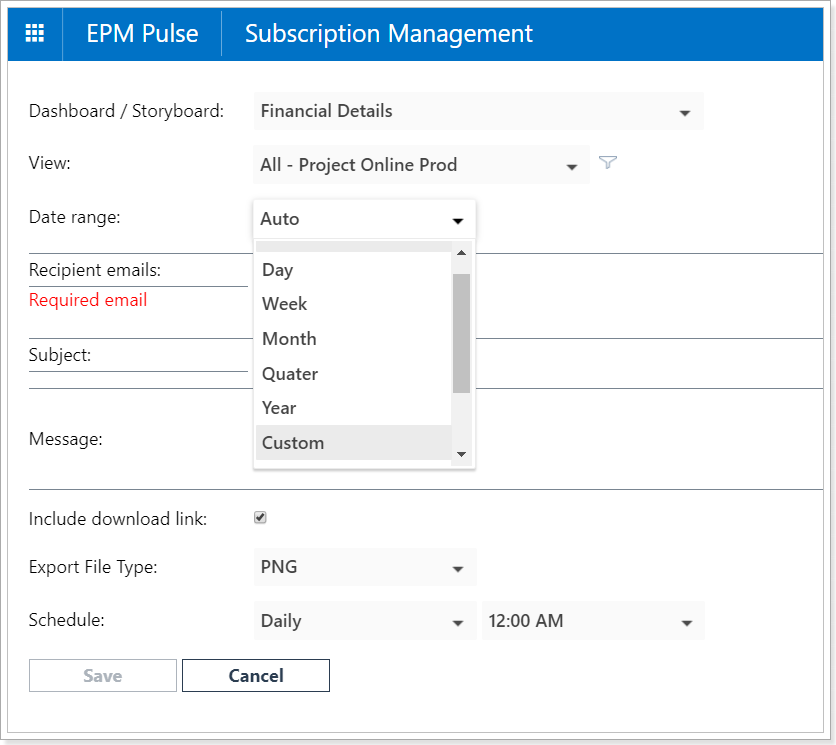
6. Enter e-mail of the recipient.
Please note that you can add several recipients to one subscription, separating e-mails with semicolon.
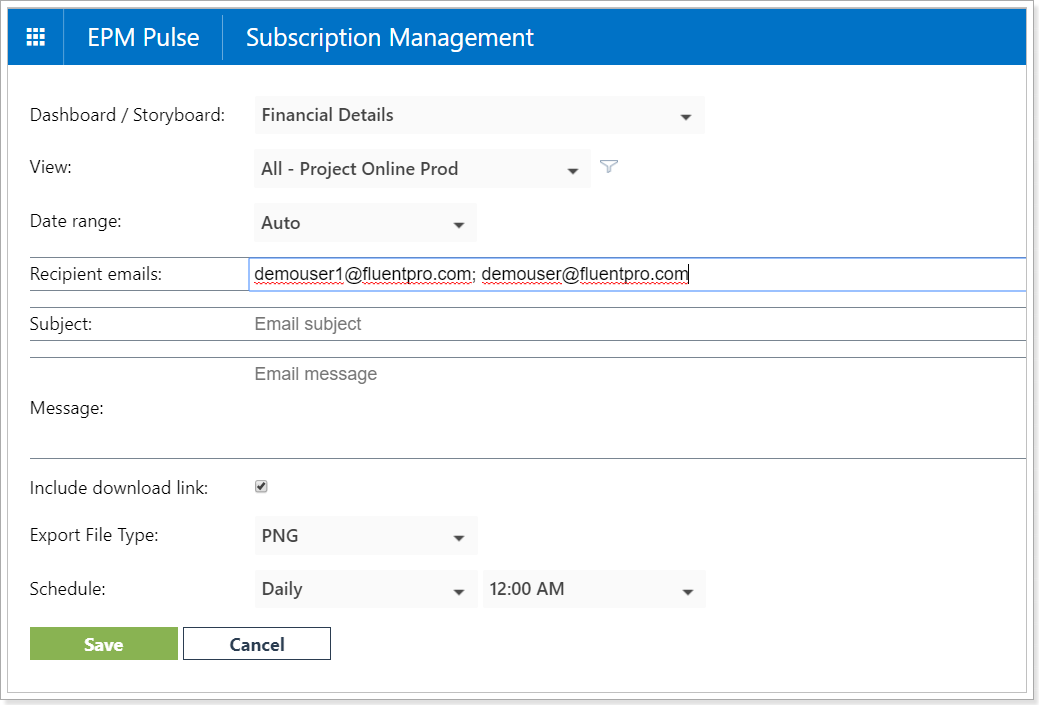
7. Provide the Subject for your email.
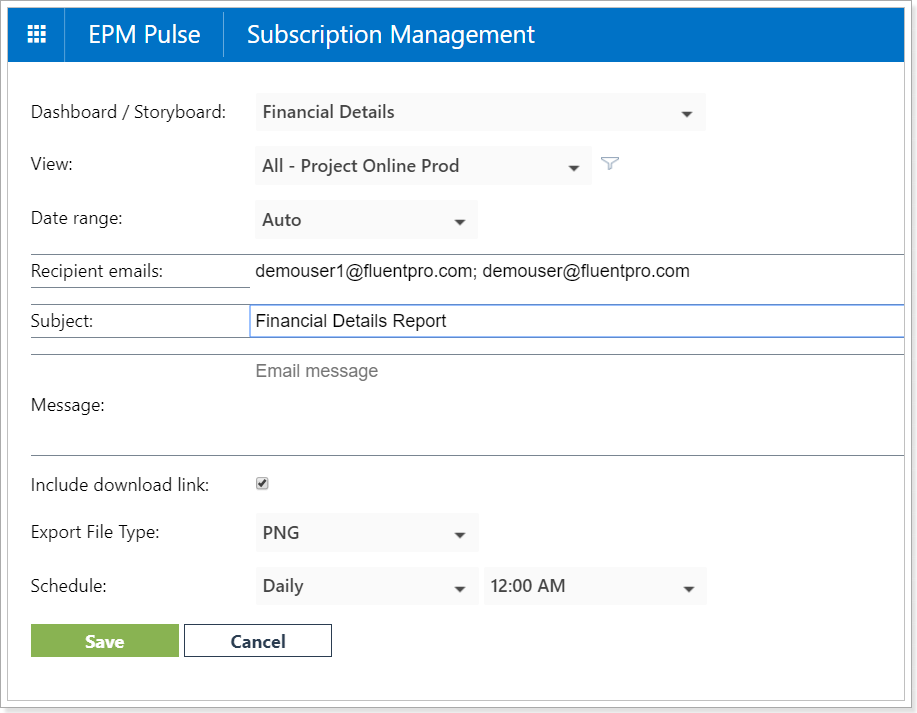
8. Type the message that you would like to include to your email.
If you leave this section empty, a default message will be sent.
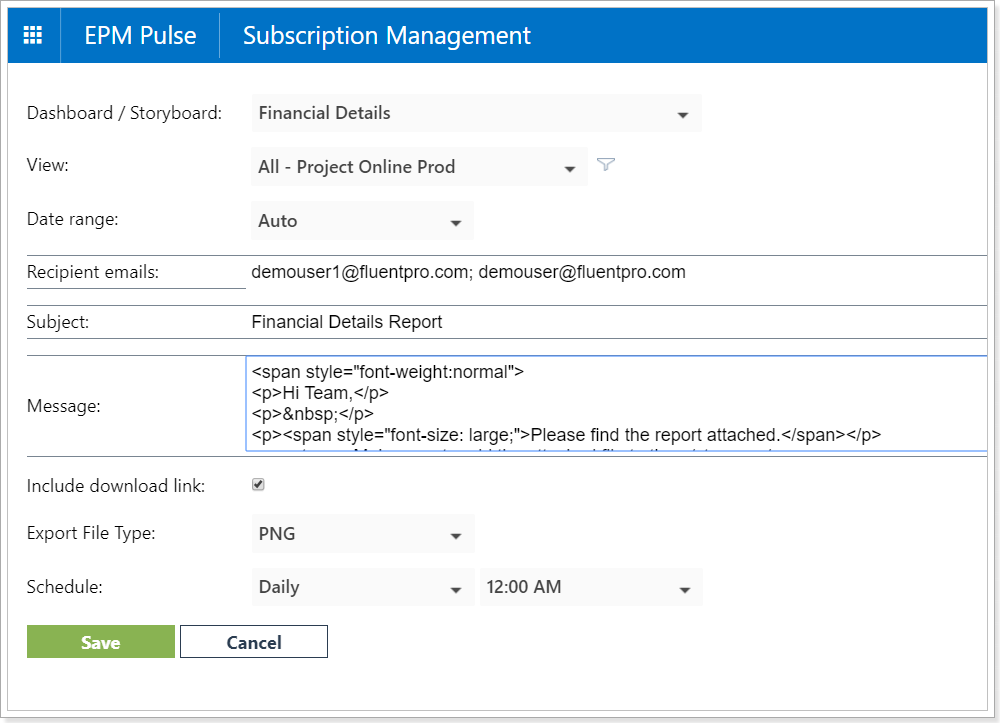
Please note: HTML format is supported in the Message section for text formatting only. If you do not use HTML, plain text will be sent.
In the example below, you may see examples of the text where different types of formatting were used.

Please find the template below in HTML format that was used to write the email above. You can use this template while writing your own messages, selecting the format you need.
<span style="font-weight:normal">
<p>Hi Team,</p>
<p> </p>
<p><span style="font-size: large;">Please find the report attached.</span></p>
<p><strong>Make sure to add the attached file to the:</strong></p>
<ul>
<li>weekly presentation</li>
<li>monthly report</li>
<li>quarterly report</li>
</ul>
<p><span style="text-decoration: underline;">In case you have any questions, please feel free to let me know.</span></p>
<p><em>This email is a weekly subscription.</em></p>
<p> </p>
</span>
9. Include download link checkbox is selected by default, uncheck it, if required.
10. Subscription is available in 2 formats: PDF and PNG.

Depending on the file format the recipient will receive a PDF file, a PNG file or a zip archive with several PNG files.

1) The quantity of PNG files or pages in the PDF file depends on the number of views for each Portfolio/Resource Pool dashboard used in the storyboard, e.g. in case you have 1 dashboard with 2 views (view A and B) you will receive a file with 2 PNG files or one PDF file with 2 pages: dashboard with the view A and dashboard with the view B.
The quantity of PNG files or pages in the PDF file depends on the number of views for each Project/Resource dashboard used in the storyboard, e.g. in case you have 1 dashboard with 2 views (view A and B). View A includes 2 projects/resources, View B includes 3 projects/resources. In this case, you will receive a file with 5 PNG files or one PDF file with 5 pages – a file/page for each project from each view.
11. Subscription is scheduled on a daily or weekly basis.
In order to create a subscription on a daily basis choose Daily in a drop-down list and set the time when the subscription has to run.

In case you need the subscription file to run on a specific day select Weekly in a dropdown list and select the day of the week and the time.
Please note: Weekly subscription allows multiple choice of days of the week.

13. Click the Save button when you finish with all the fields.
When the subscription is created you have 3 options: Run now, Edit, and Delete.

1. Click Run now to run the subscription disregarding the schedule.
2. Click Edit to change settings.
3. Click Delete to remove the subscription.
