
Please note: FluentPro Datamart is now based on EPM Pulse technology and therefore it shares some parts of the user interface with FluentPro EPM Pulse.
EPM Pulse supports 3 user roles.
| User Role | Access Rights |
| Administrator | - View and edit any dashboard in the system - Manage widget definitions - Manage licences - Manage EPM Pulse settings - Create new storyboard - View and edit any storyboard in the system - Delete storyboard - Export storyboard in PDF and/or PNG file |
| Author | - View public dashboards - Edit own dashboards - View public storyboards - Export storyboard in PDF and/or PNG file |
| Viewer | - View public dashboards - View public storyboards - Export storyboard in PDF and/or PNG file |
In EPM Pulse Online there are two ways to manage users:
- Users can be managed via configurable SharePoint groups.
- Users can be managed via individual invitations.
Manage Users via SharePoint groups
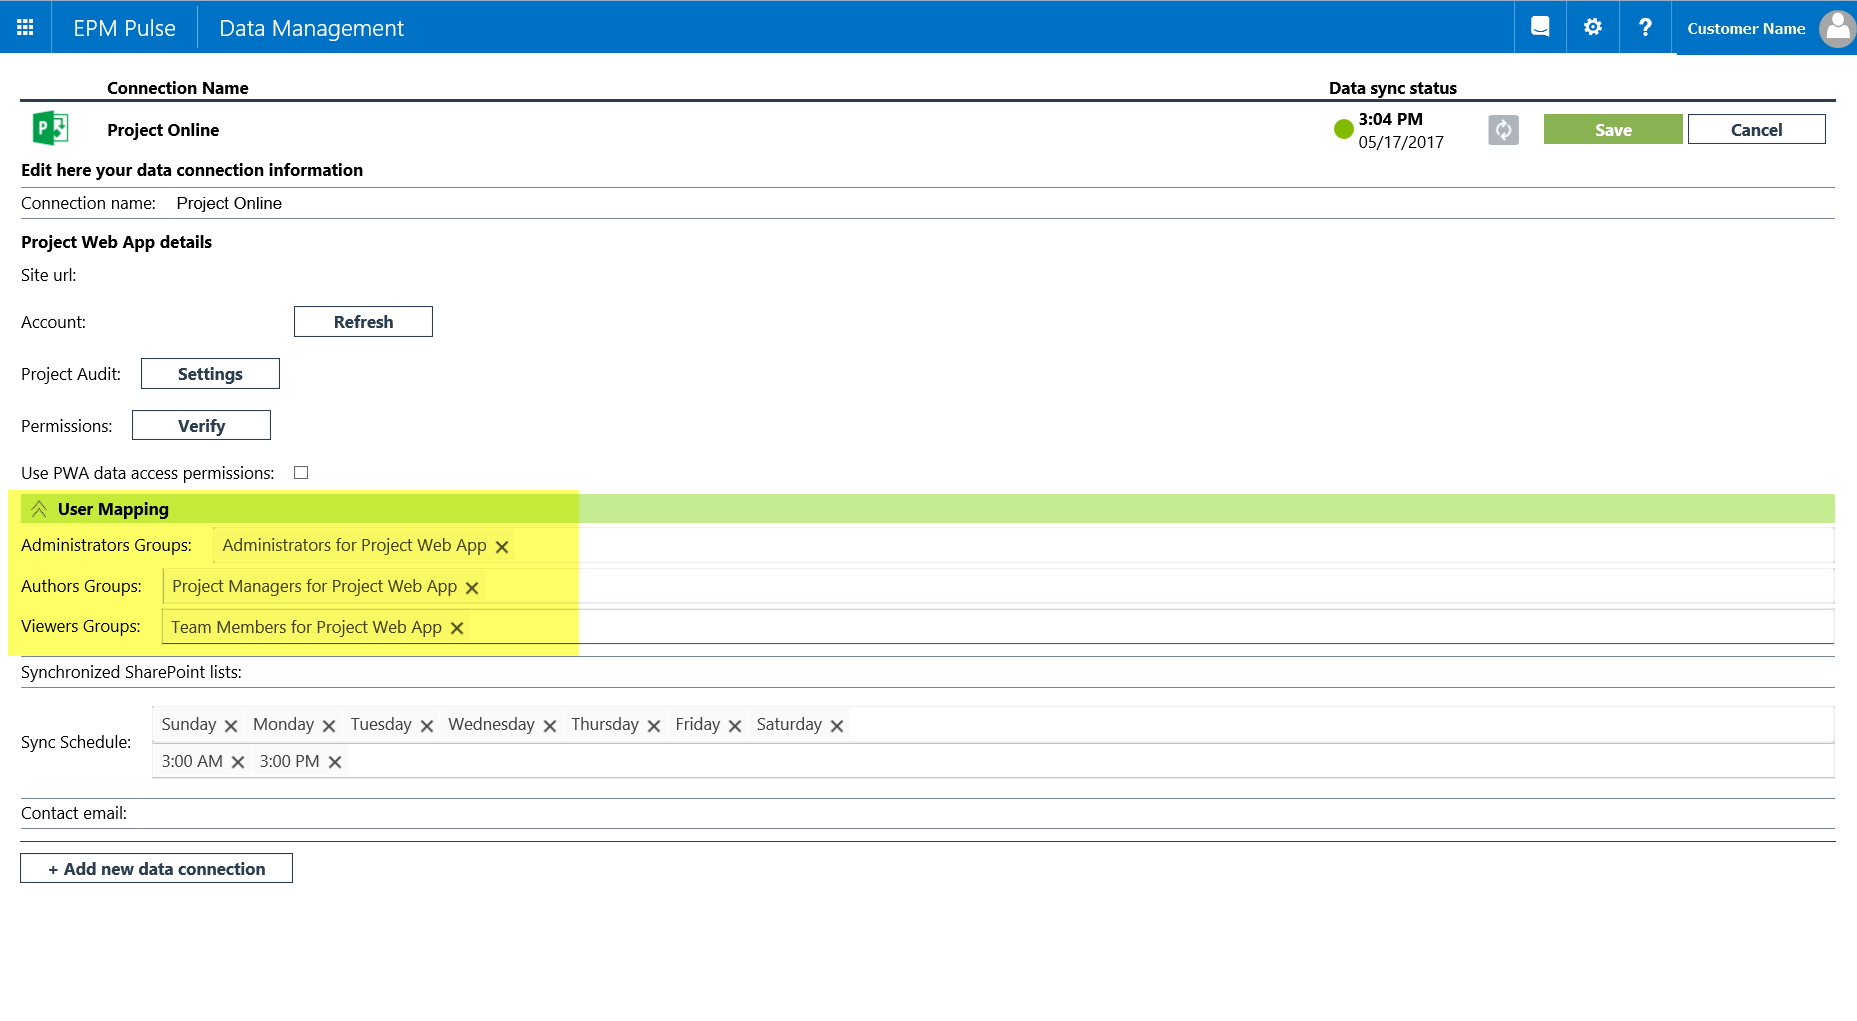
To associate SharePoint groups with EPM Pulse roles you should set these groups in User Mapping section.
Please note: The User Mapping section will only be available when the connection is added to the tenant for the first time. If this connection is deleted, the section will not be available.
There are 2 ways to access User Mapping section:
1.1. Open EPM Pulse Settings clicking the  button and select User Management from the menu.
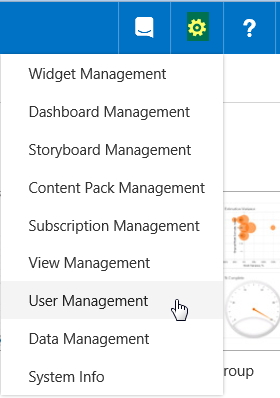
1.2. On the Users page click the Manage button next to any user managed at PWA.

2.1. Open EPM Pulse Settings clicking the button and select Data Management from the menu.
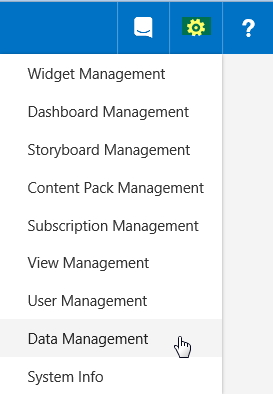
2.2. On the Data Management page click the Manage button.

To add SharePoint groups
- Expand the User Mapping section by clicking once on the section title.
- Use drop downs in the User Mapping section to set one or multiple SharePoint groups for EPM Pulse Administrators Groups, Authors Groups and Viewers Groups.
- Click Save to confirm the changes.
Please note: When you assign EPM Pulse role to a group user, all users assigned to the corresponding group will be automatically added to User Management after the data synchronization.
In case the number of users in the group exceeds the number of users allowed by the license, EPM Pulse will continue functioning, but with a notification about license violation.
To remove notifications unassign some users or groups to match the license limits and run synchronization again.
Refresh Users managed via SharePoint groups
There are several cases when a need to refresh users managed via SharePoint groups can arise.
- If a user was a member of a SharePoint group that is associated with one of the EPM Pulse roles, e.g. Authors Groups, but then this user became a member of another SharePoint group, and this group is associated with another EPM Pulse role, e.g. Administrators group, users should be refreshed in EPM Pulse in order to apply the updated role to the user.
- If you overrun license limits, EPM Pulse will continue functioning, but with a notification about license violation. To remove notifications, unassign some users or groups to match license limits, and refresh users in EPM Pulse.
To refresh users in EPM Pulse:
- Open EPM Pulse Settings clicking the button and select User Management from the menu.
- On the Users page click Refresh button next to any user managed at PWA.

Manage Users via individual invitations
Besides managing users via SharePoint groups, an individual user can also be granted access to EPM Pulse via invitation. This individual user should not necessarily belong to the PWA.
To invite individual users to EPM Pulse:
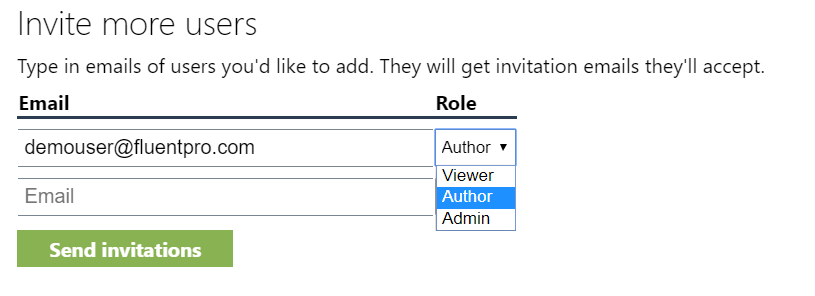
- Open EPM Pulse Settings clicking the button and select User Management from the menu. The Users page is divided into two sections, the top section lists all users, who currently have access to EPM Pulse, and the Invite more users section allows to issue more invitations.
- Type the email address of the user you want to invite into the Email field and select the appropriate role from the Role drop-down.
- After providing all necessary emails click the Send Invitations button to send the invitation emails to the specified users.
 Please note: You can send as many invitations at one go as you need, a new empty Email field will keep appearing below the filled fields.
 4. Each of the users will receive the EPM Pulse Invite email with the link to EPM Pulse.
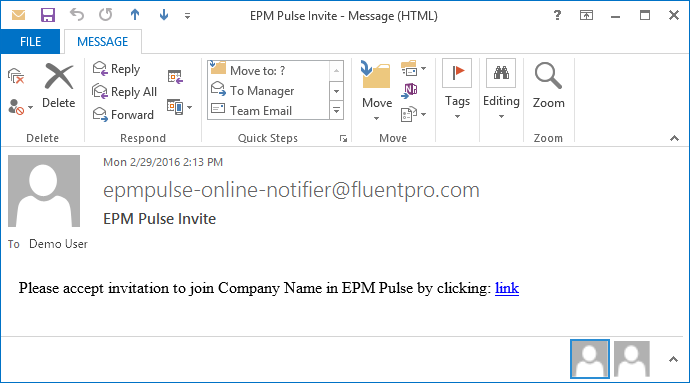
5. Invited users are now also added to EPM Pulse and have Active status (the user’s status will change to the green Active circle).

Manage an Individual User
Actions column provides two options – Edit and Deactivate that can be used to manage the individual users:

Click the Edit button, to edit user’s Role. Select a new role from the Role drop down and click Save to apply the changes.

Click the Deactivate button, to deactivate the user and to deny them access to EPM Pulse. Confirm deactivation by clicking OK in the “Are you sure?” dialog window.
The deactivated user now has the grey Archived status:

Activate a User
To activate the user’s account and to grant access to EPM Pulse back, click the Activate button, which is available for each archived user.

Clicking the Activate button will send the EPM Pulse Invite email to the user, and after this user accepted the invitation by following the link in the email and signing into EPM Pulse, the user’s status will change back to the green Active circle.
Please note: Edit and Deactivate options are available for individual users, but not for users, who are granted access to EPM Pulse through SharePoint groups, because such users should be managed through SharePoint groups in PWA.