
Please note: It is highly recommended to test your integration scenarios on the TEST Projects and TEST Planner plans before you configure integrations for your real existing projects and plans. If anything goes wrong, it will be easy to correct on the test projects, not on your real data and then take this into account while configuring integrations for your real projects and plans
The fields which may be synced using this scenario:
- Task name
- Assignment
- Start and finish dates
- Progress (% complete)
- Bucket name
Important notes:
- On back sync from Planner to Project Online only Task progress, Start and Finish dates, Assignments and Task name can be updated.
- The tasks created in Planner can't be transferred to Project Online. It is a by design behavior.
To run the integration scenario perform the following:
1. Create a project in Project Online, open its PDP page for editing and set the “Sync Project with Planner” field to 'Yes'.

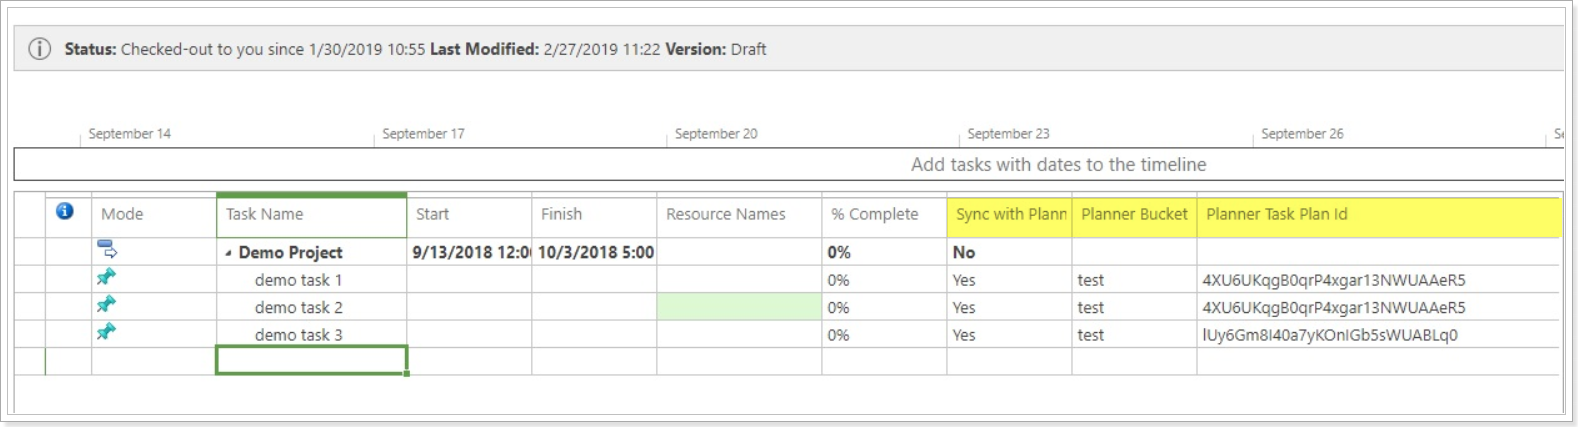
2. Add tasks to the newly created project. For each task, specify the Start date, Finish date, Task progress (default 'Not Started) and Assignments.
Also, set up the following fields: Sync with Planner (set to yes for the required tasks), Planner Task Plan ID (fill in with the required planner plan ID), Planner Bucket name (fill in with the required Bucket name).
Please note: To find out the Plan Id, open your plan in Planner and look at the browser URL. The URL should look like this:
https://tasks.office.com/[yourtenant].onmicrosoft.com/en-US/Home/Planner/#/planschedule?groupId=03595ee2-d38d-4604-ab5d-d0071d92ef55&planId=afiiVzPwpkGSBWuxeiIa4GUADkoj
The character combination after planId= represents the id of the plan currently opened in the browser.
3. Publish the project and then check it in.
Please note: It is very important to publish the project before launching integration because only after publishing new data appears in OData and can be read by Integration Hub.
4. Open Integration Hub on the Scenarios tab, select the required scenario (direction from Project Online to Planner). Navigate to the scenario menu on the left and select the Run Now option to launch integration.

If everything is configured correctly, the tasks will be created in the Planner Plans (which IDs you have indicated in Project Online 'Plan ID' custom field) and Buckets. Note, that the Start and Due date will be set according to the Planner Start and Planned Finish dates.
5. Make some changes in Planner to update task statuses.
6. Run the sync scenario in the Project Online direction. The updated task status should be also updated in Project Online.