In this article we will review the case when it is required to change Planner Plan in the existing Project Online <> Planner two-way scenario.
If there is a necessity to set data synchronization in the existing Project Online <> Planner two-way scenario for a different Planner Plan perform the following:
Please note: While performing these actions make sure there is no data synchronization from Planner Plan that was initially selected for data synchronization with your Project Online project. If there is data synchronization launched for this Planner Plan, it may break the existing scenario.
1. Open the Project Online project that is synchronized with the Planner plan that needs to be changed for a different one.
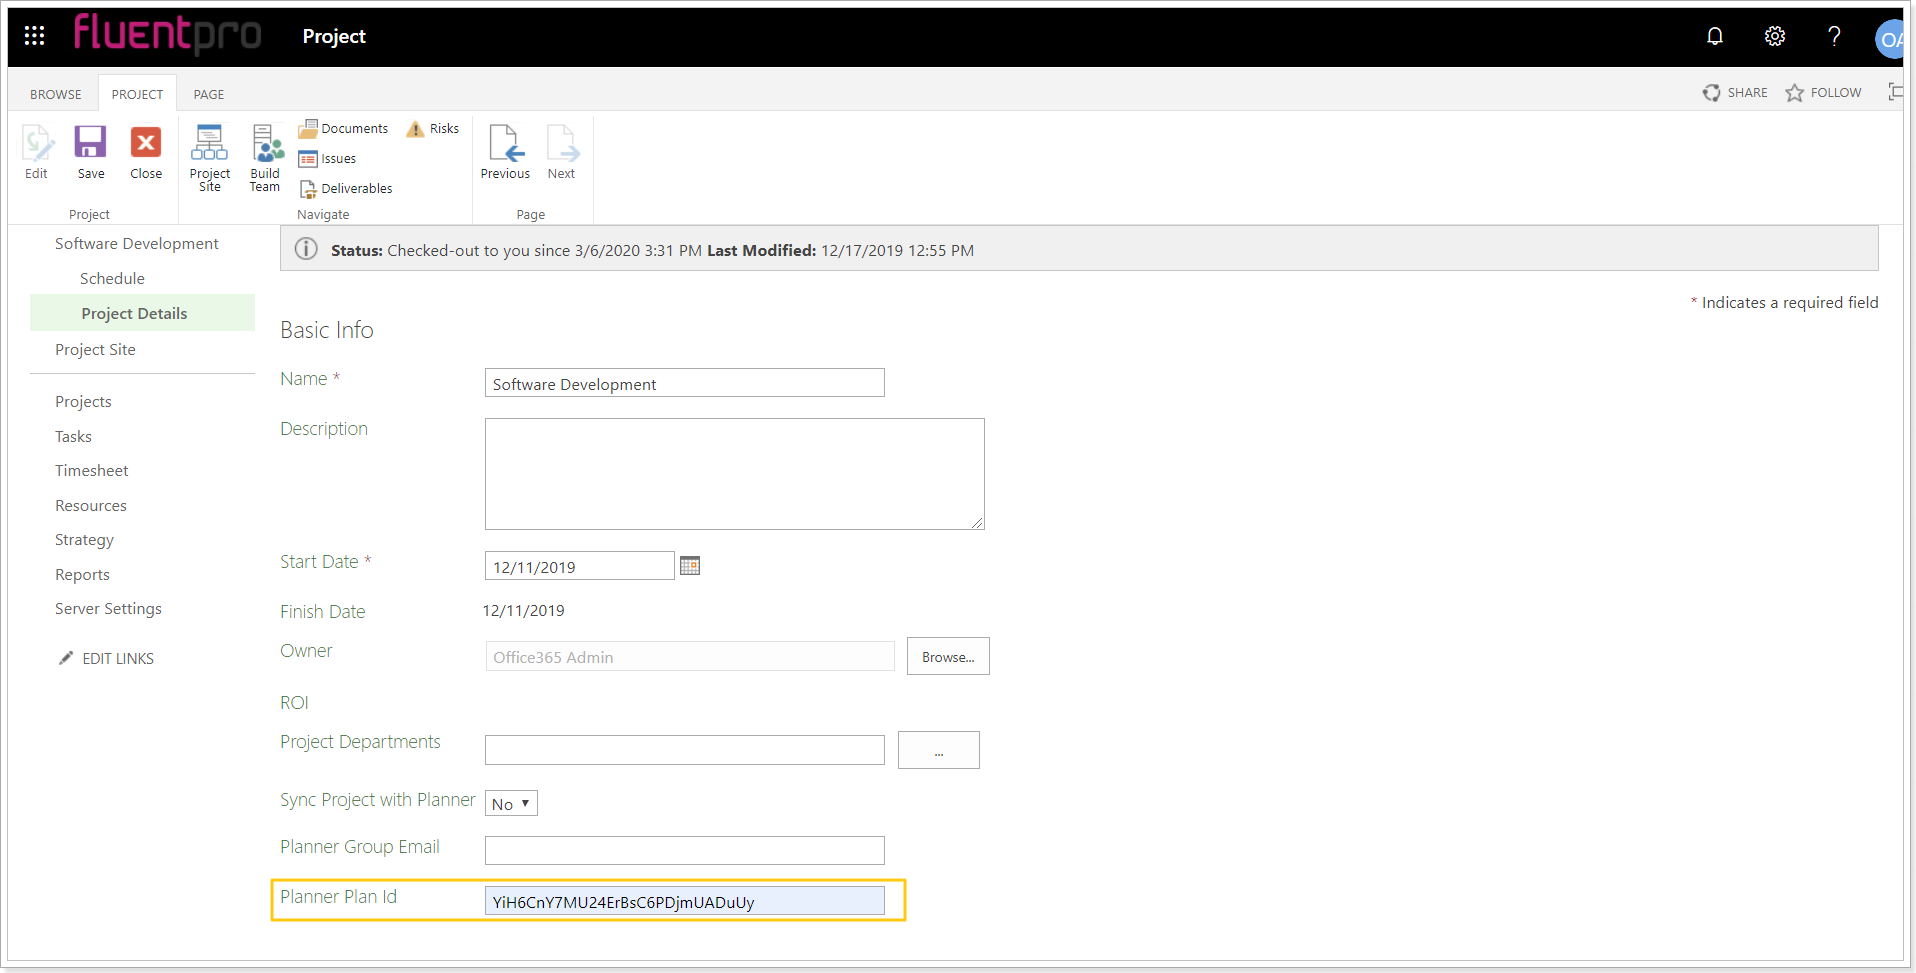
2. Navigate to the Project Details page, open it for editing and delete the information for the 'Planner Plan ID'' and 'Planner Group Email' fields.
Save the changes. Make sure the project is checked in.

3. Open Integration Hub Project, select Online-Planner scenario and launch data synchronization from Project Online to Planner.

4. After the synchronization from Project Online to Planner is finished, open a new Planner Plan that you would like to set data synchronization with the Project Online project.
Please note: To find out the Plan Id, open your plan in Planner and look at the browser URL. The URL should look like this:
https://tasks.office.com/[yourtenant].onmicrosoft.com/en-US/Home/Planner/#/planschedule?groupId=03595ee2-d38d-4604-ab5d-d0071d92ef55&planId=afiiVzPwpkGSBWuxeiIa4GUADkoj
The character combination after planId= represents the ID of the plan currently opened in the browser.
Copy the part after planId=.
5. Open Project Online project again. Navigate to the Project Details page, open it for editing and paste a Planner plan ID copied from the new Planner plan to the 'Planner Plan ID'' field.
Save the changes. Make sure the project is checked in.

6. Open Integration Hub Project, select Online-Planner scenario and launch data synchronization from Project Online to Planner.

7. Open Project Online project once again and create a new task or edit any existing task there.
Save the changes, publish the project and check it in.
8. Open Integration Hub Project, select Online-Planner scenario and launch data synchronization from Project Online to Planner.

Check that a new task or the task you have edited was synchronized to the new Planner Plan in Planner after the synchronization is finished.
If the task was successfully synchronized to the new Planner Plan, data from this new Planner Plan will be synchronized to Project Online as well starting from the next data synchronization from Planner to Project Online.
Please note: Planner tasks that were created in Planner Plan before data synchronization was established will not be synchronized to Project Online. Only new Planner tasks and the tasks that were synchronized from Project Online and updated in Planner will be synchronized to Project Online.
Please note: As you follow the steps in this article and change the Planner Plan in the existing Project Online <> Planner two-way scenario, the integration will be working for new tasks only. New project tasks, that were created after the new Planner Plan was connected to the Project Online project, will be synchronized to the new Planner Plan. Old tasks, that were created before the new Planner Plan was connected to the Project Online project, will not be synchronized to the new Planner Plan. The only workaround to synchronize the old tasks is to recreate them in Project Online.
