
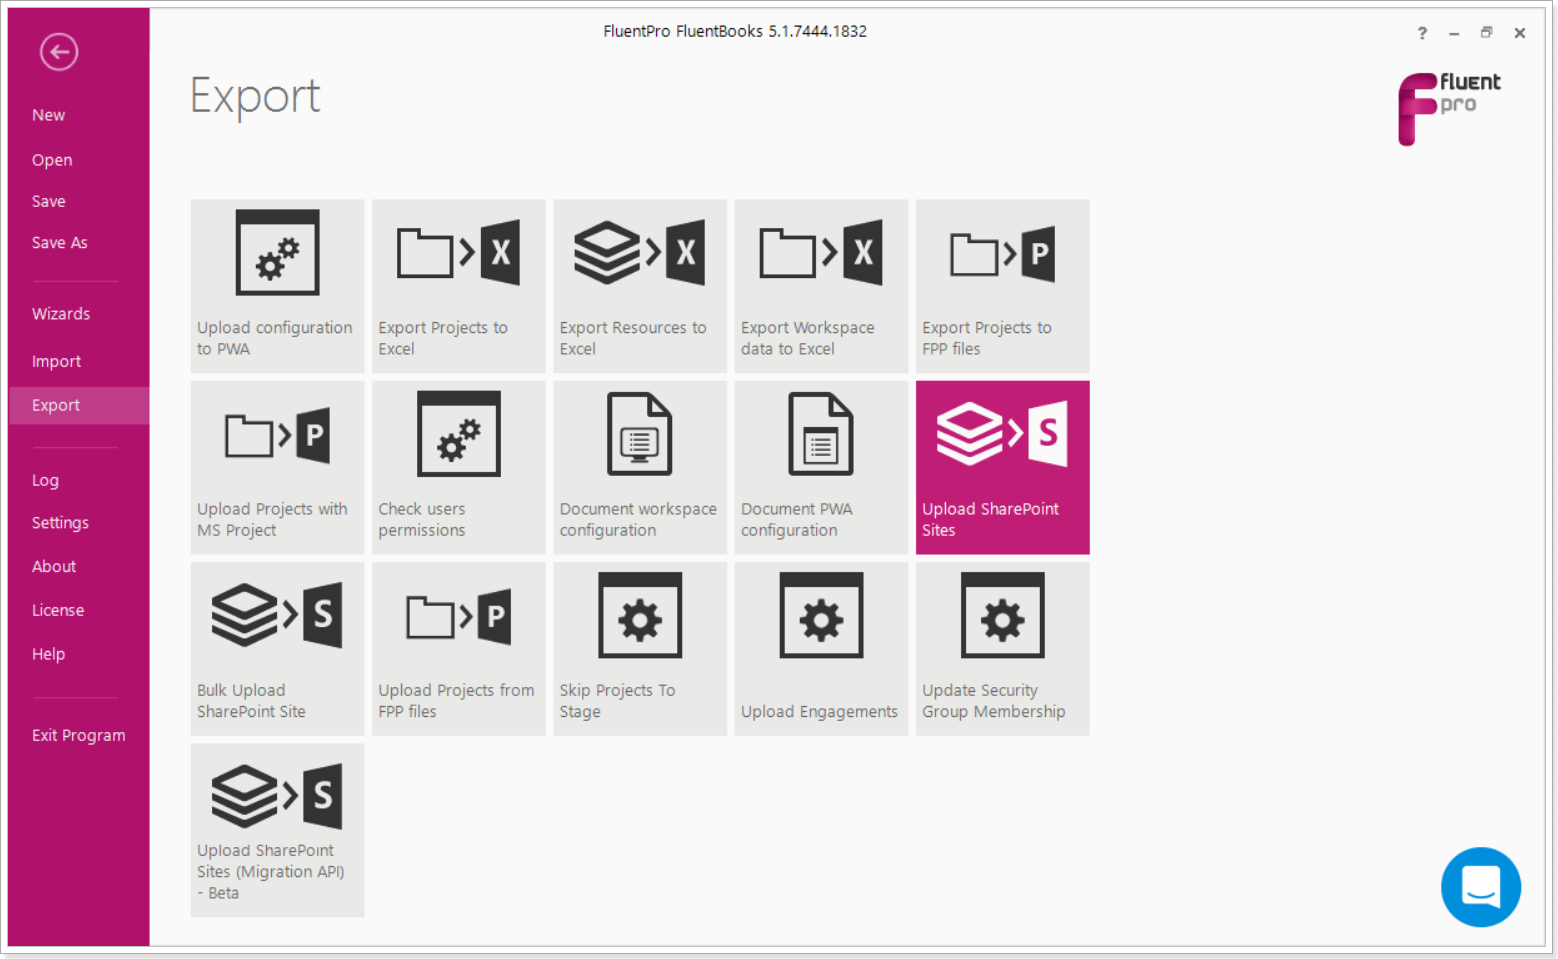
Upload(Export) SharePoint Sites wizard is designed to assist with exporting SharePoint sites from FluentBooks workspace to a specified PWA.
To start the wizard click File → Export → Upload(Export) SharePoint Sites.
Please note: Before uploading SharePoint Sites, the Tenant Administrator should navigate to the SharePoint admin center -> Active Sites -> Select the site in question -> Open the Settings page -> Click Edit under the "Custom script" setting. Select "Allowed" and save the changes. This will allow the account you are using in FluentBooks to upload site templates, custom forms, views, etc. With this option set to "Blocked", the migration will end with errors. For more details, please refer to this article.
Step 1 - Load Sites list
Specify the Root Site URL of the target PWA, and login credentials in this step.
SharePoint sites to upload must be present in the current workspace, if they were downloaded with the Save each site into separate workspace file setting turned OFF.
User account that is used by FluentBooks when migrating SharePoint content should have Site Collection Administrator rights.
If user account does not have Site Collection Administrator rights, then FluentBooks will not be able to create a new Site. Existing Site might be updated successfully, but it is strongly recommended to use user account with Site Collection Administrator rights to avoid unexpected issues.
“Sites hierarchy loading optimization”: check this checkbox to optimize the loading of the sites hierarchy, this setting allows you to create multiple upload threads to speed up the process.
In case your target migration direction is Project Online, it is recommended to upload SharePoint sites in one or a maximum of two threads. If you select 2 upload threads, it will be necessary to monitor the upload process and review the log file in order to track if everything is being migrated successfully.
If the site upload to the Project Online instance is done in more than 2 threads with the same migration account, it may cause throttling, jobs queue, and other unexpected results.
If you have a great number of sites to migrate and would like to speed up the upload process, use the multiple credentials option.
“Specify Project Web Application URL“: check this checkbox in case you wish to upload Project Sites to the Site Collection that differs from the one where the Projects are located. Please refer to the migration of Project Sites to different Site Collections article to get more details on this process.
“Fix Excel and ODC file connections: check this checkbox to process Excel Reports and ODC files during import and to update Data Source URLs from the source PWA URL to the target PWA URL.
“Migrate Created and Modified field data”: check this checkbox to migrate the values of the “Created” and “Modified” fields. If the checkbox is unchecked, the migration date will be set in these fields.
“Overwrite Items” when this checkbox is checked, FluentBooks will overwrite the existing items/documents in the lists and libraries. If the checkbox is not selected, FluentBooks will skip those items/documents.
“Users Mapping” this setting allows mapping source and target accounts. If this setting is turned ON, then on step 3 of the wizard FluentBooks will load accounts from imported sites and from the target PWA and will attempt to map them automatically. If the checkbox is unchecked, then Step 3 – Account Mapping will be skipped.
“Load sites from separate workspace file” - turn this setting ON if you downloaded SharePoint sites with “Save each site into separate workspace file” turned ON.
In the Folder field specify the path to the folder that contains workspaces with the site (same folder as during SharePoint sites download).
Leave the “Load sites from separate workspace file” setting turned OFF, if you downloaded SharePoint sites with “Save each site into separate workspace file” turned OFF, in this case, SharePoint sites will be uploaded from the current workspace.
“Delete site before Upload” - this option allows deleting a site on the Target PWA before its Upload.
“Do not upload existing sites” - turn this setting ON if you do not want to upload sites that already exist in Target PWA. The sites that do exist will be updated with the information you are uploading.
“Upload Item Permissions” - turn this setting ON if you downloaded SharePoint sites with “Download item permissions” turned ON. This will allow uploading unique permissions of items/lists.
"Upload using multiple credentials" -check this checkbox if you have a large number of SharePoint Sites to upload (100 or more and each site has a lot of information) and you have several accounts with the required permissions that can be used to upload SharePoint Sites in several threads.
When the checkbox is checked, you can add 4 more accounts with the required permissions that will be used to log in to the source PWA and upload the sites. Each account will be used to upload 6 sites (max), and all the accounts will be used simultaneously. As a result, if you provide 4 additional accounts, 30 (max) sites will be uploaded at once.
Additional threads will be added automatically. You can set the required number of upload threads. If you add 4 more accounts then 30 is the maximum number of threads. If you add fewer accounts, provide the number of threads accordingly (6 threads for each account max). This option helps to avoid throttling while uploading a large number of SharePoint sites.
Multiple credentials option is not available for the Custom (Browser) authentication type.
"Publish connected projects after upload" - check this checkbox if you would like to launch the 'Publish Projects' operation automatically after the upload of SharePoint Sites is completed.
"Do not upload groups if absent in target" - it is crucial to make a decision on the enablement or disablement of the "Do not upload groups if absent in target" checkbox during the upload of the Root PWA Site (learn more about this migration step in this article). The decision you make as for this setting during the Root PWA Site upload will then affect the upload of the project sites. Once the Root Site has been uploaded, and you proceed to the Project Sites upload, this setting whether enabled or disabled at the step of Project Sites upload is ignored
If the checkbox is not checked, then while uploading the Root PWA Site to the target PWA, all groups from the workspace will be created/updated on the target PWA. In such case when later the subsites are uploaded to the target PWA, a duplicate group of the corresponding type will be created for each site.
If the checkbox is checked, FluentBooks will be skipping the groups that do not yet exist in your target instance. Any groups that do already exist will be updated. Later, during the subsites upload, duplicate groups will not be created on the target PWA.
"Overwrite navigation" - if the checkbox is checked then the SharePoint site navigation will be deleted from the target before upload and the navigation from the source will be uploaded to the target site. If the checkbox is not checked, FluentBooks will be updating the existing navigation on the target according to the source site, if the same links/files/names are found on the target site. We recommend checking this checkbox for the navigation to be uploaded correctly.
"Upload item/document versions" - if this option is selected the item/document versions will be uploaded to the target PWA (if the item/document versions were downloaded to FluntBooks workspace previously). For detailed information on how to migrate item/document versions please refer to this article.
"Delete document before upload' - select this option if the documents that you plan to upload already exist on the target PWA. It is not possible to overwrite document versions using FluentBooks. To upload the document versions to the target PWA, it is required to remove the existing documents from the target PWA. Please note: If this option is on, only the documents that are selected for upload will be deleted from the target PWA, all other documents will not be deleted.
"Keep number of versions (0 - all)" - if the "Upload document versions" option is enabled, you can provide the number of versions you need to migrate to the target PWA.
Click Next to go to the next step.

Step 2 - Select Sites data
Select the SharePoint Sites data to be exported to the target PWA by checking the check-boxes next to the elements.
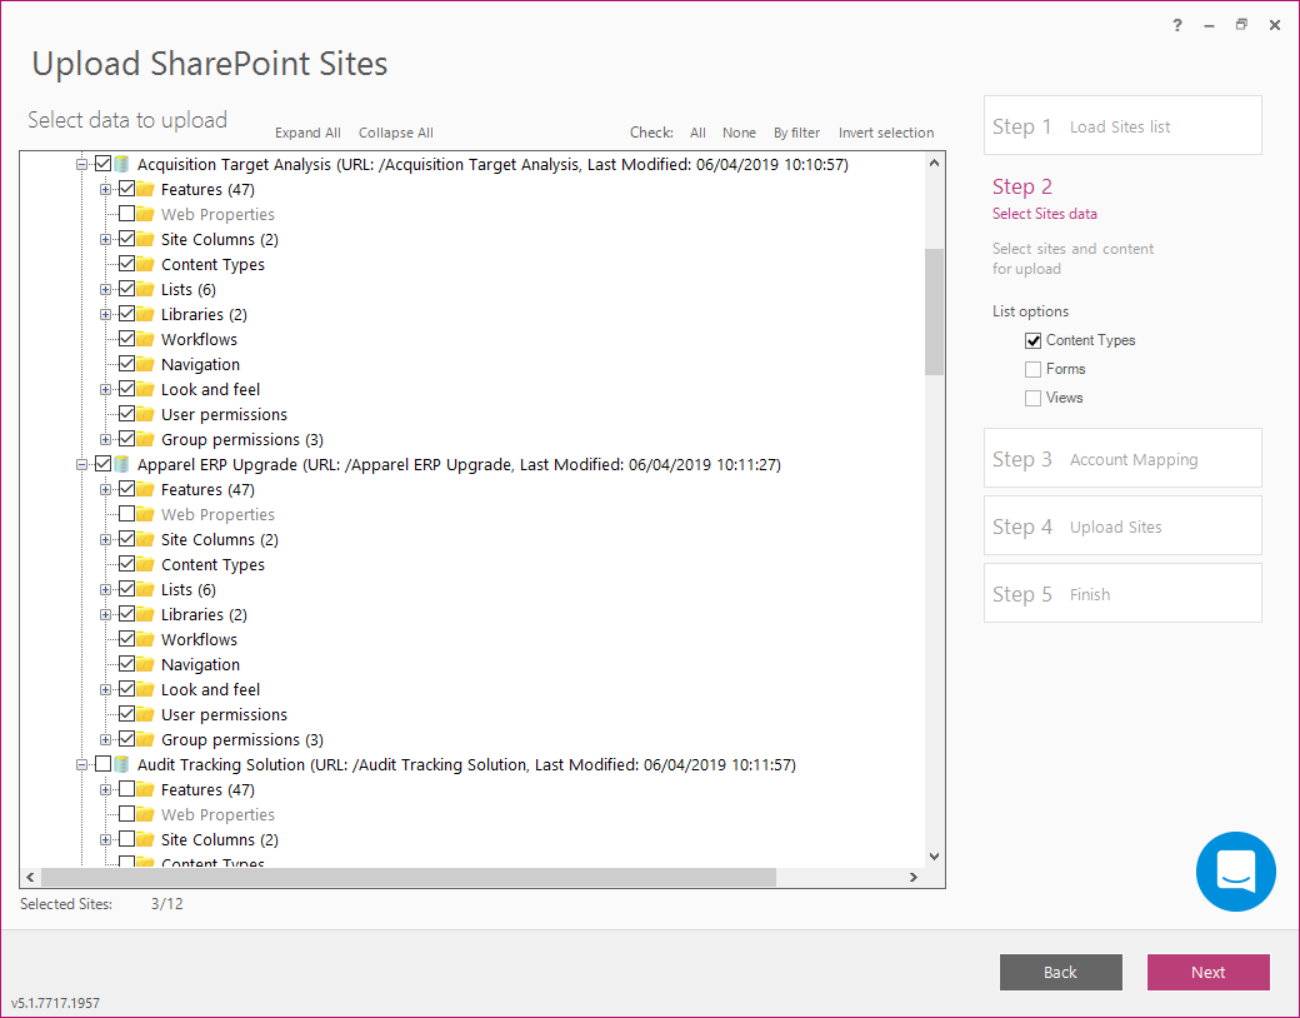
“All”, “None” and “By filter” "Invert Selection" options can be used to bulk-check and uncheck the data checkboxes.
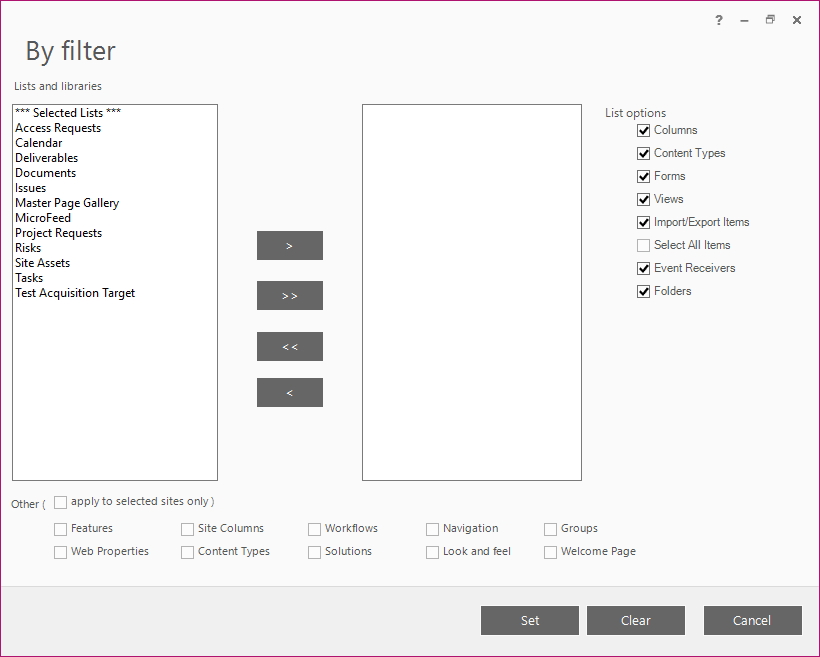
“By filter” option allows to bulk check/uncheck the following options for lists and documents: Columns, Content Types, Forms, Views, Import/Export Items, Event Receivers, Folders. Additionally, you can bulk check/uncheck Features, Site Columns, Workflows, Navigation, Groups, Web Properties, Content Types, Solutions, Look and feel, Welcome page. Check “Apply to selected sites only” in order to set or clear selected options and entities for a selected site only. Once you have checked all required options and entities, click “Set” to check checkboxes or click “Clear” to uncheck checkboxes for all required options and entities.
Click Next after all necessary data is selected.
If Resource Mapping is turned OFF
Sites Upload will begin right after you click Next on Step 2 of the wizard.
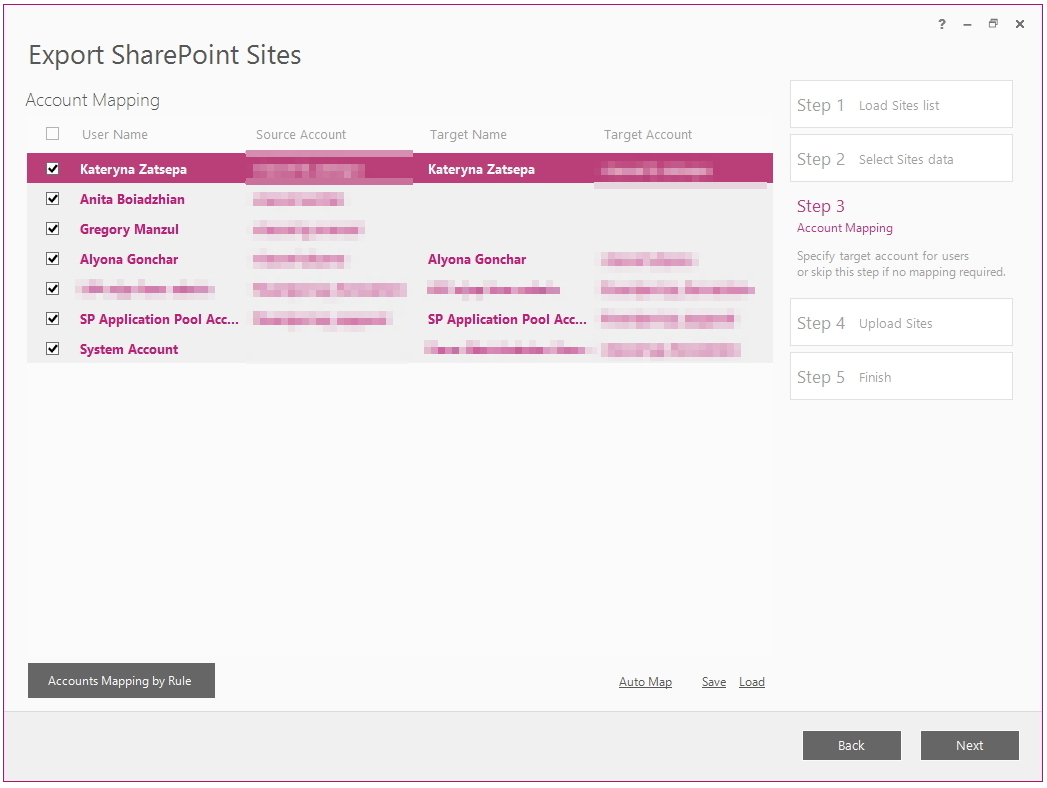
Step 3 - Account Mapping
If “User Mapping” checkbox was unchecked on the Step 1 of the wizard, then this step will be skipped.
FluentBooks will load accounts from the source PWA. Please refer to the User Account Mapping article to find information on why Account Mapping is required.
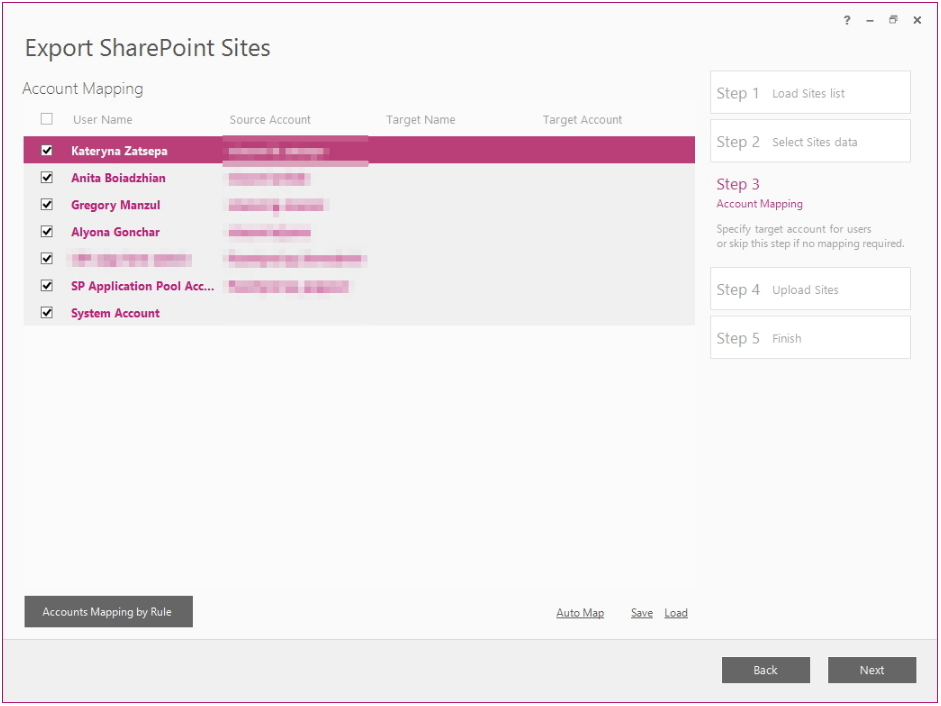
Save - you can use this option to save the mapping results for future migrations. The file will be saved in the XLSX extension.
Load - in case you have previously saved a user mapping file, choose this option to load it.
FluentBooks provides two ways to map accounts.
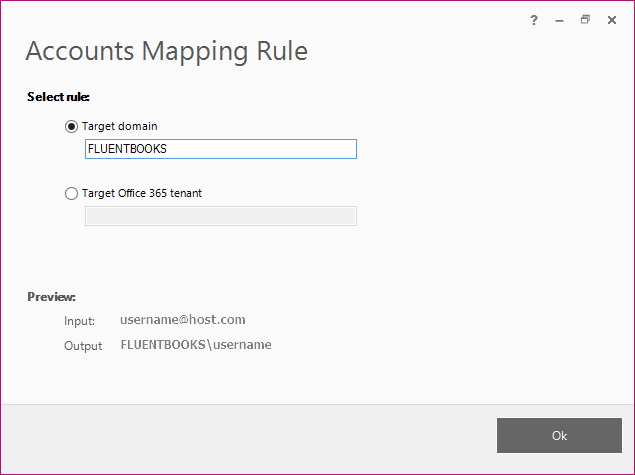
1) Accounts Mapping by Rule
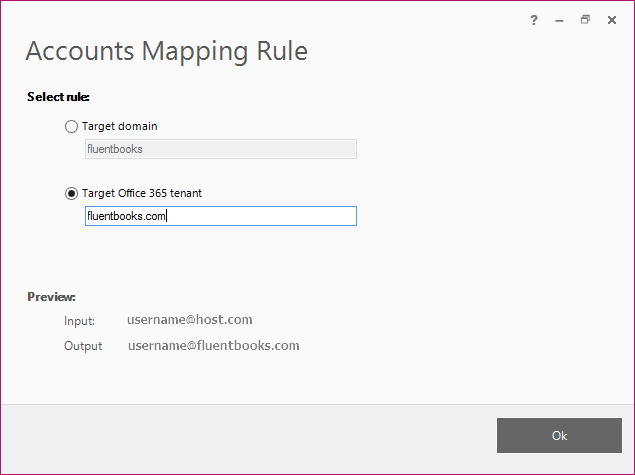
This option allows you to perform a bulk update of the target accounts and to set either the ‘Target domain’ or ‘Target Office 365 tenant’ login type for all target accounts at one go.
Click the “Accounts Mapping by Rule” button, select either of the rules, and provide the domain or Office 365 tenant. The preview section will show how the accounts will look like after the rule is applied.
Click OK to apply the selected rule.
2) Auto Map
If you choose this option FluentBooks will load the target users and attempt to map them automatically by name. Update the mapping if needed. The target account can be edited manually, to do this double-click the target account name, and it will become editable, click the Enter key to confirm the changes.
If there is no corresponding user on the target PWA, then the line with such a user will be left blank.
Click Next after you finish user mapping to proceed with site upload.
Step 4 - Upload Sites
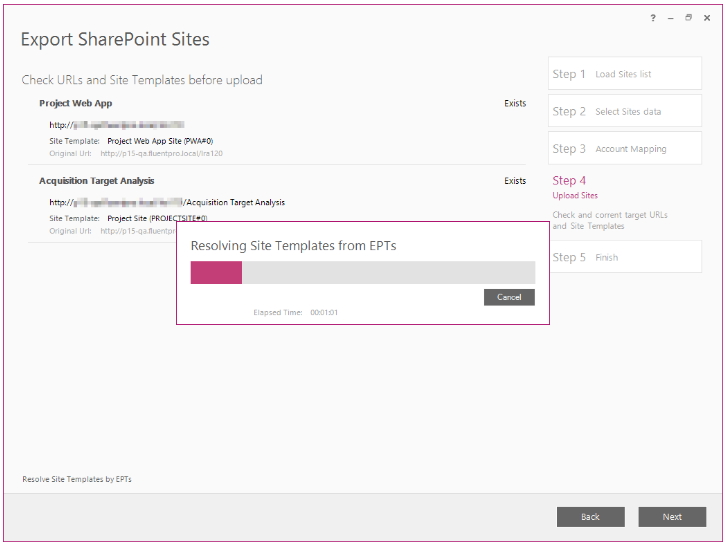
If custom templates should be applied to the sites, click the Resolve Site Templates by EPTs option, FluentBooks will check the site templates specified for EPTs on the target PWA and will set these site templates for the sites that are being exported.
Please note: the Site Template of the existing Site cannot be changed either by FluentBooks or manually.
Click Next to start the upload process.
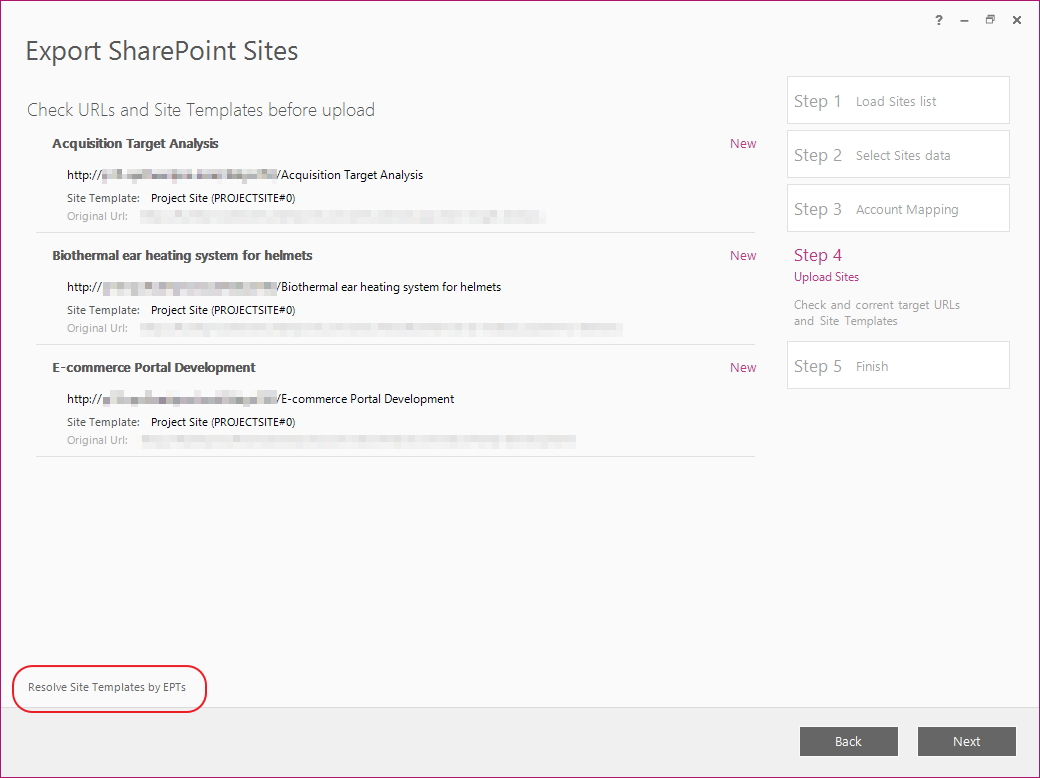
To update the Site Template, click on the current template, find a new template in the list (note, that only templates that exist on the target PWA are available in the list), and double-click on this template to apply it.
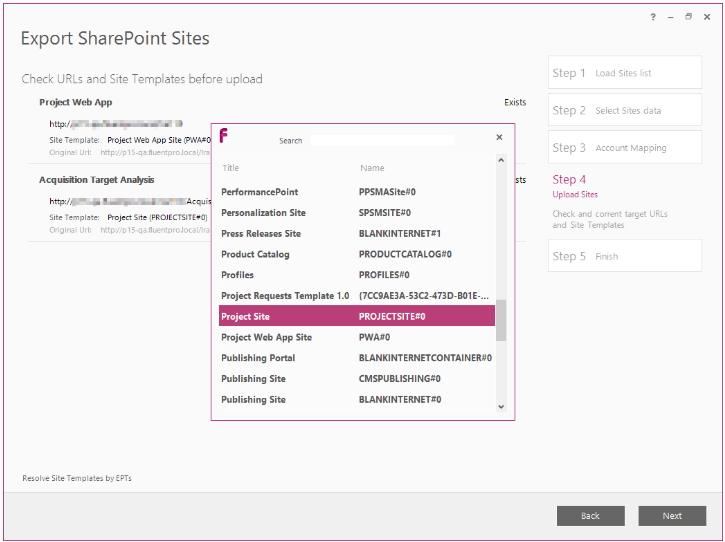
FluentBooks stores the information about the site's project in the workspace, as well as the information about the EPT of this project. If you click the “Resolve Site Templates by EPTs”, FluentBooks will check the site templates specified for EPTs on the target PWA and will set these site templates for the sites that are being exported.
Click Ctrl+H to use the “Find and Replace” feature.
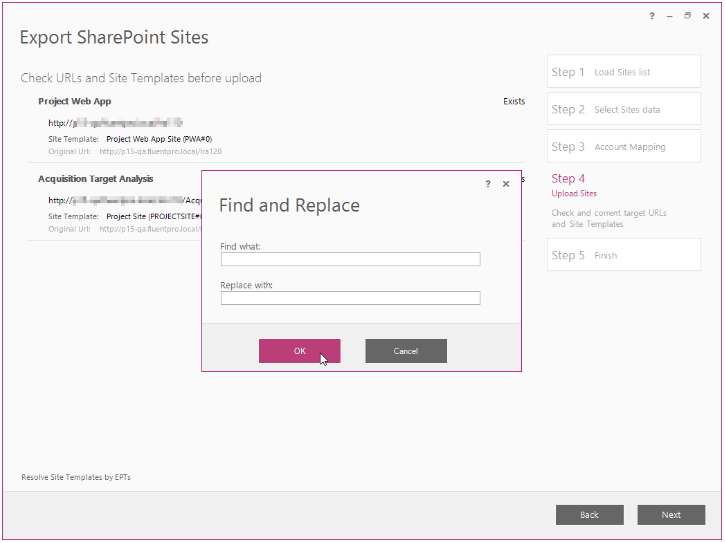
Click Next after all URLs and Site Templates are correct.
Allow the wizard some time to upload SharePoint Sites data, Log option allows viewing the log records in real-time during the upload process.

Step 5 - Finish
Upload Summary displayed after the export process is finished will show the SharePoint Sites that were exported to the target PWA.
Click Finish to close the wizard.
