
This article describes how to use FluentPro Power BI Pack for Office 365 Planner.
Please note: Configuration and usage of Power BI Report Pack for Planner requires active subscription or active trial period. Please contact FluentPro Sales Team for pricing or trial request at sales@fluentpro.com.
The process is divided into 4 main steps:
I. Sign Up to EPM Pulse
1. To start using EPM Pulse you need to Sign Up to it from the EPM Pulse Sign Up page available at: https://us-online.epmpulse.com; https://eu-online.epmpulse.com or https://ca-online.epmpulse.com
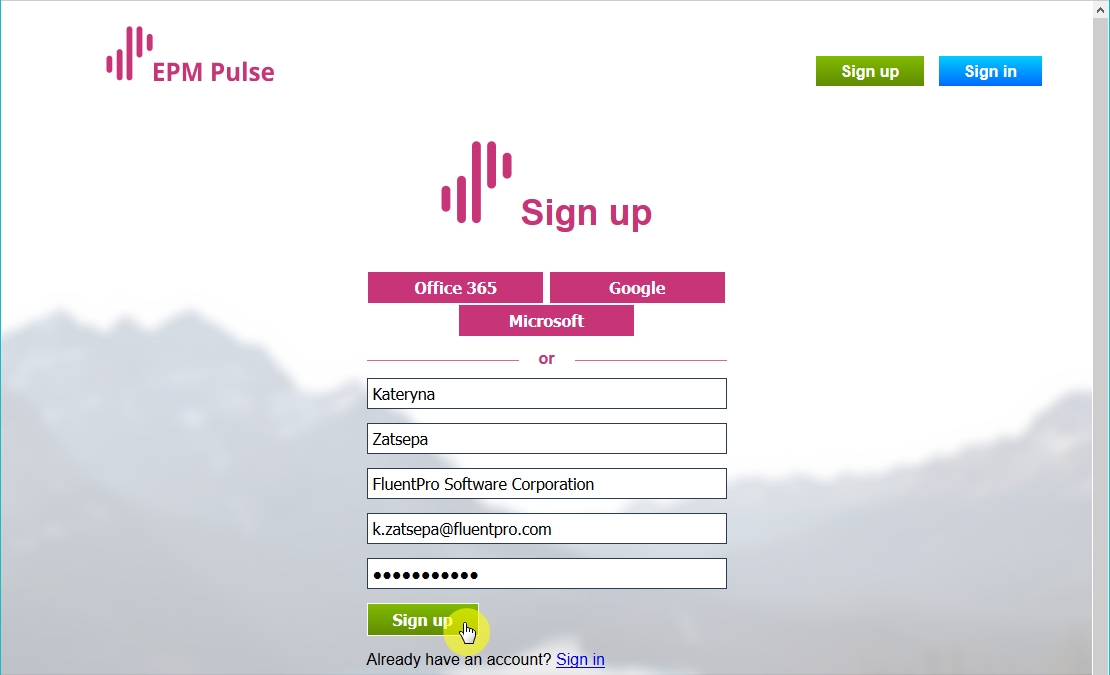
Click 'Sign Up' button on the opened page
️Please note - if you sign up at us-online site, your data will be stored on our Azure storages located in US region. If eu-online is chosen, the same will be located in Europe region. Registration in ca-online will make your data stored in Canada region. If needed, you can contact our Support team and your data can be moved from one region to another - support@fluentpro.com

2. It is recommended to Sign Up by providing your contact details, rather than choosing either of the integrated authorization modes - Office 365, Google or Microsoft.
Power BI reports will be using EPM Pulse OData as data source. To establish connection between Power BI and EPM Pulse OData it is required to provide login and password (Basic authentication). If either of integrated authorization modes - Office 365, Google or Microsoft - are used when signing up to EPM Pulse, it would not be possible to establish connection between Power BI and EPM Pulse OData, since for such authentications user's login and password are not used explicitly. They use access tokens instead.
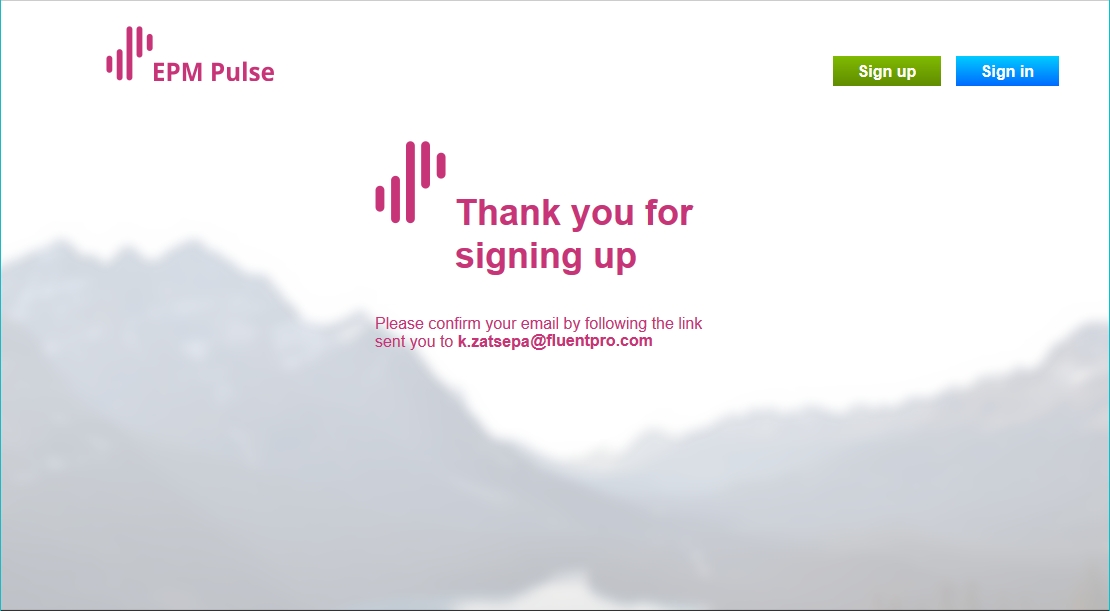
3. EPM Pulse will send a confirmation email to the specified address. Follow the link from the received email
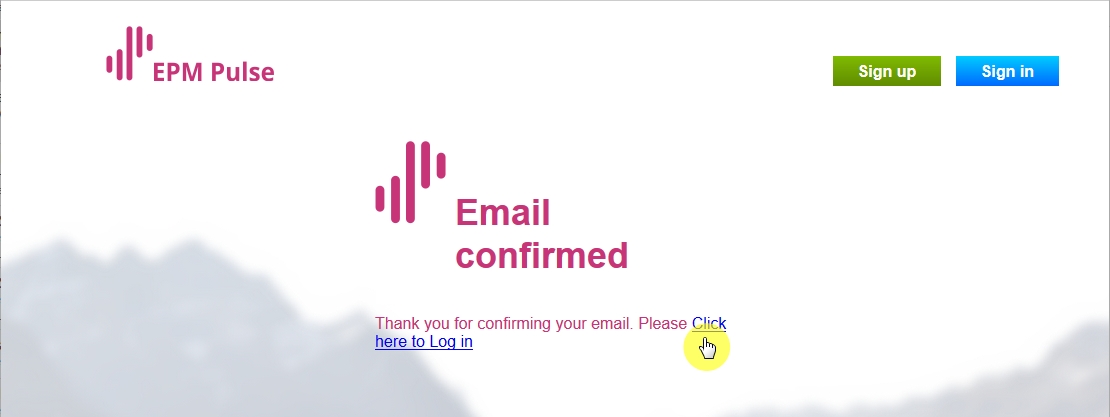
4. Once you follow the received link, your email will be confirmed and you can login using the login and password, provided during sign up
5. Congratulations! You are now signed up to EPM Pulse. Now you can proceed to the next step to add your Planner as a connection to EPM Pulse.
II. Connect your Planner to EPM Pulse
Once you sign up to EPM Pulse by the steps above, you can add Planner as a connection.
Please note: When you sign up for the first time, a free plan is issued for 14 days. For more details, please refer to the 'EPM Pulse Free Plan' article. To continue using the product when the free plan expires, please contact our sales team at sales@fluentpro.com.
Power BI report pack for Planner supports the former version of Microsoft Planner and the new Planner (basic plans). This includes all basic templates:
- Simple Plan
- Project Management Basic (without a diamond)
- Business Plan Basic (without a diamond)
- Employee Onboarding Basic (without a diamond)
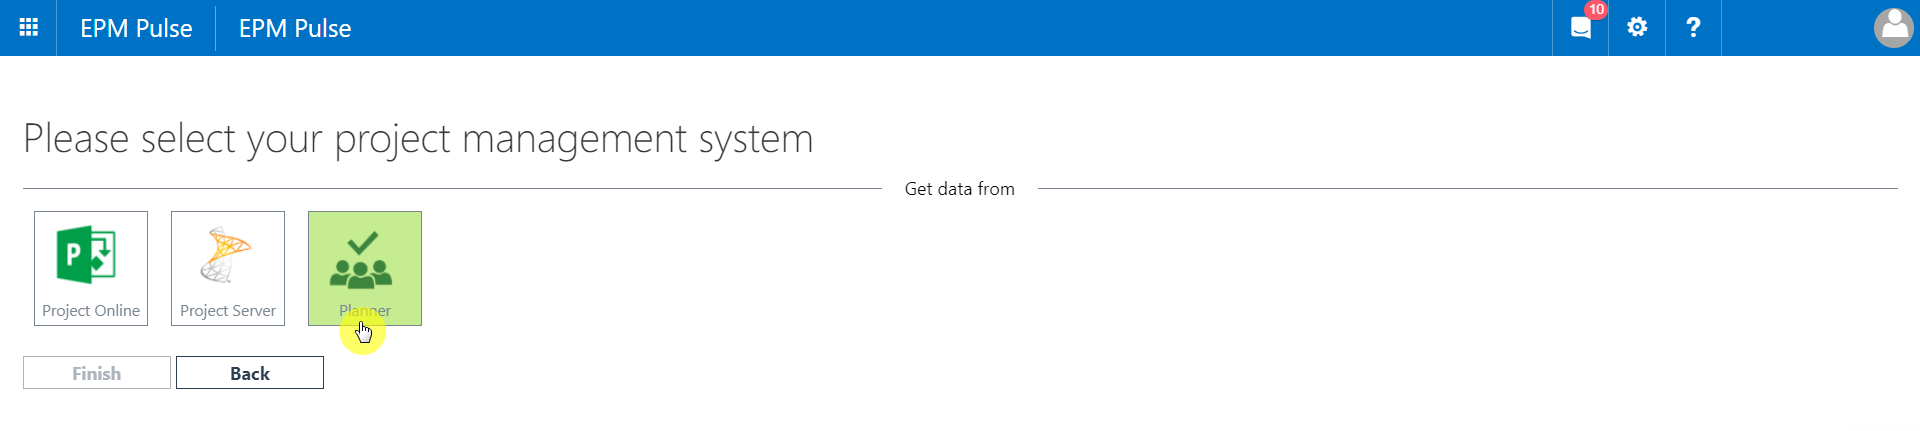
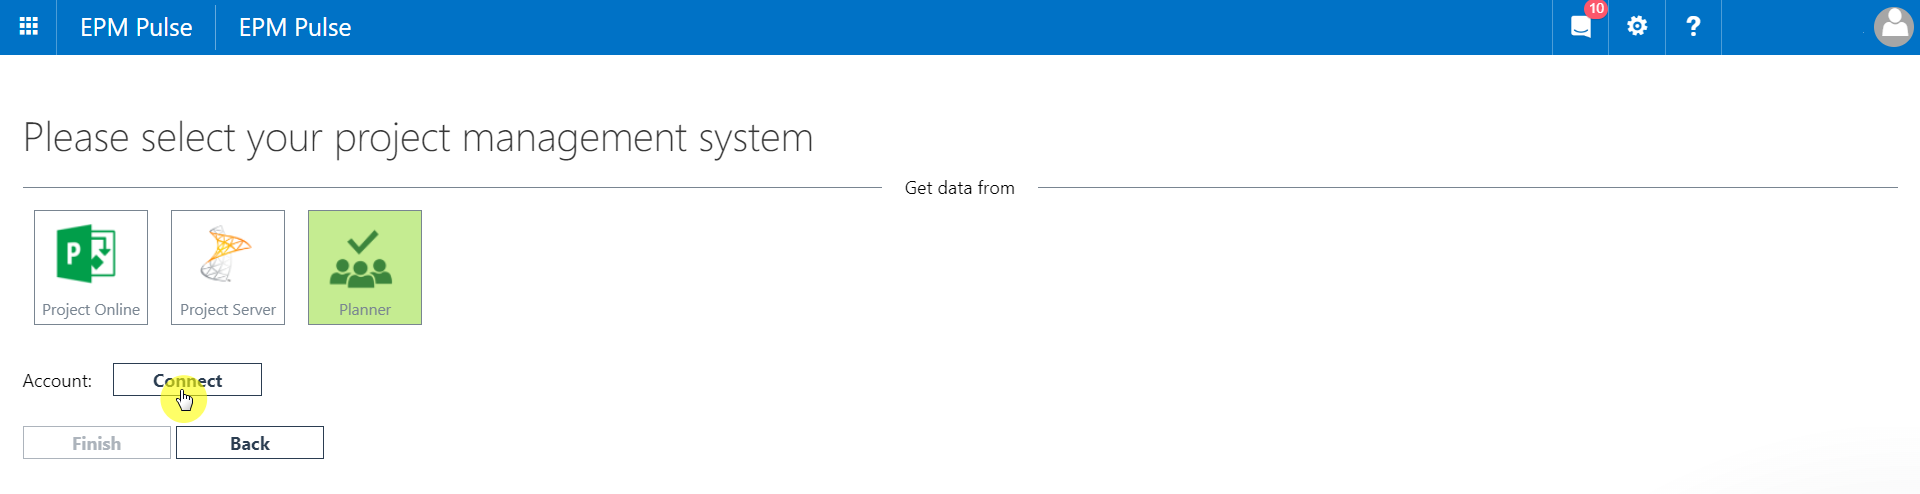
1. Select the Planner tile as your project management system.
2. Click Connect next to 'Account':
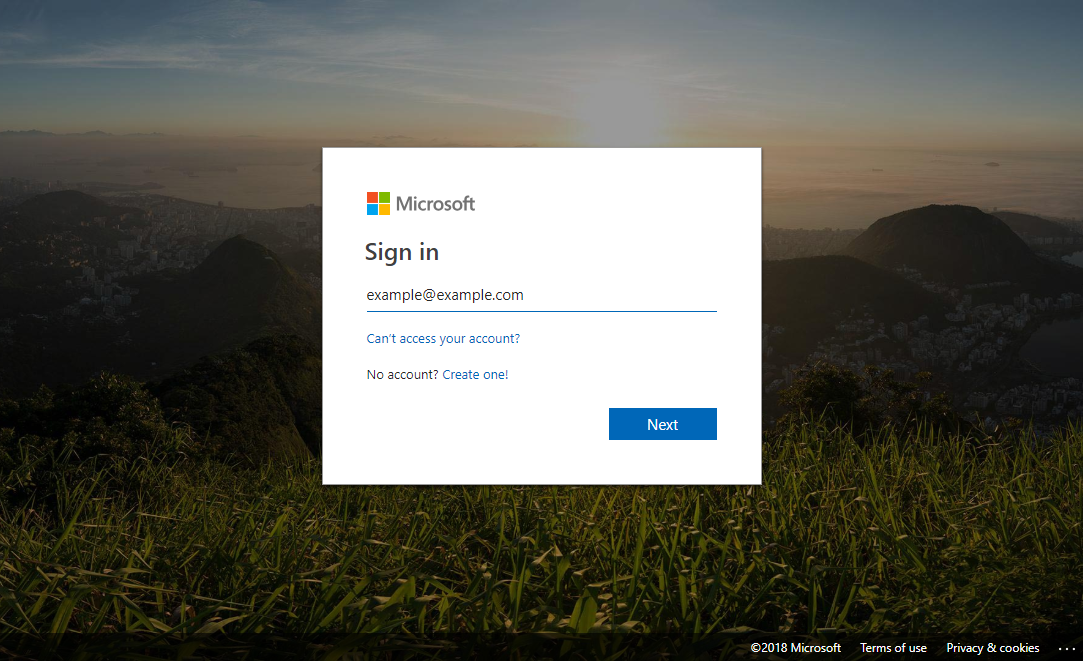
3. In the pop-up window, provide the tenant Global Administrator credentials to log in to Planner.
Press the Trust it button in the ‘Do you trust EPM Pulse for Project Online’ window, if you confirm all the permissions.
Please note:
- Tenant Global Administrator account is required to establish a Planner connection for the first time.
- When the connection is established, a different account from the same tenant can be used as a synchronization account. The synchronization account should have access to the necessary Planner Groups, and Planner Users and be a member of the Plans needed to be synchronized (due to Planner limitations, the account should open necessary Plans at least once).
For detailed information, please refer to the Connection Account Requirements for Planner Connection article.
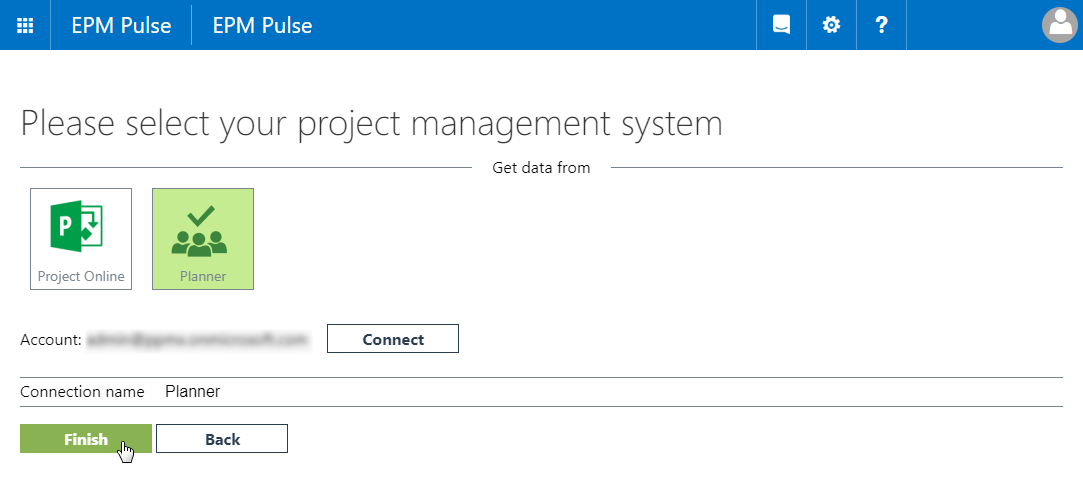
4. Click Finish to add the connection to Planner to your EPM Pulse:
5. Once the connection is added, allow EPM Pulse some time to perform the initial synchronization, which normally takes around 10 minutes.
As it is finished, you will see the green indicator:
If for some reason the red indicator is displayed, please refresh the account and retry the data synchronization per steps in the following article - How to refresh synchronization account for Planner
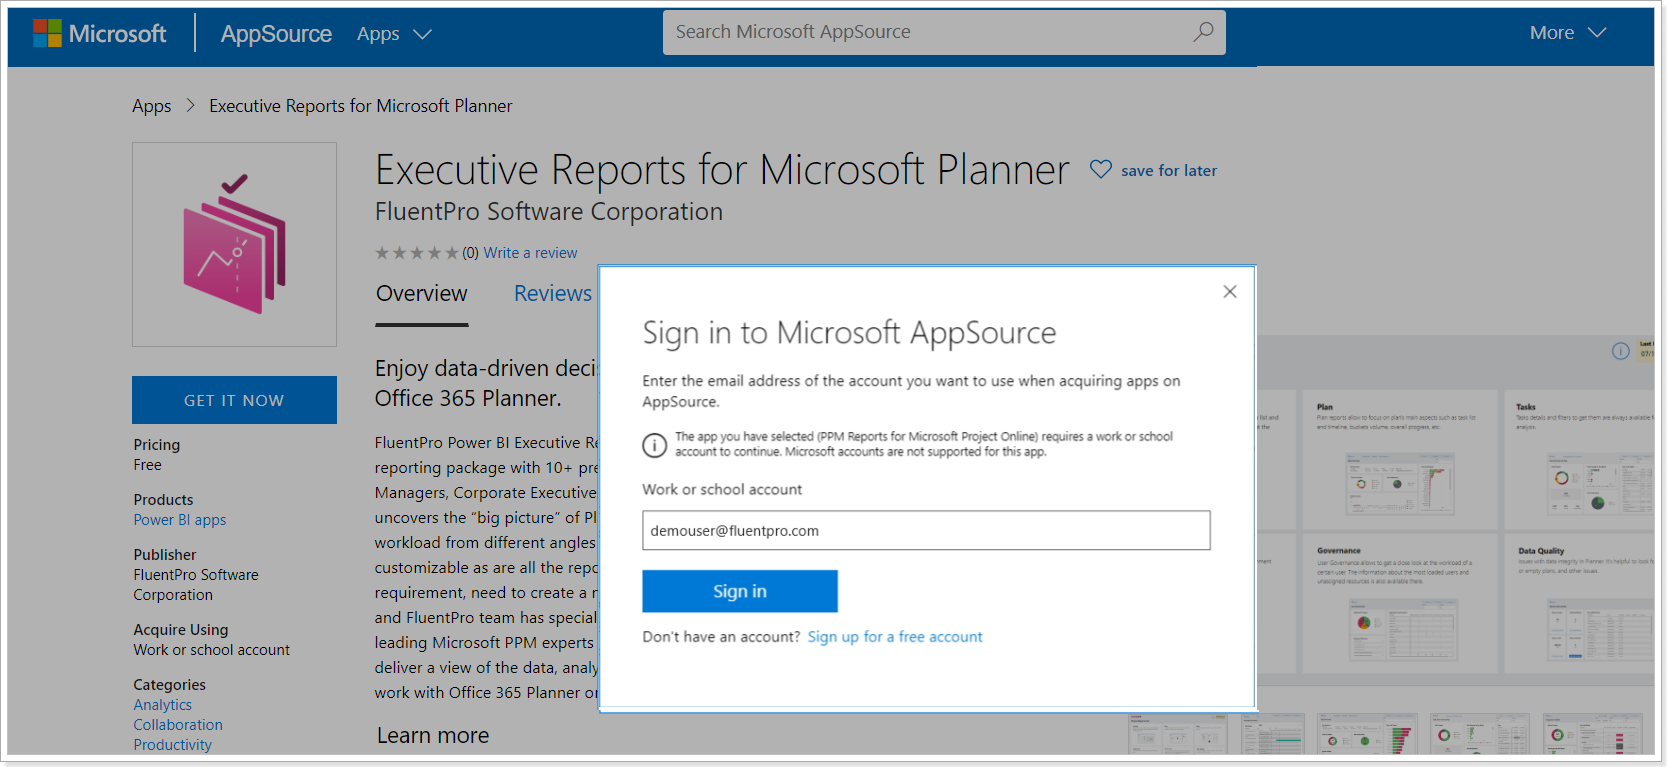
III. Install Power BI report Pack for Planner from AppSource
Next, install Power BI report Pack for Planner from AppSource by this Link.
1. As you click 'Get it now', provide the credentials you use to sign in to Power BI service.
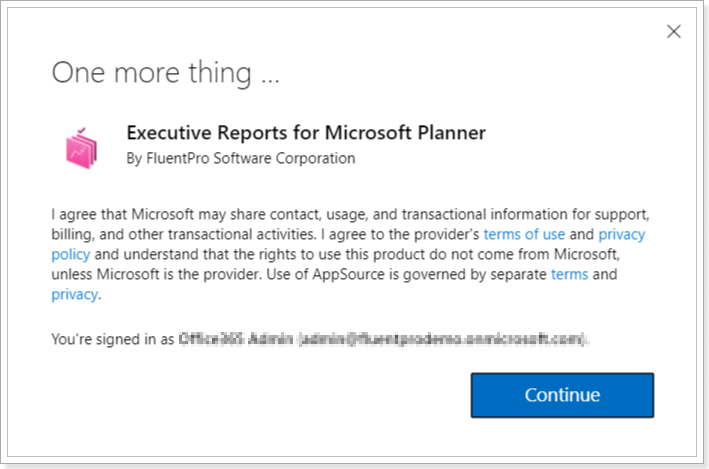
2. In the next window that appears, make sure that you are signed in with the correct account, review the terms of use and privacy policy, and click Continue to agree and proceed.
3. Next, click Install to install Power BI report Pack for Microsoft Planner.

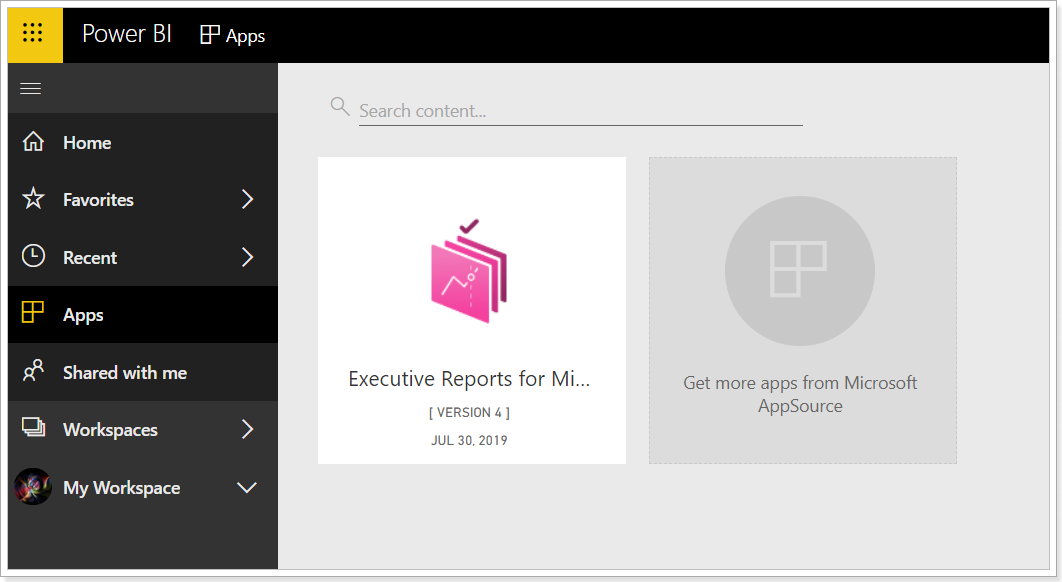
4. The application will appear on the Apps page in the Power BI service.
IV. Connect Power BI pack to Planner data
The last step will be to finish the Report Pack configuration via the reports Datasets in Power BI service.
To finish the Report Pack configuration perform the following:
1. Click the Edit App button on the Apps page. The workspace for Executive Reports for Microsoft Planner will be opened.

2. On the opened page, please switch to the Datasets tab, click "More options" (three dots button) and select "Settings" from the drop-down.

3. In the opened window click on the "Parameters". and In the OData URL section provide EPM Pulse URL in the required format.

Please note: For some time after your Sign Up and first data synchronization in EPM Pulse the URL might contain '%' sign instead of '@'. E.g. https://us-online.epmpulse.com/ Be sure to substitute % to @ when you use the copied link later for connection to Power BI.
Please note: Load Only Planner Users field should be updated with a TRUE value.

4. Next, it is required to set the connection credentials. Open the "Data source credentials" section and click "Edit credentials".

In the opened window, select a Basic authentication method, provide your username and password, and select the necessary privacy level.
Please note: Here, please use the email & password combination you used to Sign-Up to EPM Pulse in Step I of this guide! If you signed up to EPM Pulse with any other option rather than Email&Password, use this guide to have such a combination generated - Learn More.

Please make sure to provide the correct ‘User name’ and ‘Password’.
If you are sure the credentials provided are correct, please refer to the following article: '(404) Not found' error while loading data to report.
5. Next, navigate back to Datasets and click "Refresh now".
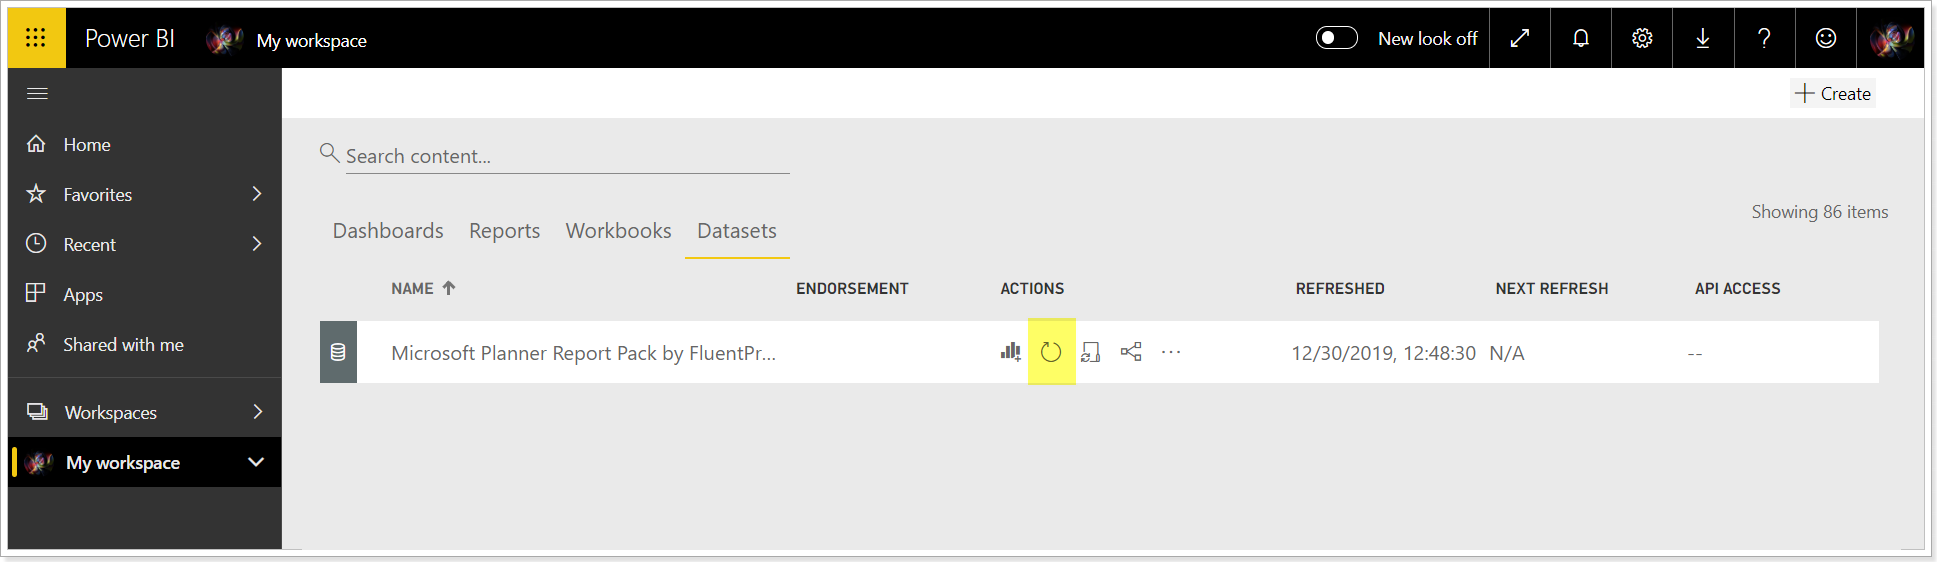
Power BI will start loading data to the report. You can check the status of data synchronization in Datasets.
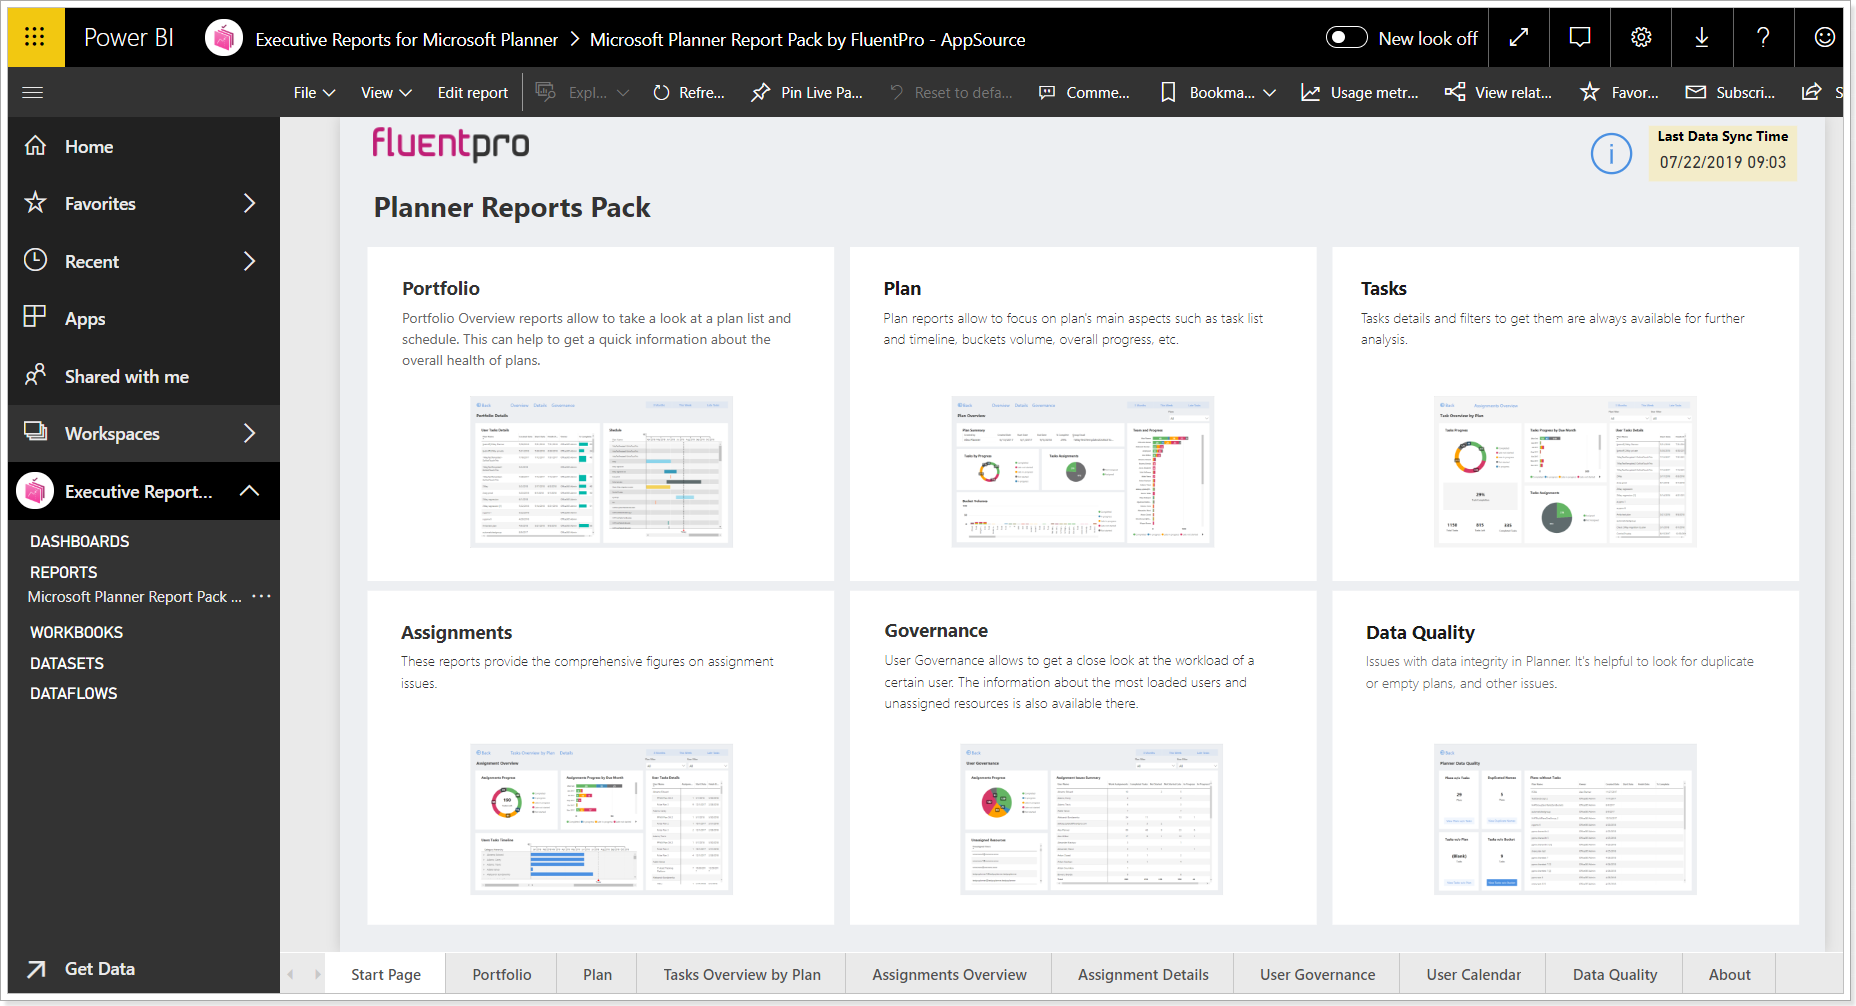
Congratulations! You can now use Power BI to review the reports on your Planner data!
Do not forget to make sure that data in your report will be constantly updated. Check this article for more information - Making sure report data will be refreshed