
This article describes a step by step process of migrating data from EPM Pulse 2010/2013/On-Premises to EPM Pulse On-Premises Edition.
The process is generally divided into two main stages - Exporting all the needed data from an old version, and then Importing it to the new installation.
Export Stage
Export custom Project and Resource views
The easiest way to migrate custom Project and Resource views is to add them to a storyboard and then migrate this storyboard. After following these steps all custom Project and Resource views added to the storyboard will be included in the storyboard package.
- In EPM Pulse 2010/2013 navigate to the Storyboard Management page.
- Create a new storyboard.
- Add one dashboard of Portfolio or Project type.
- Add one dashboard of Resource Pool or Resource type.
- Add all custom Project views to the dashboard of Portfolio/Project type.
- Add all custom Resource views to the dashboard of Resource Pool/Resource type.
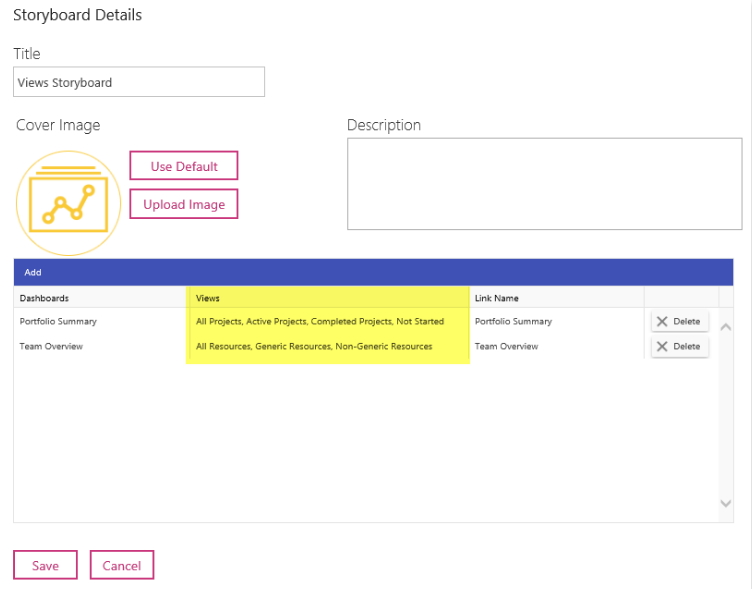
7. Save the storyboard.
8. Export this storyboard.
Export Storyboards
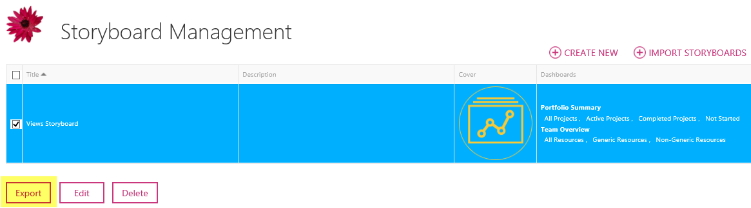
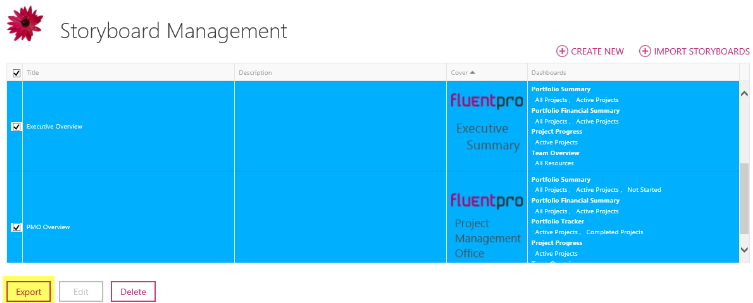
The next step is to export all storyboards, that you want to migrate. All selected storyboards will be exported into a package. This package can be later imported to EPM Pulse On-Premises Edition.
- On the Storyboard Management page check the checkboxes next to the storyboards that need to be migrated.
- Export selected storyboards into a package.
Export Dashboards
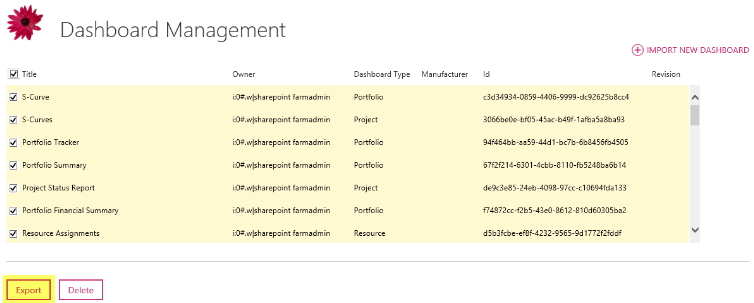
The next step is to export all dashboards that you want to migrate. All selected dashboards will be exported into a package. This package can be later imported to EPM Pulse On-Premises Edition.
- In EPM Pulse 2010/2013 navigate to the Dashboard Management page.
- Check the checkboxes next to the dashboards that need to be migrated (or alternatively check the checkbox next to the Title to select all dashboards in one go).
- Export selected dashboards into a package.
Export custom Widgets
If you have any custom widgets created in Widget Editor or developed specifically for your company, then you can migrate them using one of the following approaches:
- Navigate to the Widget Management page, select all custom widgets that need to be migrated and export them into a package.

- Alternatively, create a dashboard and add all custom widgets to this dashboard. Then export this dashboard into a package.
Import Stage
Import the Storyboard containing all custom Project and Resource views
After all data is exported from EPM Pulse 2010/2013, the next step is to import this data into EPM Pulse On-Premises Edition.
- In EPM Pulse On-Premises Edition navigate to the Storyboard Management page.
- Import the storyboard that contains all custom Project and Resource views.

Custom Project and Resource views are now migrated to EPM Pulse On-Premises Edition.
Import Storyboards
After custom views are in place, import the rest storyboards from the package to EPM Pulse On-Premises Edition.
Import Dashboards
- In EPM Pulse On-Premises Edition navigate to the Dashboard Management page.
- Import dashboards from the package.

Import custom Widgets
- In EPM Pulse On-Premises Edition navigate to the Widget Management page.
- Install custom widgets from the package.

Install Common, Project Online and SharePoint Widget packs
After all views, storyboards, dashboards and custom widgets are migrated from EPM Pulse 2010/2013 to On-Premises Edition, install pre-built widgets to On-Premises Edition.
- In EPM Pulse On-Premises Edition navigate to the Content Pack Management page.
- Select Common Widgets, Project Online Widgets and SharePoint Widgets and then click Install.

Update Dashboards and Widgets that use Drill Downs
If you use Drill Downs in dashboards and/or widgets, and any of Project or Resource drill-downs are set up to use a relative path to PWA, such as /PWA/projectdrilldown.aspx?ProjUid={projUid} , you will need to update such drill-downs to use an absolute path to PWA, i.e. to include full PWA URL:
|
Drill Down Type |
Correct URL |
| Drill Down to Project Details | http://myserver/PWA/projectdrilldown.aspx?ProjUid={projUid} |
| Drill Down to Project Site | http://myserver/PWA/_layouts/PWA/Common/WSSNav.aspx?Project={projUid} |
| Drill Down to Resource Details | http://myserver/PWA/_layouts/pwa/Admin/AddModifyUser.aspx?RESOURCE_UIDS={resUid} |
| Drill Down to Project Dashboard | Use one of the following formats: 1) /#dashboard=e5d4a789-cd62-46c9-b53b-d5e8f26f6aa0 2) https://datamart-server/@tenant/#dashboard=e5d4a789-cd62-46c9-b53b-d5e8f26f6aa0 |
| Drill Down to Resource Dashboard | Use one of the following formats: 1) /#dashboard=e5d4a789-cd62-46c9-b53b-d5e8f26f6aa0 2) https://datamart-server/@tenant/#dashboard=e5d4a789-cd62-46c9-b53b-d5e8f26f6aa0 |
| Risks, Issues and Deliverables drill downs | Do not require any updates. |
Update SharePoint Widgets
The way how column headers and field formats are set up in SharePoint widgets have changed in On-Premises Edition comparing to EPM Pulse 2010/2013, old values are not carried over during migration.
If you have any SharePoint widgets in your dashboards, open each of the dashboards containing SharePoint widgets and set:
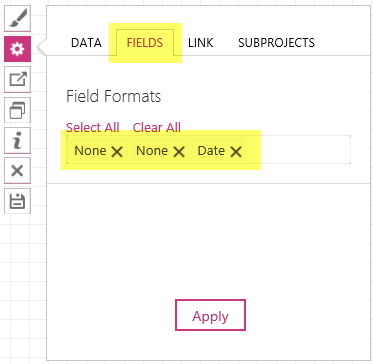
1) Field formats for each SharePoint widget:
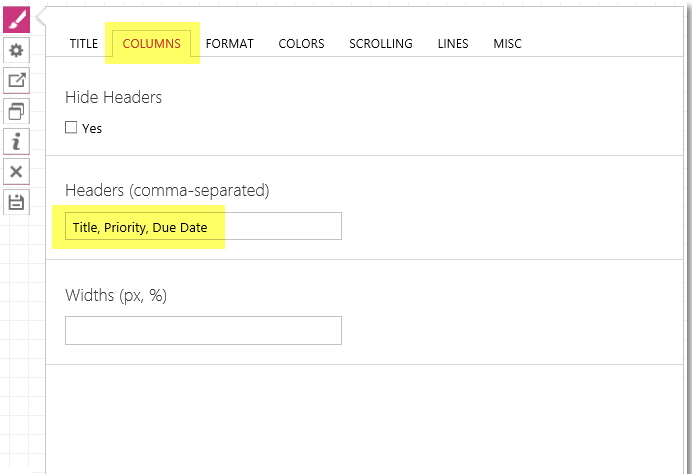
2) Column headers for each SharePoint widget:
Update embedded Dashboards
If you use embedded dashboards, follow the steps in the How to embed an EPM Pulse Dashboard article, and update each of the embedded dashboards to use the Content Editor web part instead of the EPM Pulse Dashboard Simple Viewer web part that is no longer supported.